Homemade Hazelnut Butter Recipe
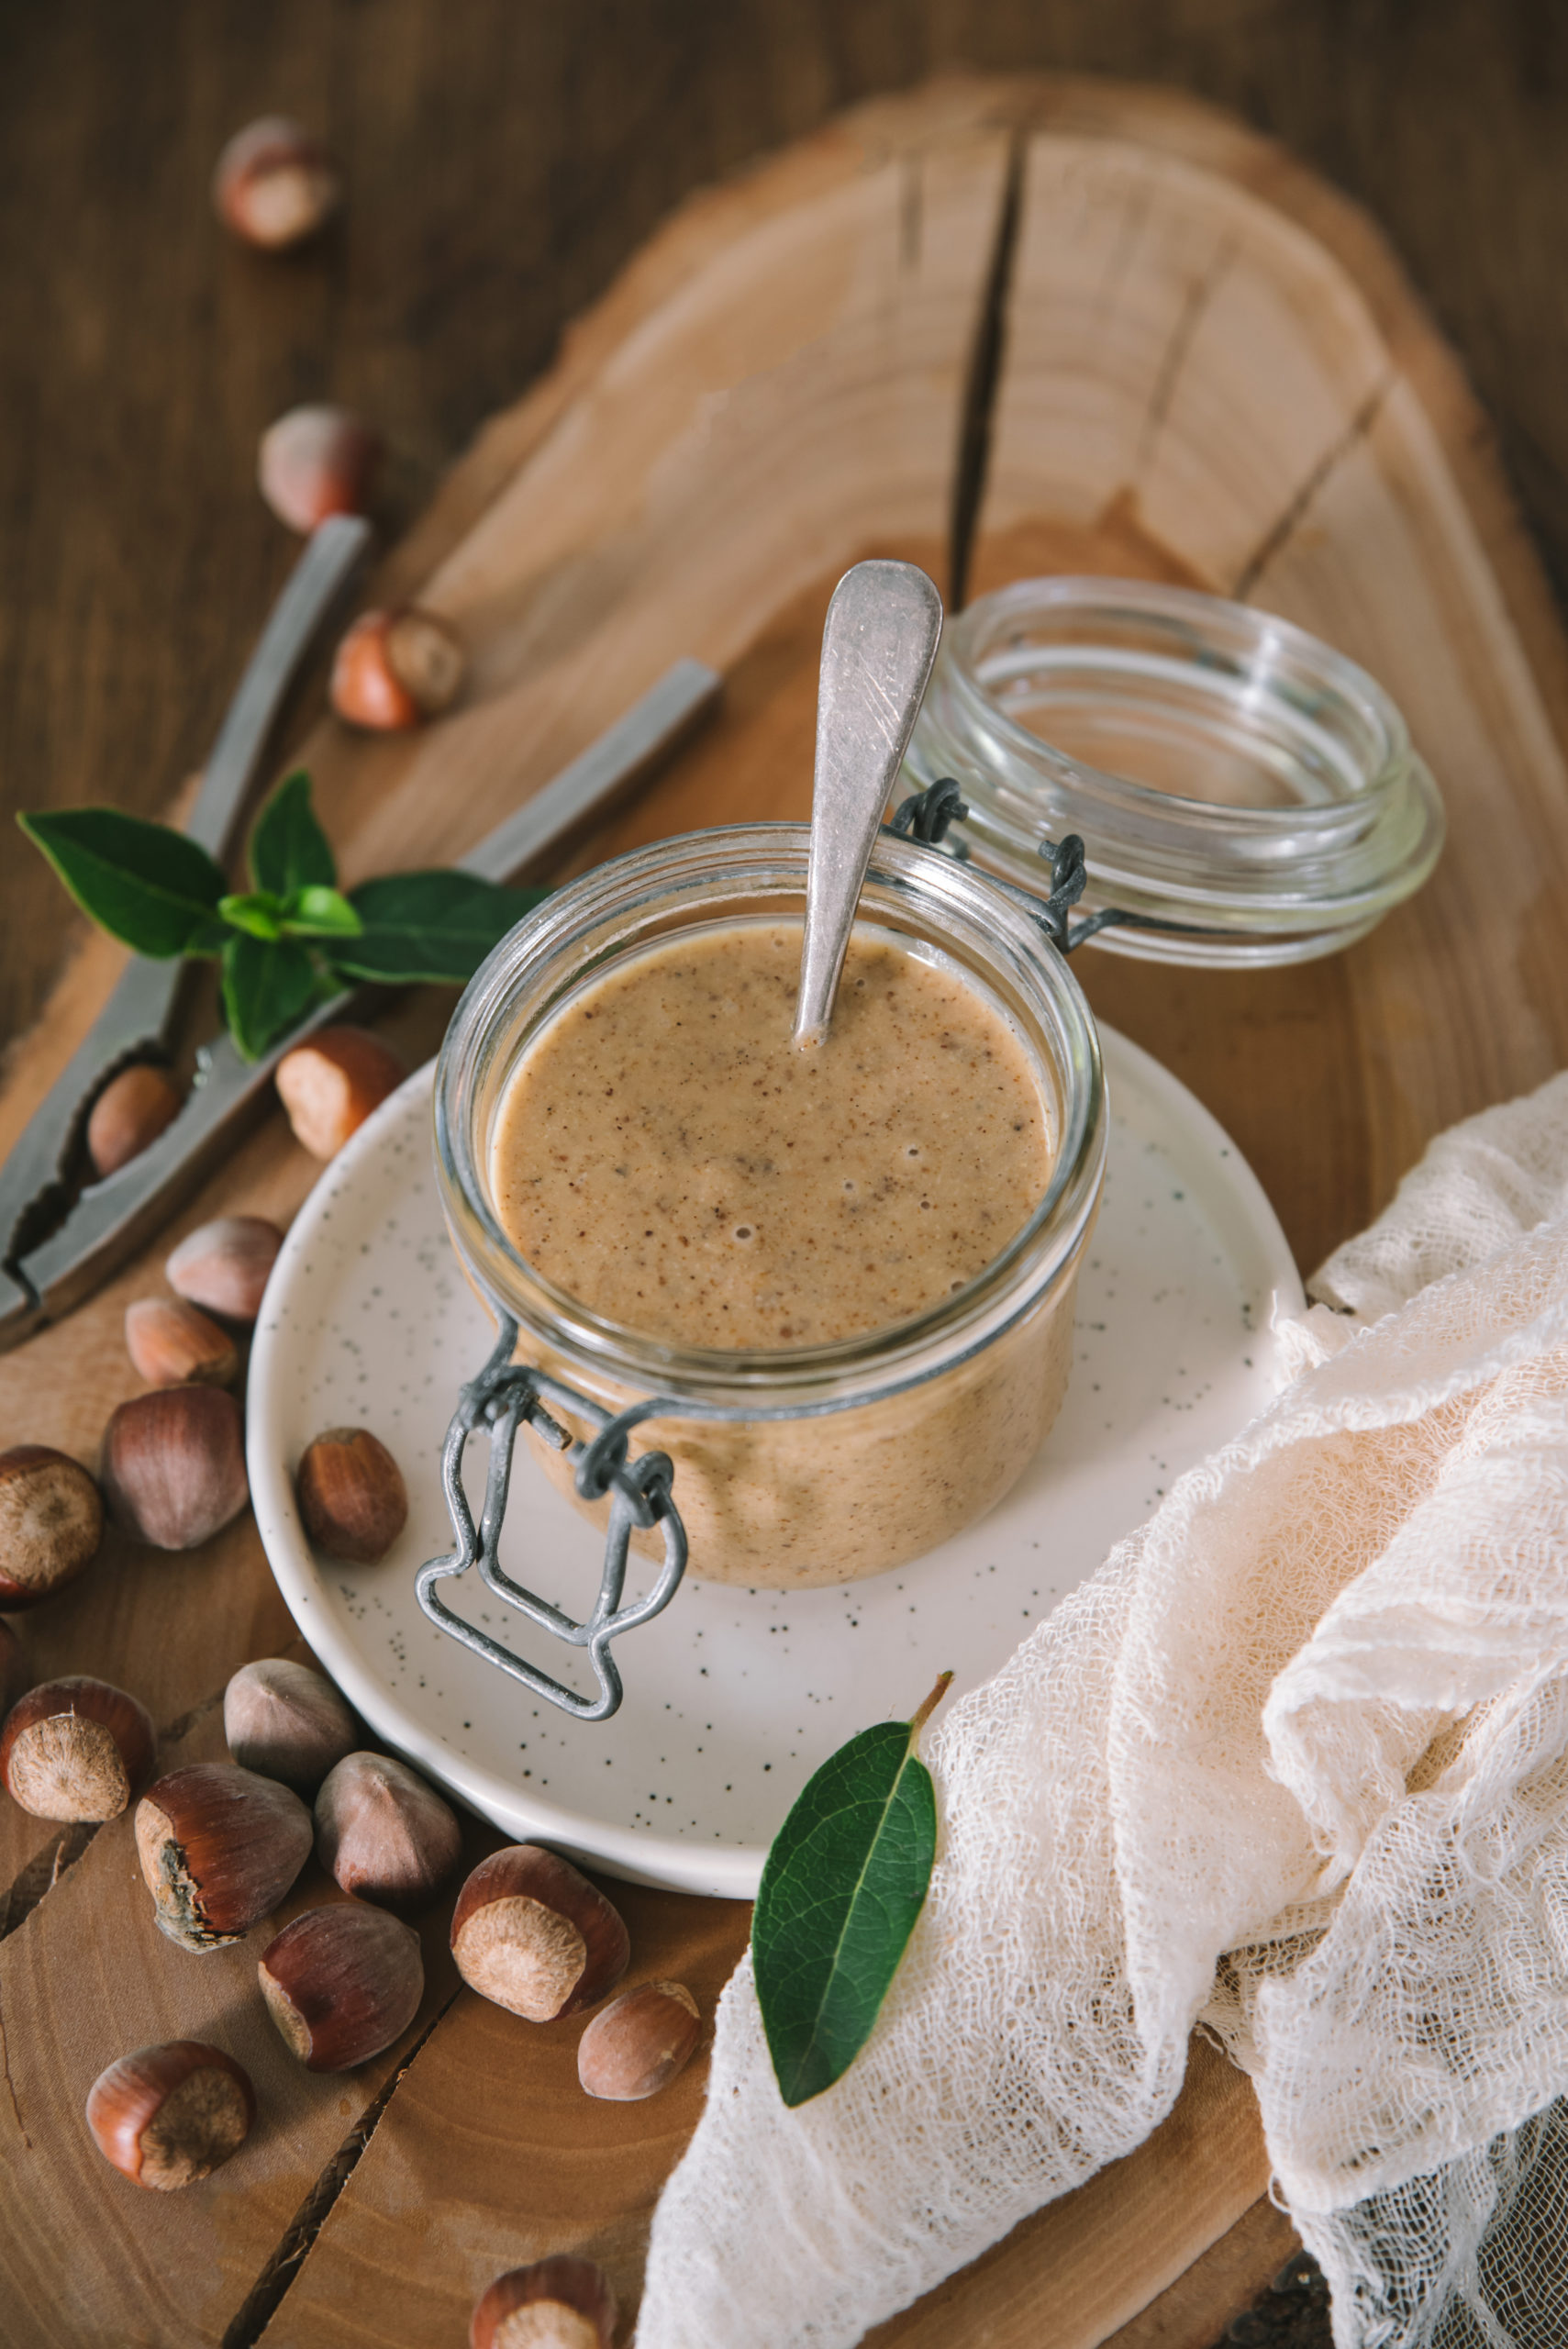
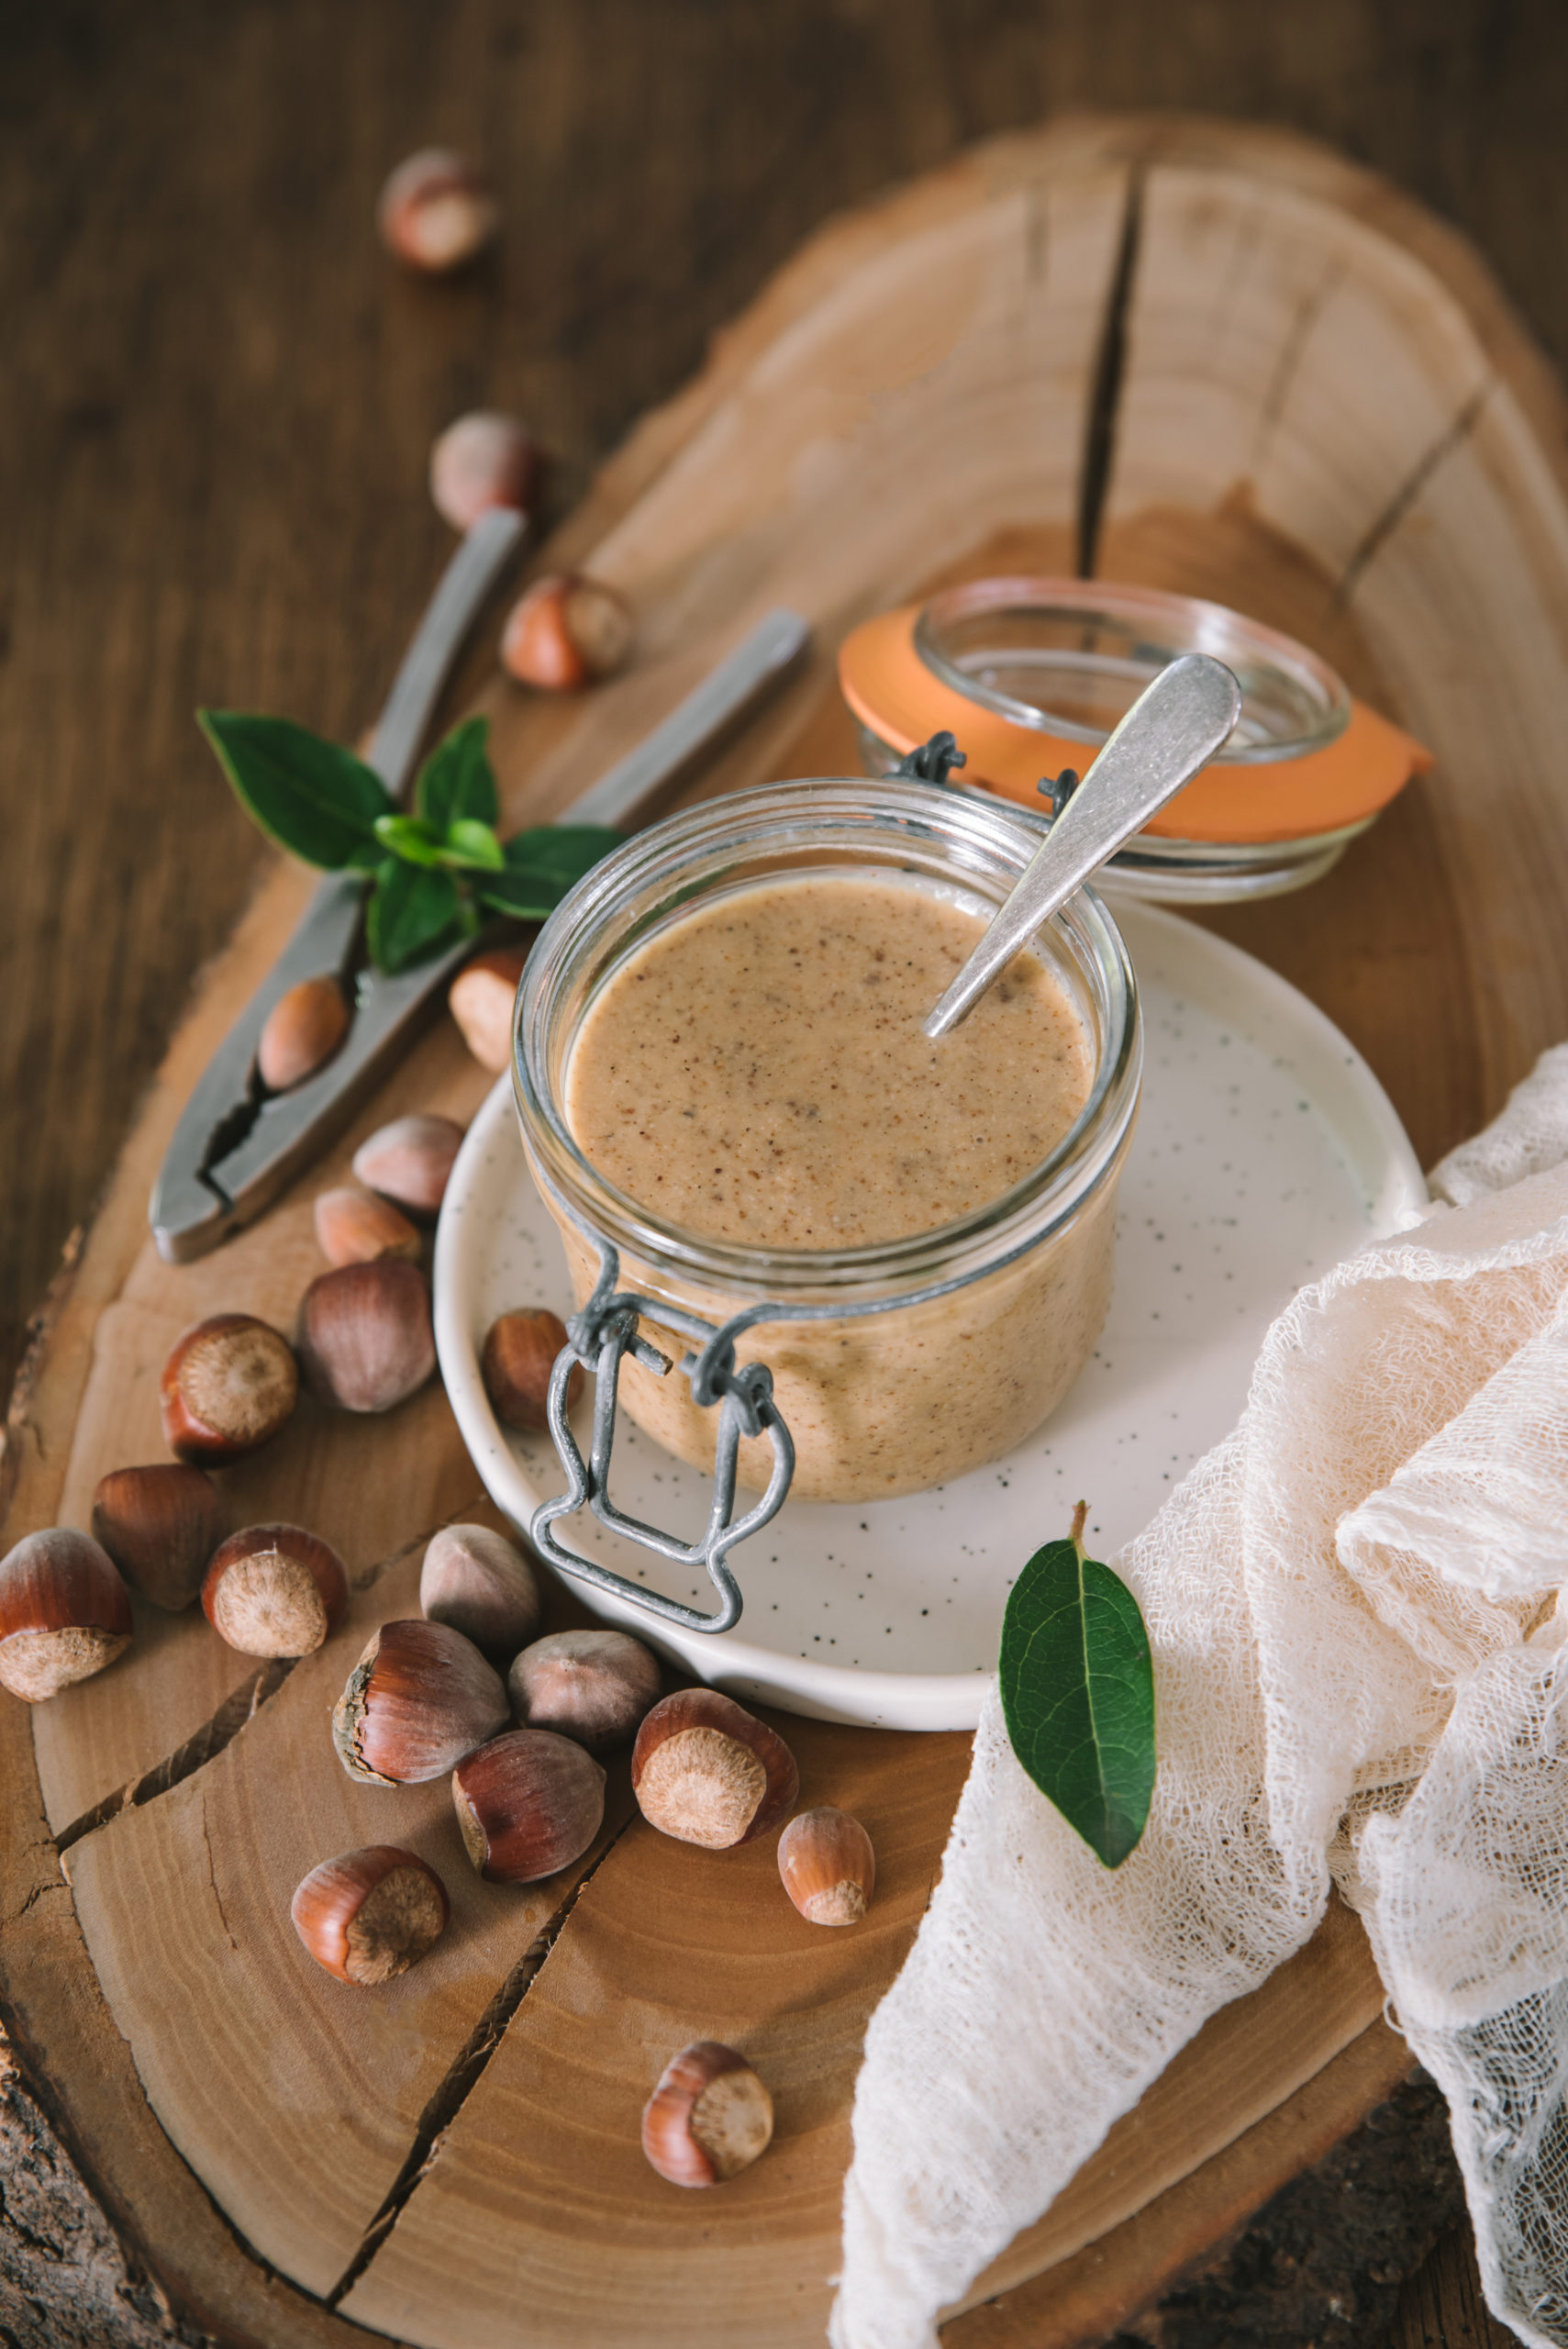
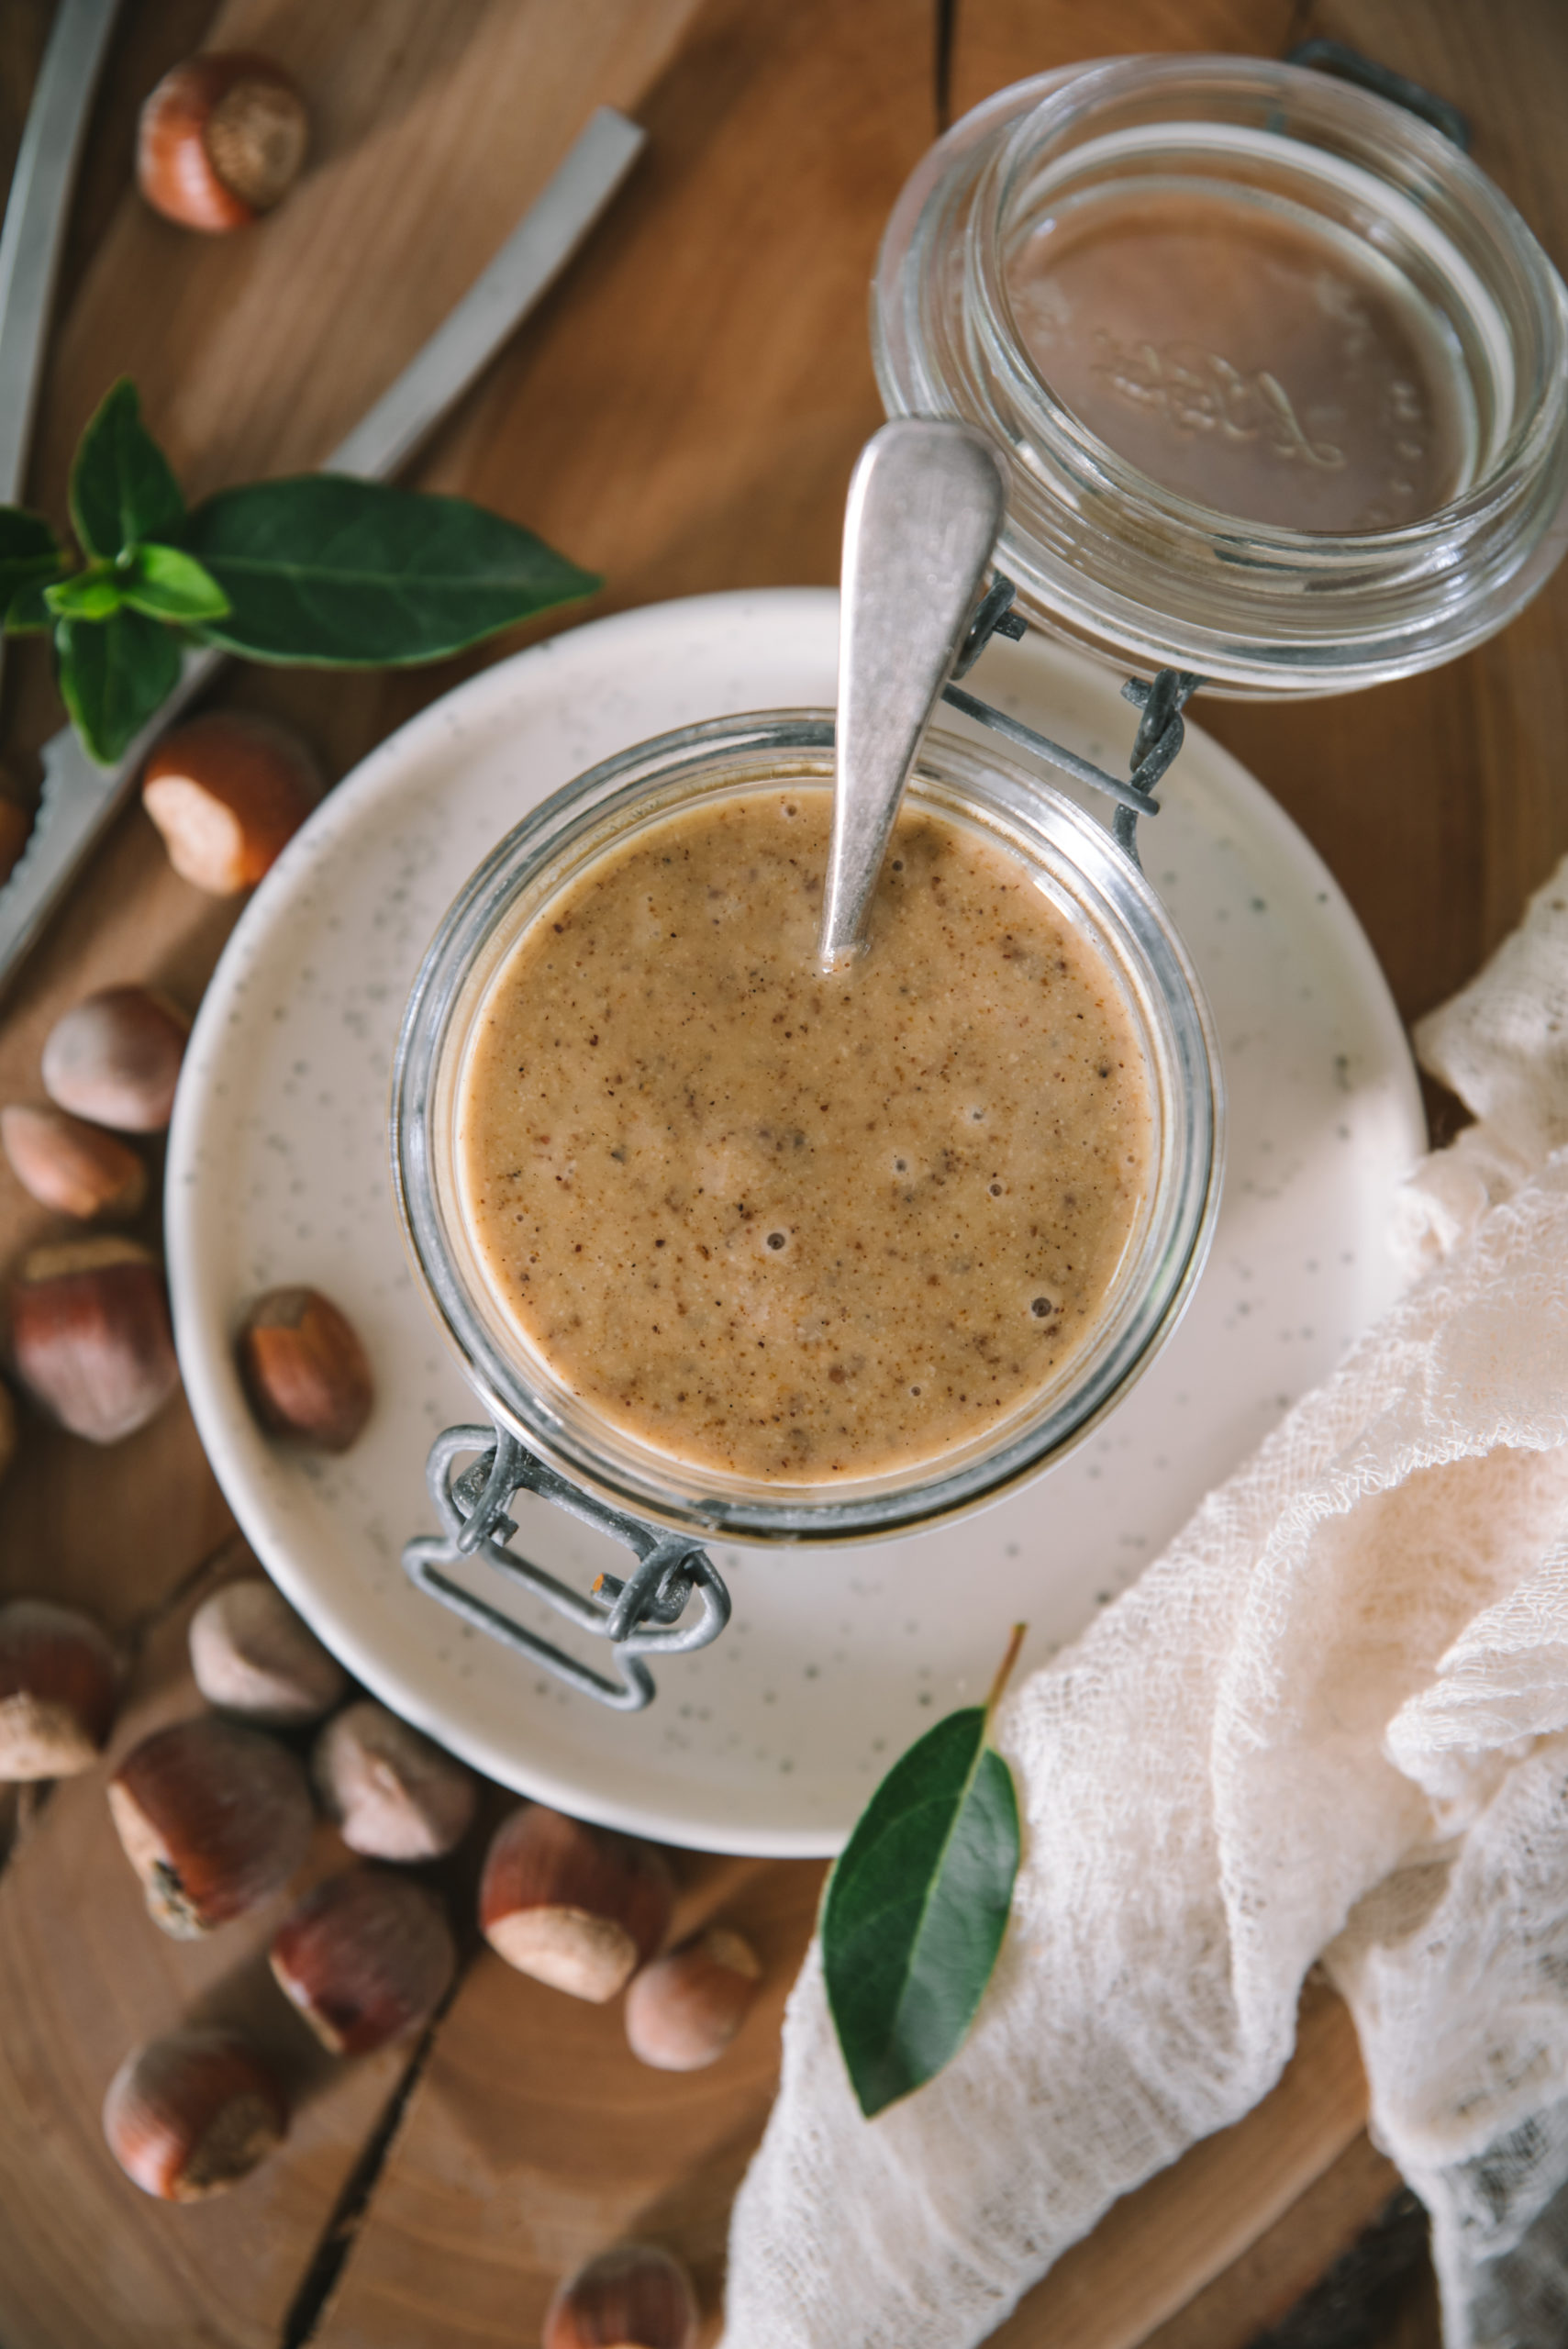
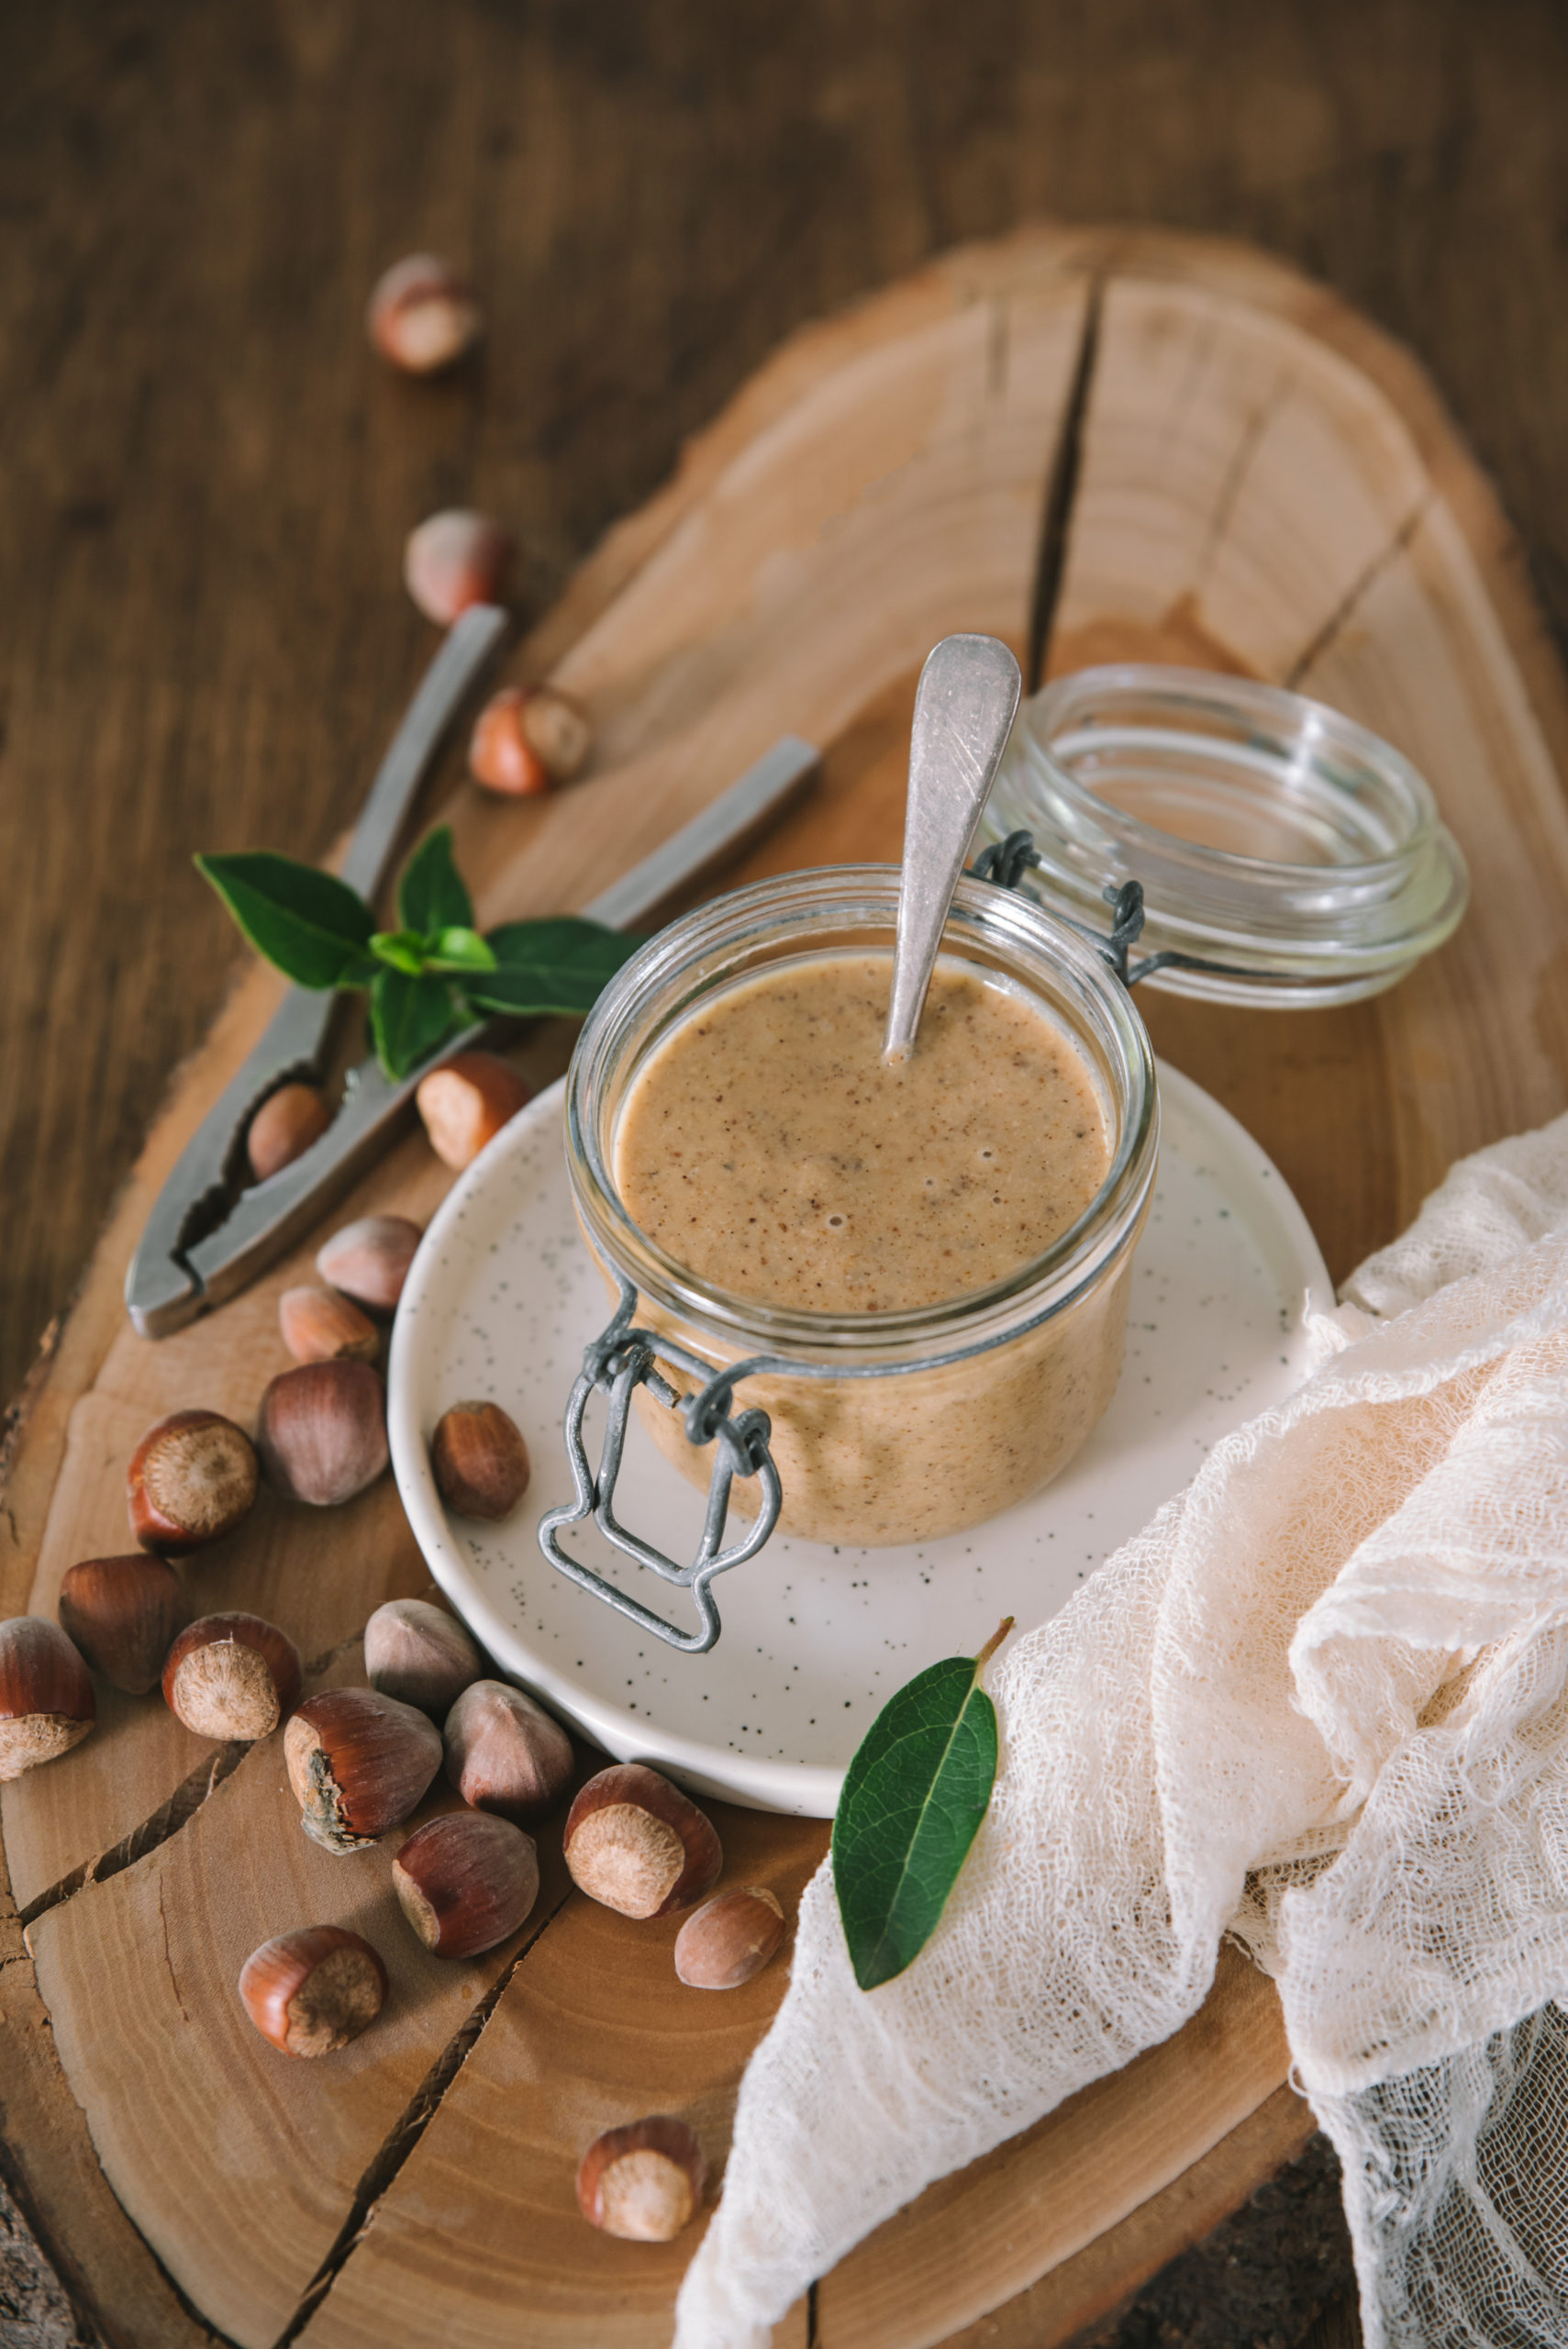
It’s now become a ritual in September, and every year I like to prepare a big pot of homemade hazelnut butter!
The first time I made it, it was with hazelnuts I’d brought back from Charente-Maritime, because in the garden of my grandmother’s old house, there are several hazelnut trees. They had produced a lot and I knew exactly what I wanted to do with them: my own hazelnut paste. Mmmmhhh…
What’s more, my hazelnuts were 100% organic. That’s the advantage of using ingredients from your own garden: you know what you’re putting in… The result is an immense pleasure for the palate, and the satisfaction of having made your own hazelnut purée!
For this recipe, I used 2 varieties of hazelnut, one rounder than the other, longer and finer, with a slightly more bitter taste. Mixing the 2 creates a perfect balance, but you can just as easily make this hazelnut purée with just one variety.
And if you like to make your own nut butters, the principle is the same with almond or peanut butter. I’ve also tried it with walnuts, and it’s delicious!
Homemade Hazelnut Butter Recipe
I’ll warn you right away, this recipe isn’t complicated at all, but it may take a while depending on the power of your blender…. So it’s best to have a good blender, and I use those from KitchenAid.
They’re very powerful, and you can tell they’re made for this sort of thing. But be careful, I insist on the sturdiness of your food processor, because you risk burning out the motor!
At the bottom of the article, I’ve put a video and photos of the steps, so you can get a better idea of how to turn hazelnuts into cream.
My tips for making this recipe a success:
- Carefully read the recipe instructions below before you begin.
- Have all the ingredients ready (correct amounts and weighed) before you begin.
- You need a good and strong blender. I really recommend my KitchenAid blender!
This will allow you to check that you have everything at home and complete it if necessary, to understand the recipe well and overall to go faster in making the recipe, and to enjoy cooking more! 😉
How to make homemade hazelnut butter in pictures? Here is the step by step?
The detail of the recipe is below, at the end of the article, with all my explanations.
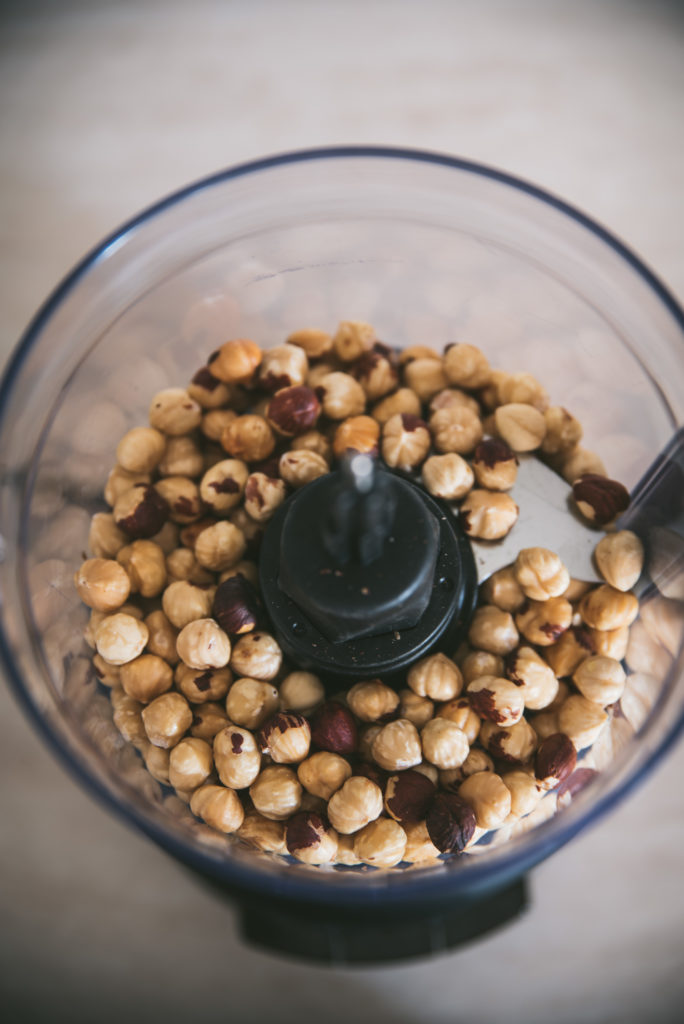

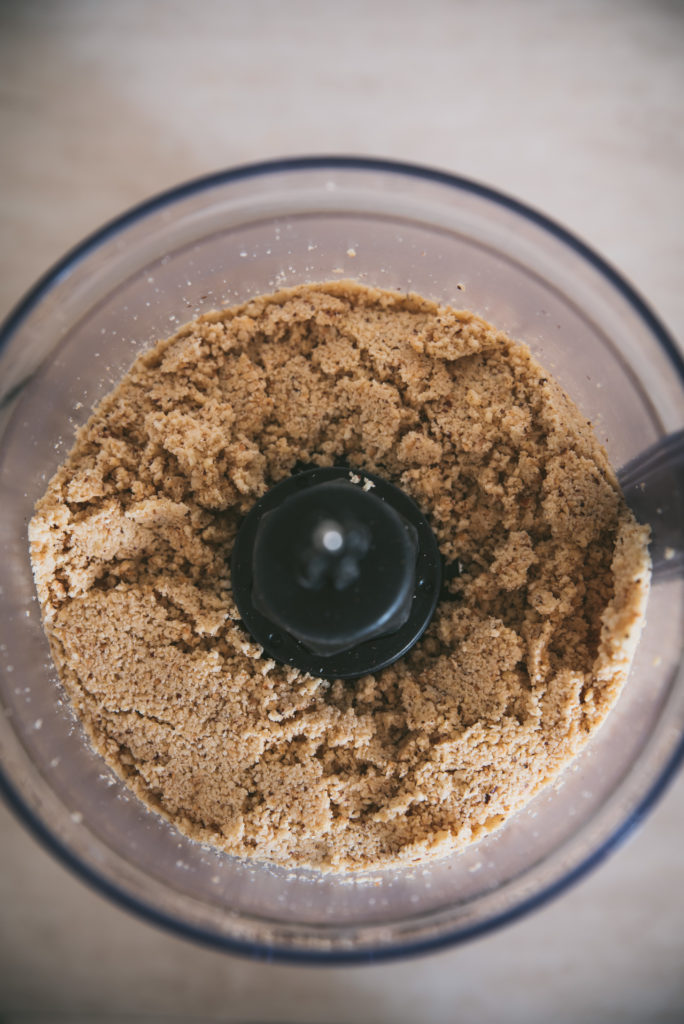
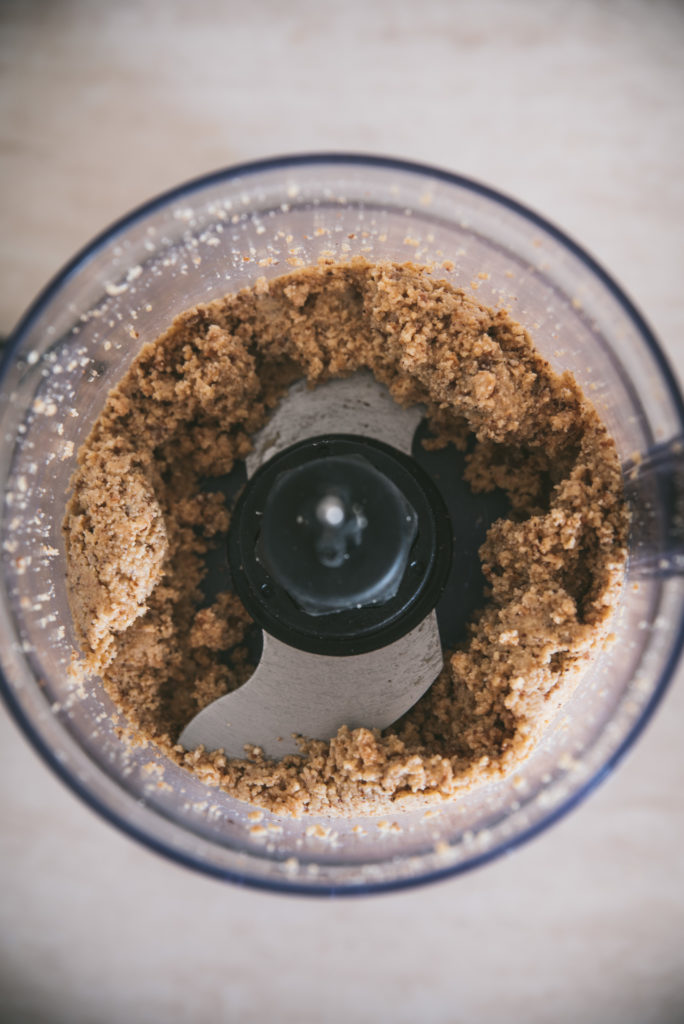
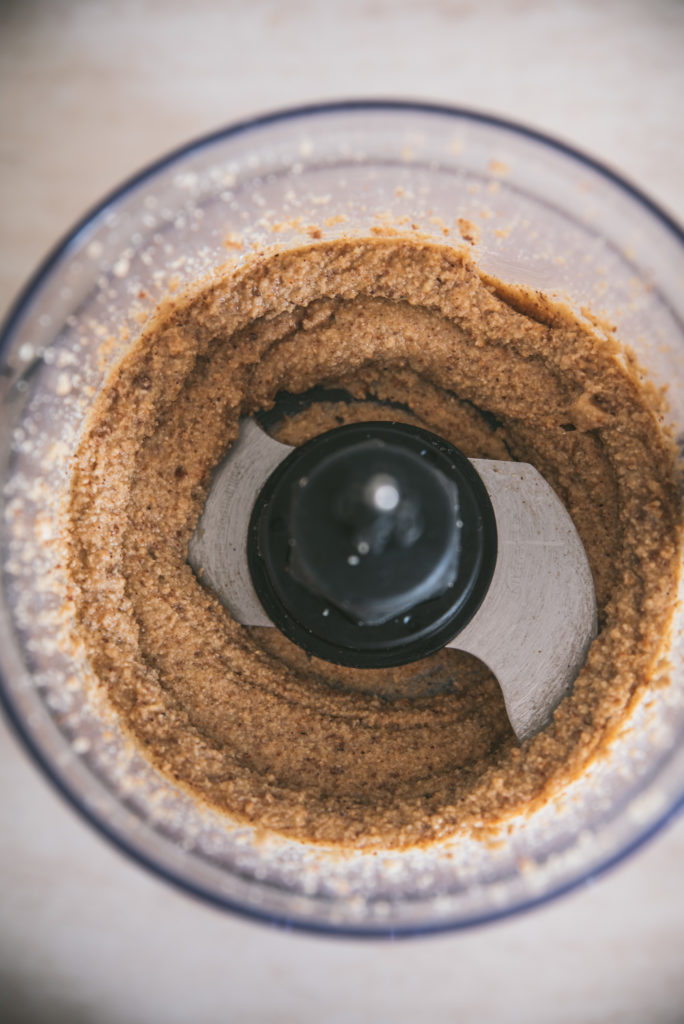
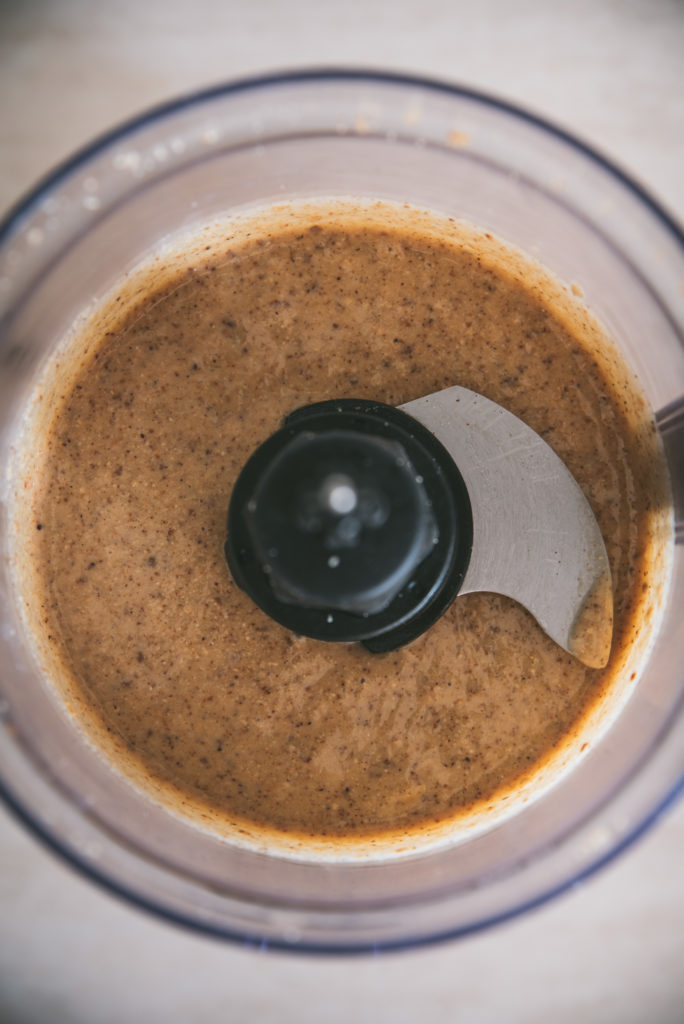
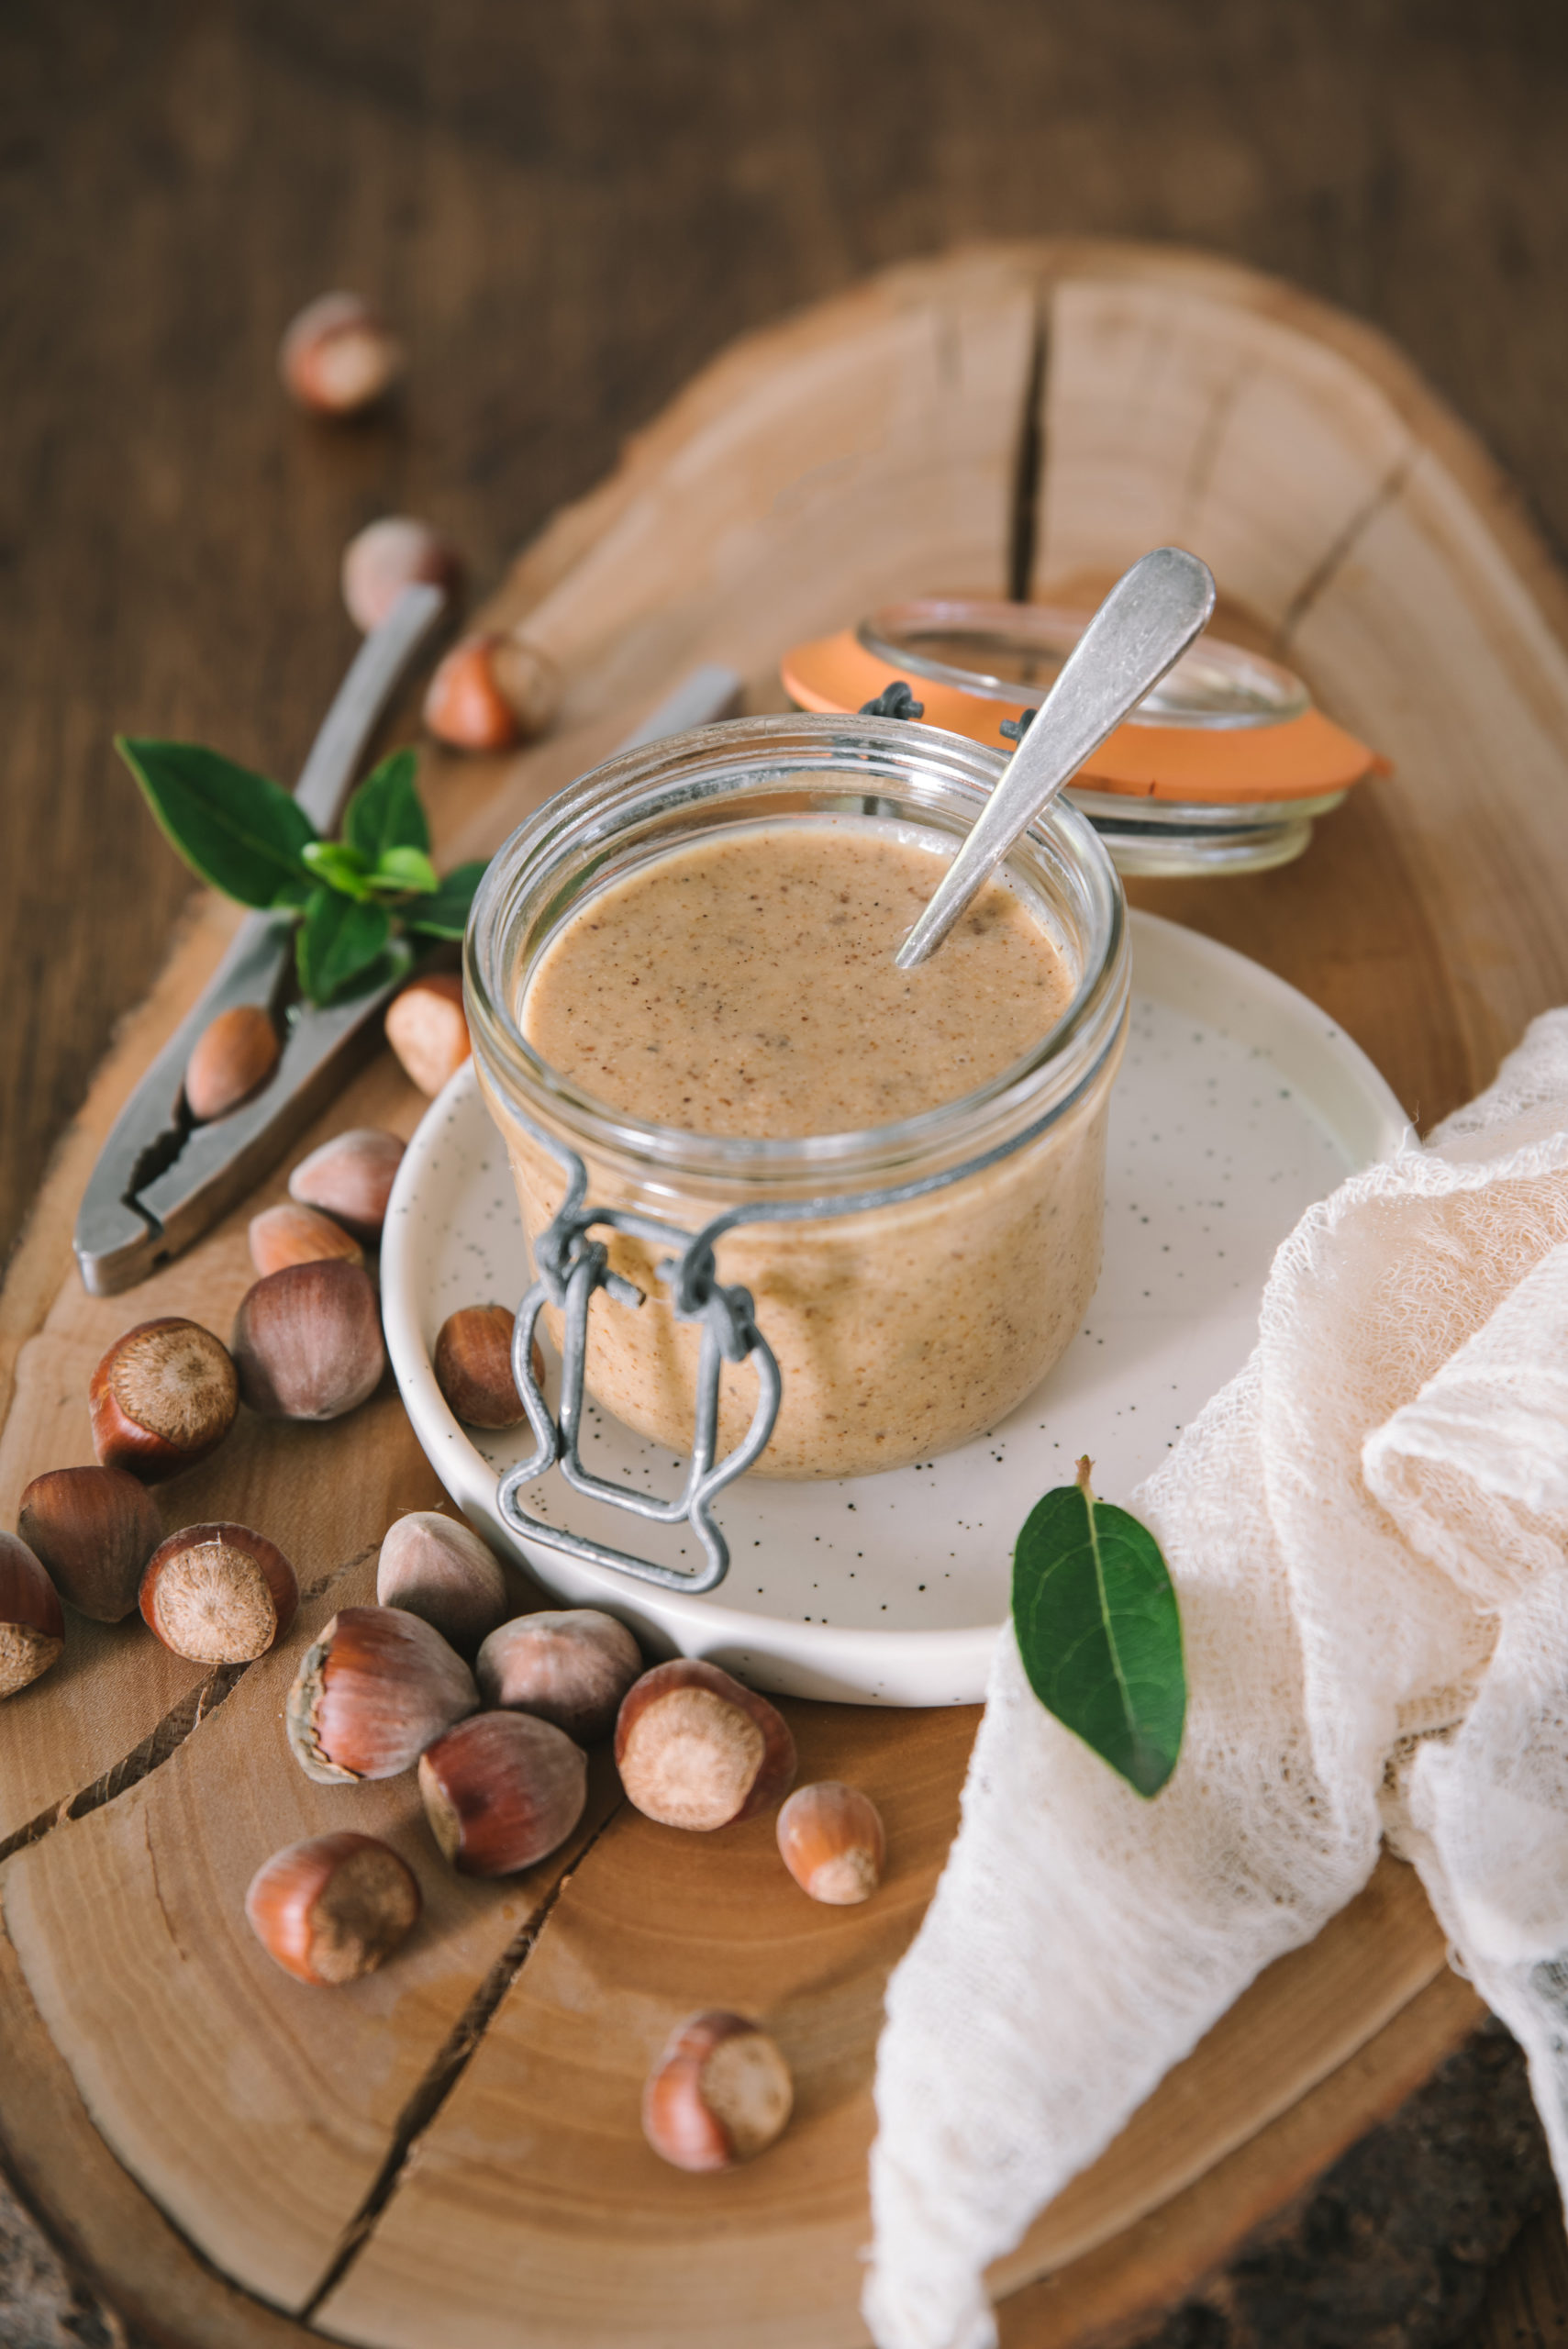
So yes, you can buy your own hazelnut butter, but when it’s homemade, it’s even better, more fragrant, I find, and it costs about half the price when you buy the whole hazelnuts (even shelled).
I’ve got lots more recipes to share with you using this homemade hazelnut butter base, so see you soon….
I use it to replace fats like butter or oil in my cakes, it can be eaten on toast for breakfast with a little honey, or as a base for a chocolate-hazelnut spread, or even a homemade praline paste.
It’s so good, it’s to die for, and what’s more, it’s really better for your health!
Homemade Hazelnut Butter
Ingredients
- 250 g shelled hazelnuts
Instructions
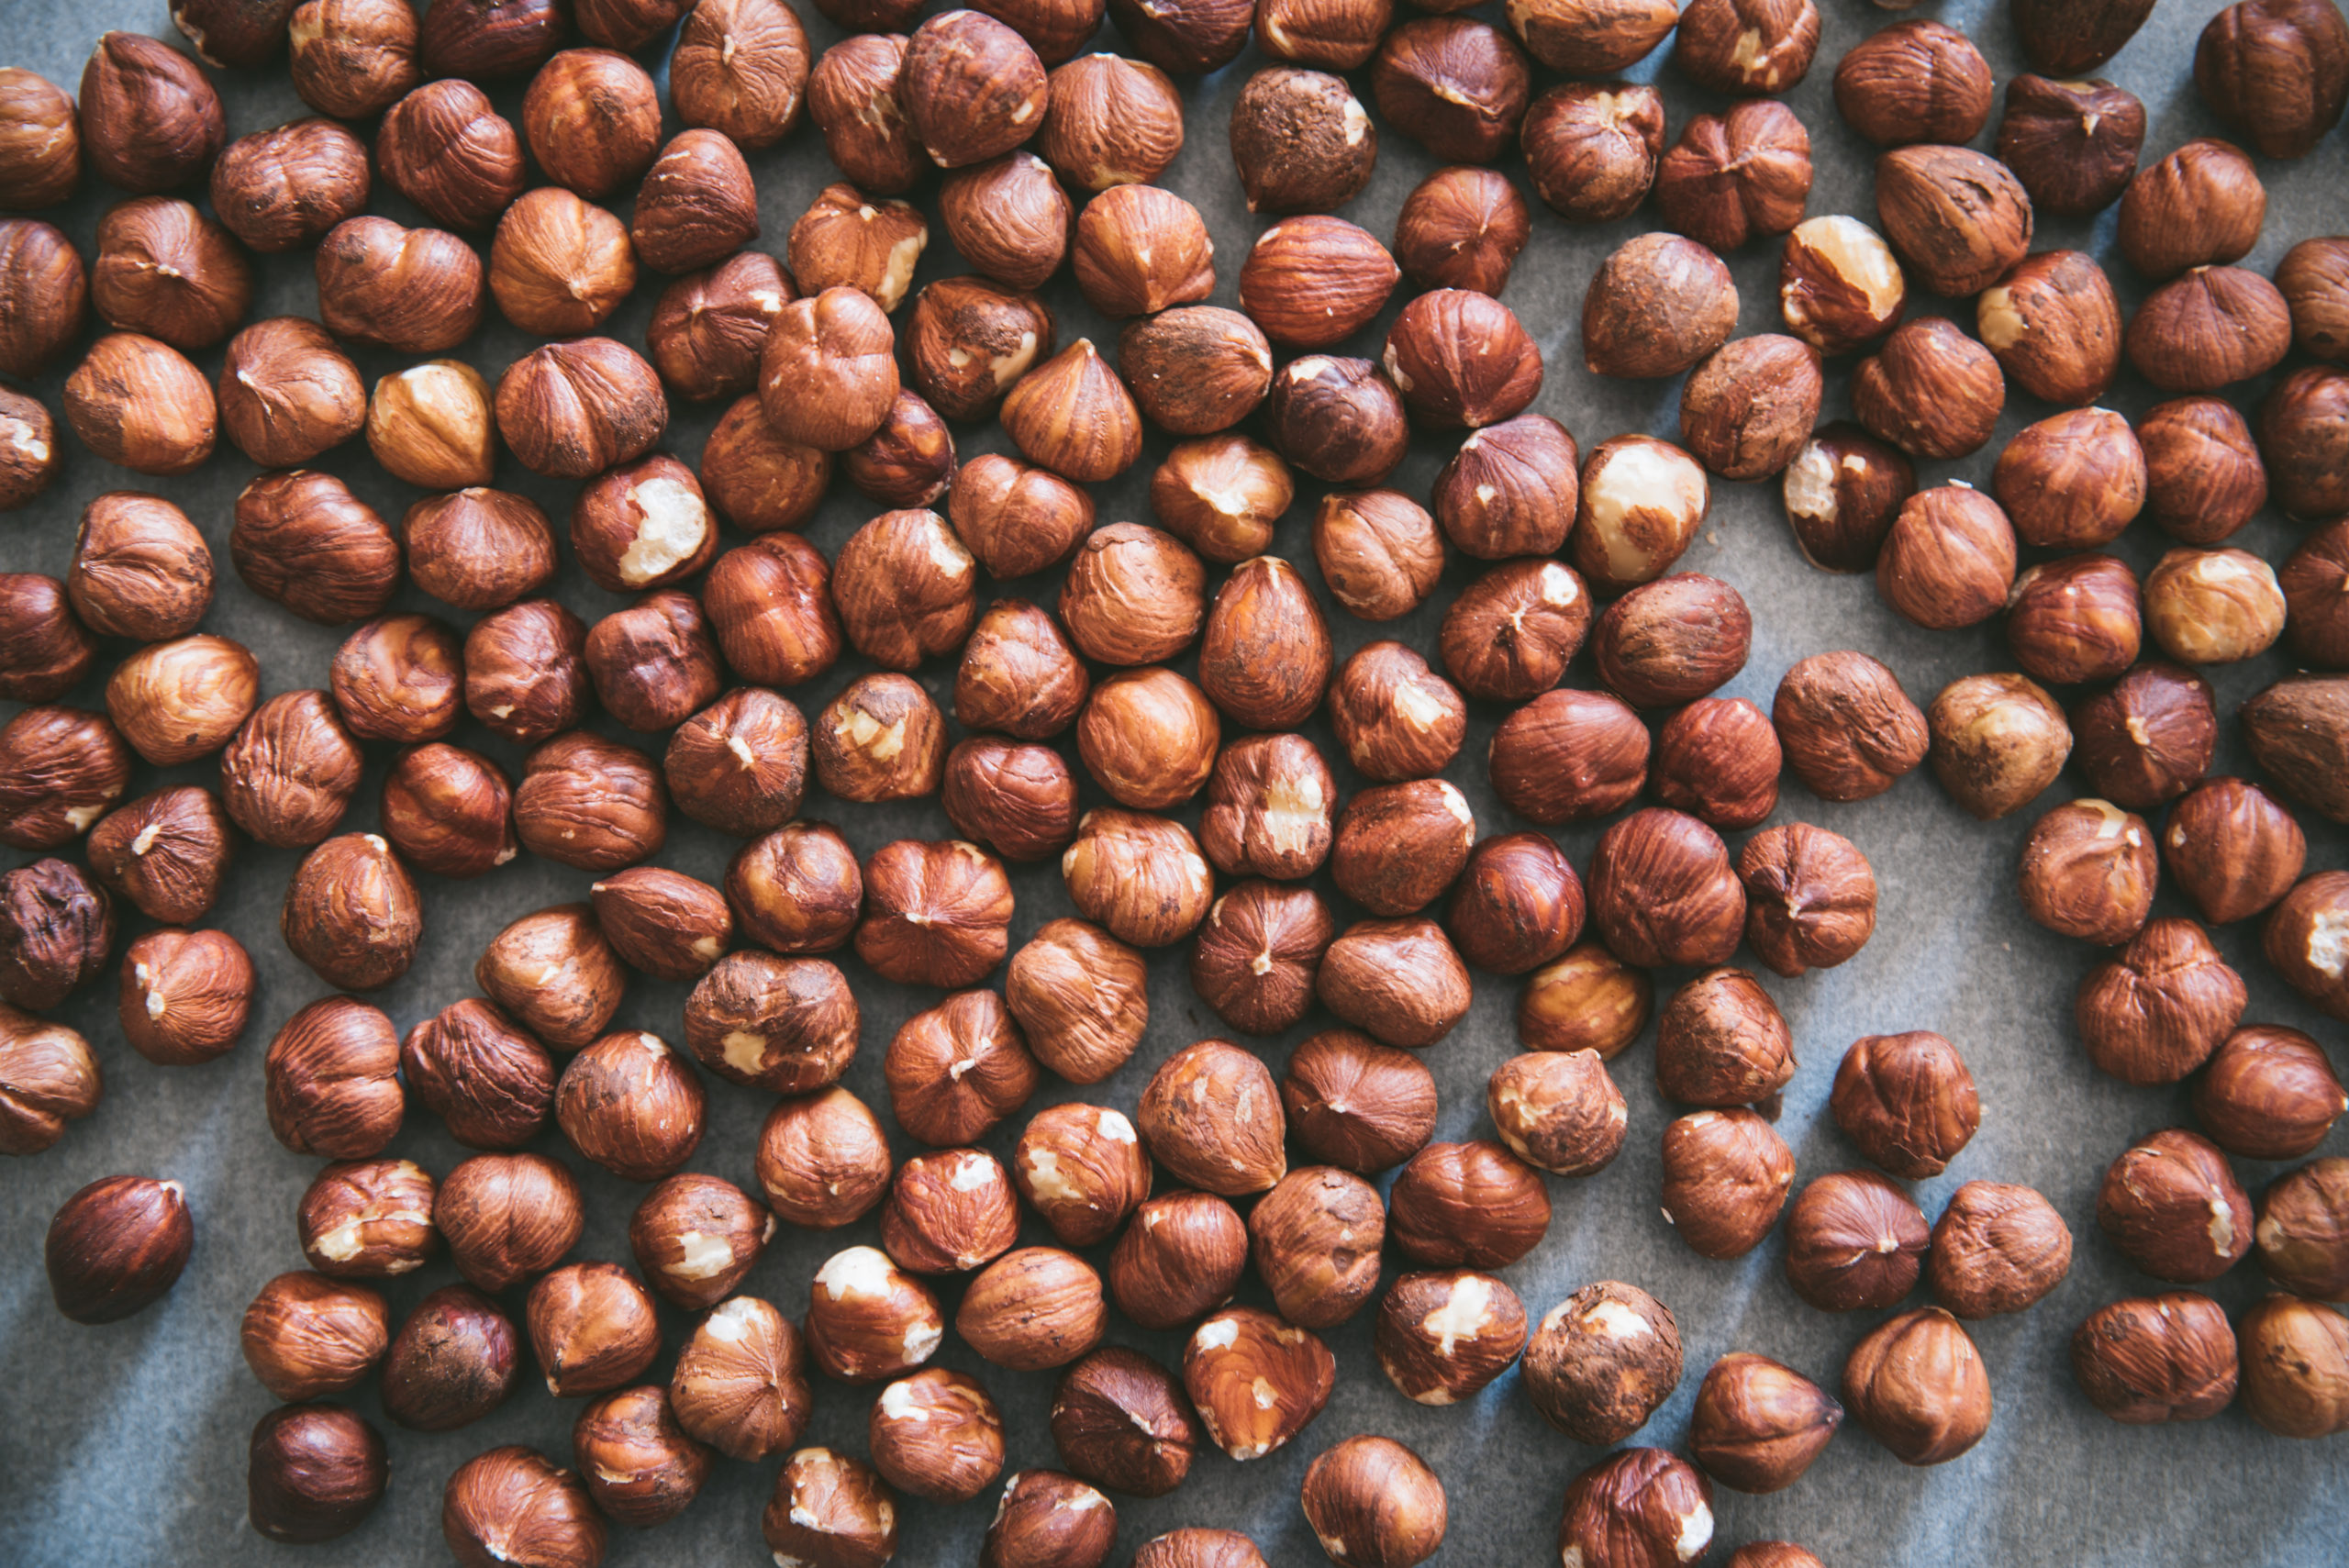
- Shell the hazelnuts (longest step…) and place them on a baking sheet covered with parchment paper.
- Preheat your oven to 160°C then brown the hazelnuts for 10 minutes.
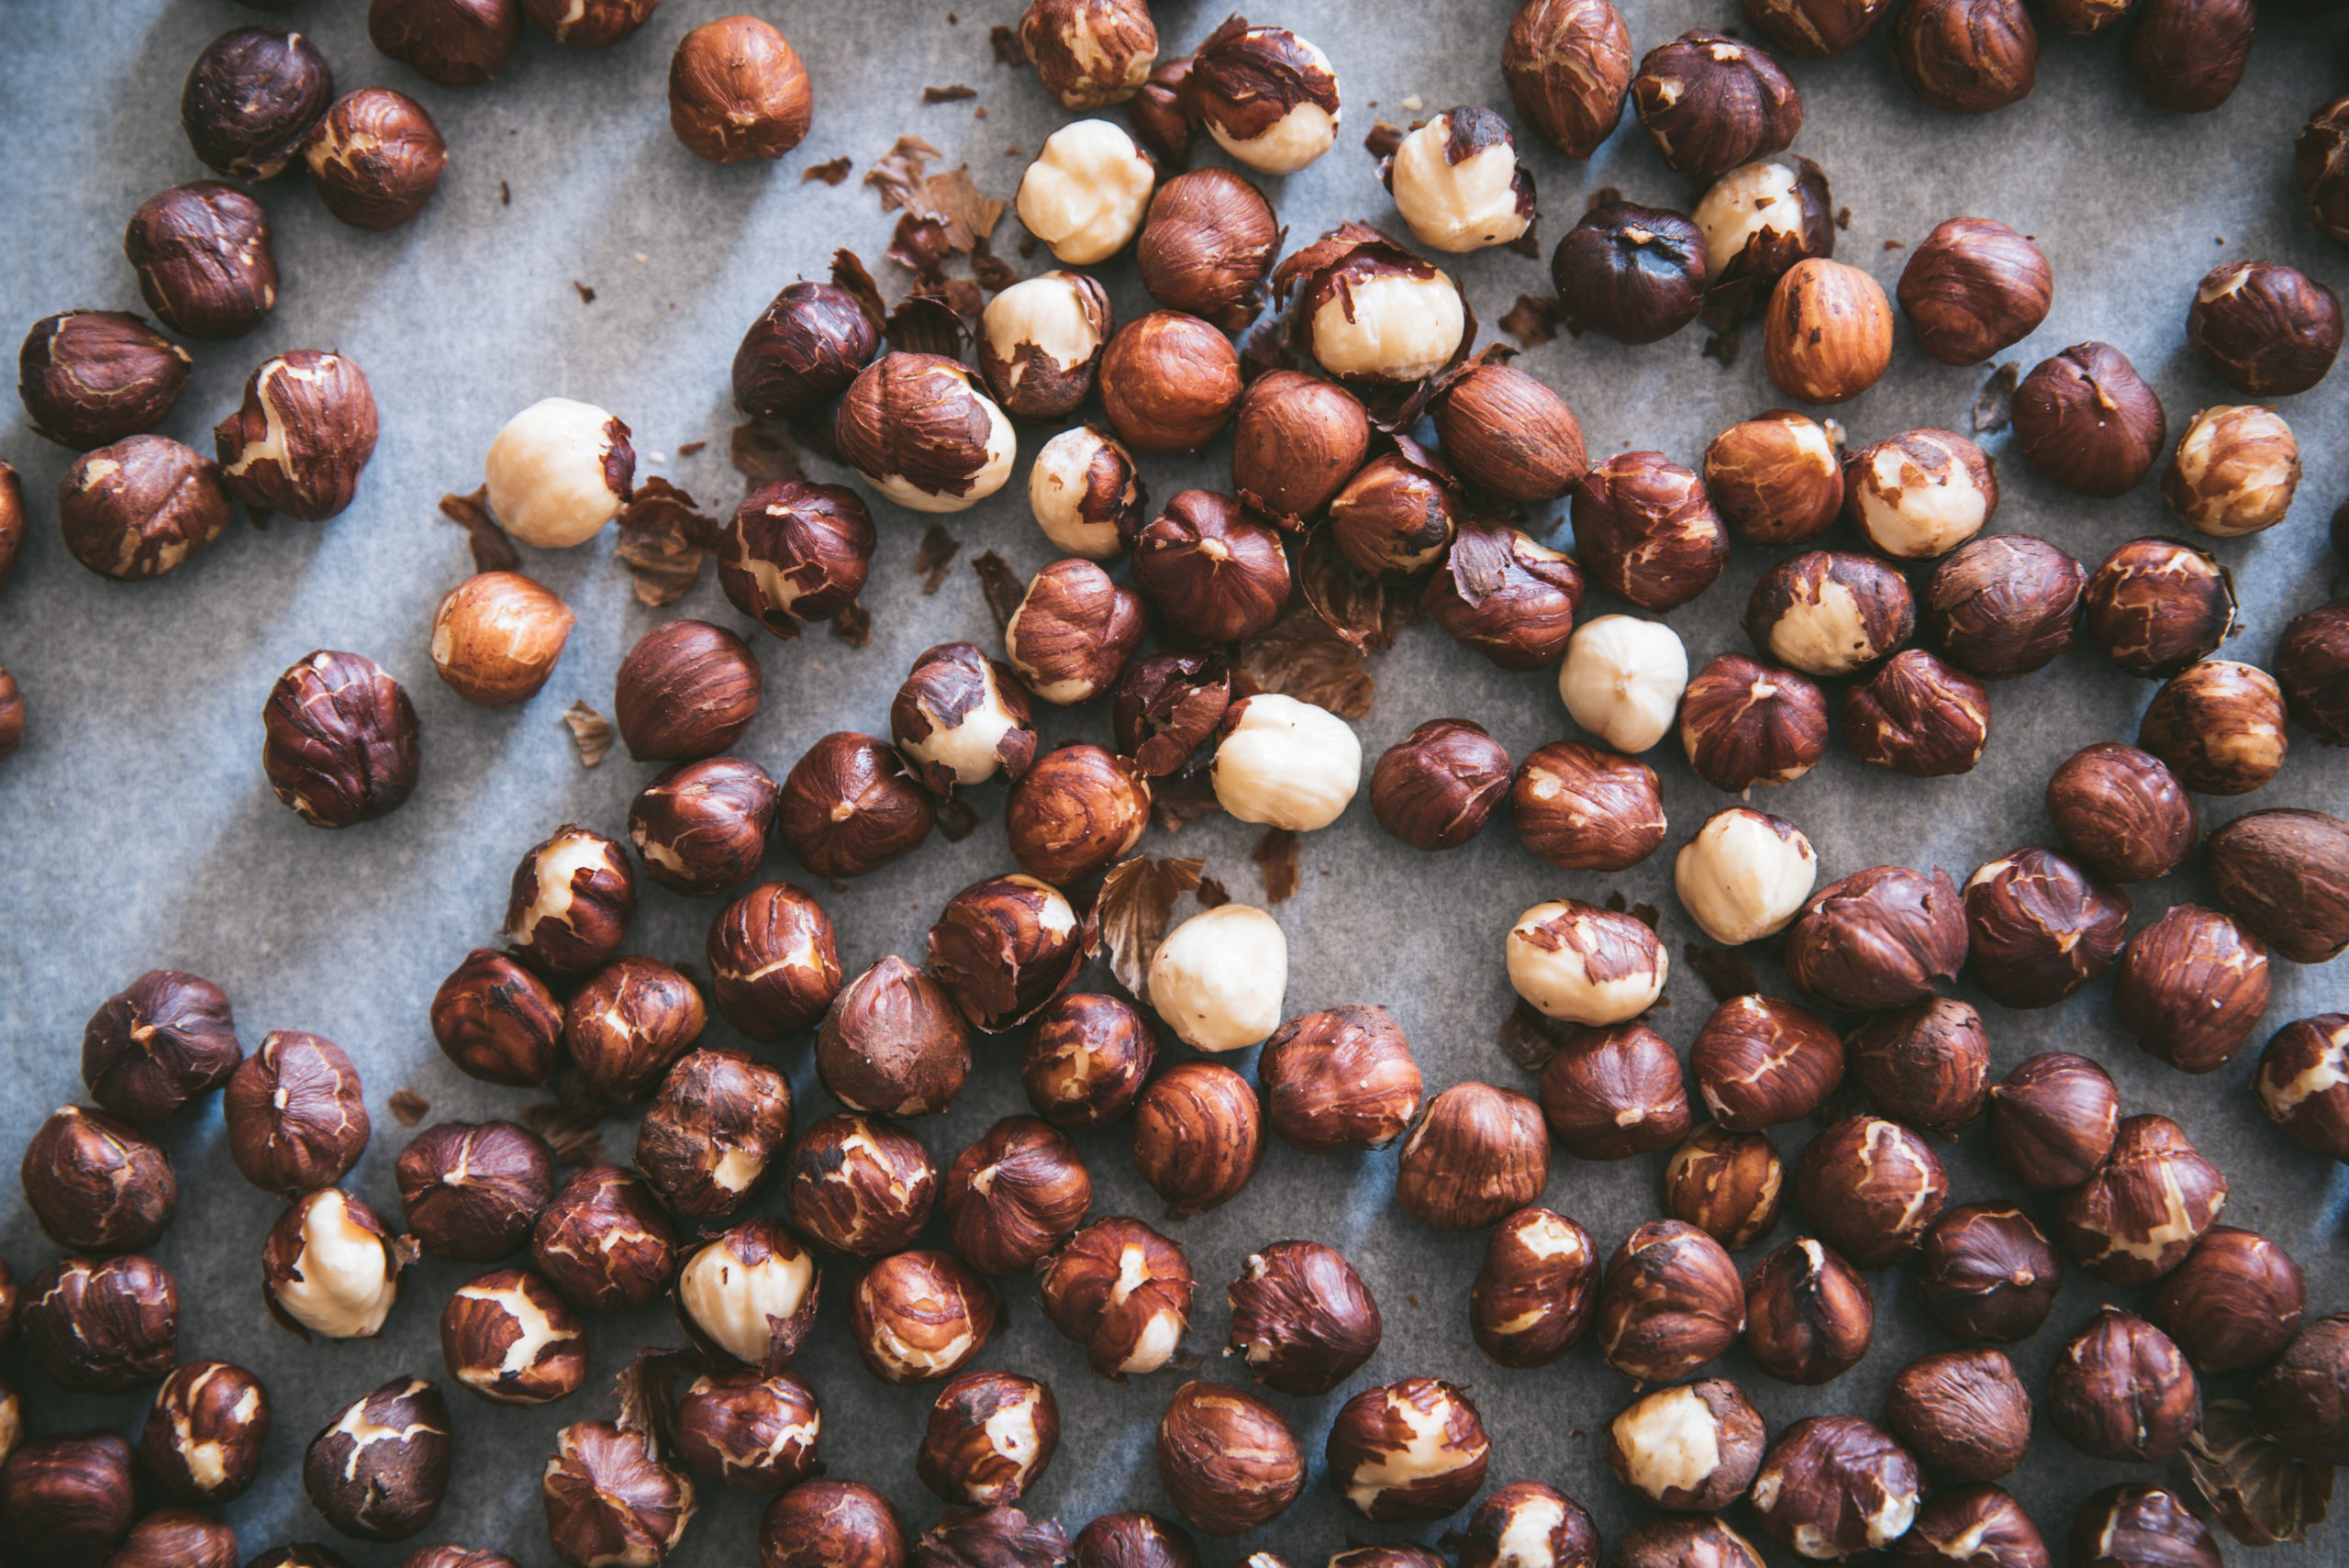
- Take them out and let them cool. Personally, I stole a few at that time…
- To remove most of the little skin that covers the hazelnuts, rub them between your hands or in a cloth then place them in the bowl of your Blender. It's okay if there's still some skin left.
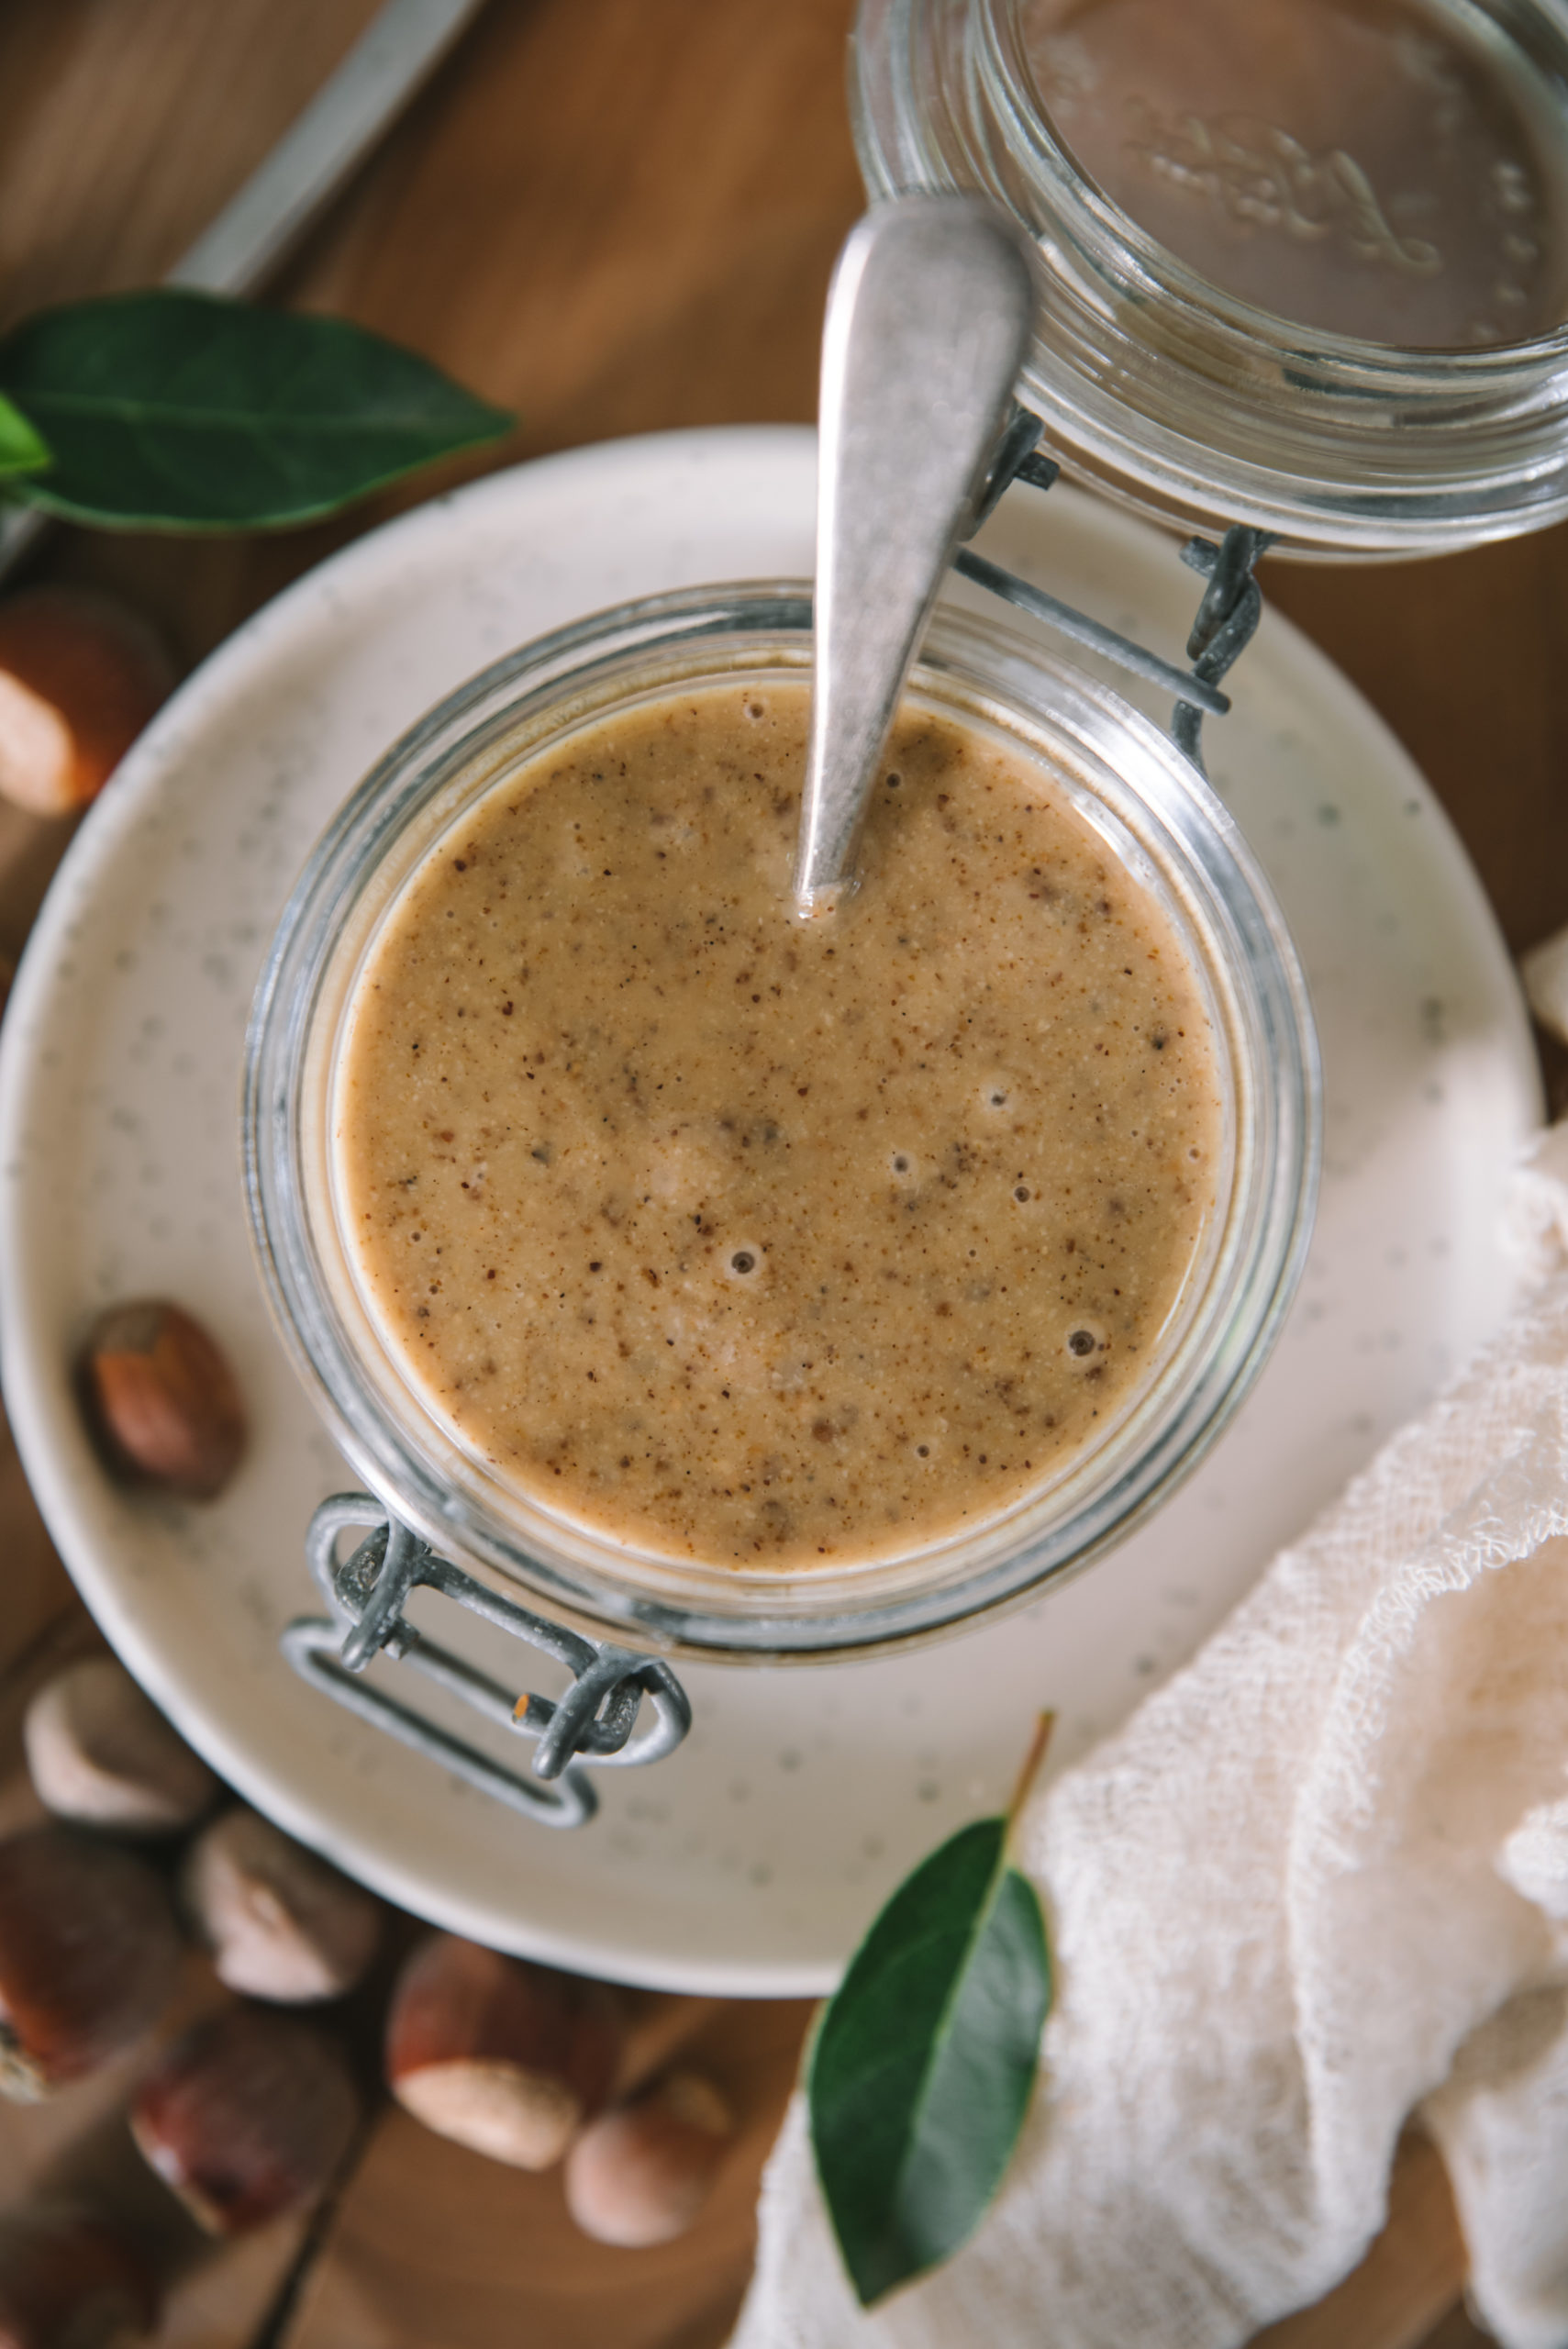
- Then mix gently, gradually increasing the speed. Stop mixing and let the mixture fall, which will tend to stick to the walls of the mixer.
- Repeat the operation until you obtain a homogeneous dough. Personally, I like it when the dough still contains a few small grains that are crispy…
If you make my homemade recipe and you like it, don’t hesitate to tag me on Instagram or on Facebook so that I can see the result and share it myself…
Just to let you know I am French and I translate my recipes, be indulgent if you see syntax errors and do not hesitate to leave me a comment so I can correct it. I hope you will like my recipes and enjoy your visit to my food blog!
