Red Fruits Pavlova Recipe
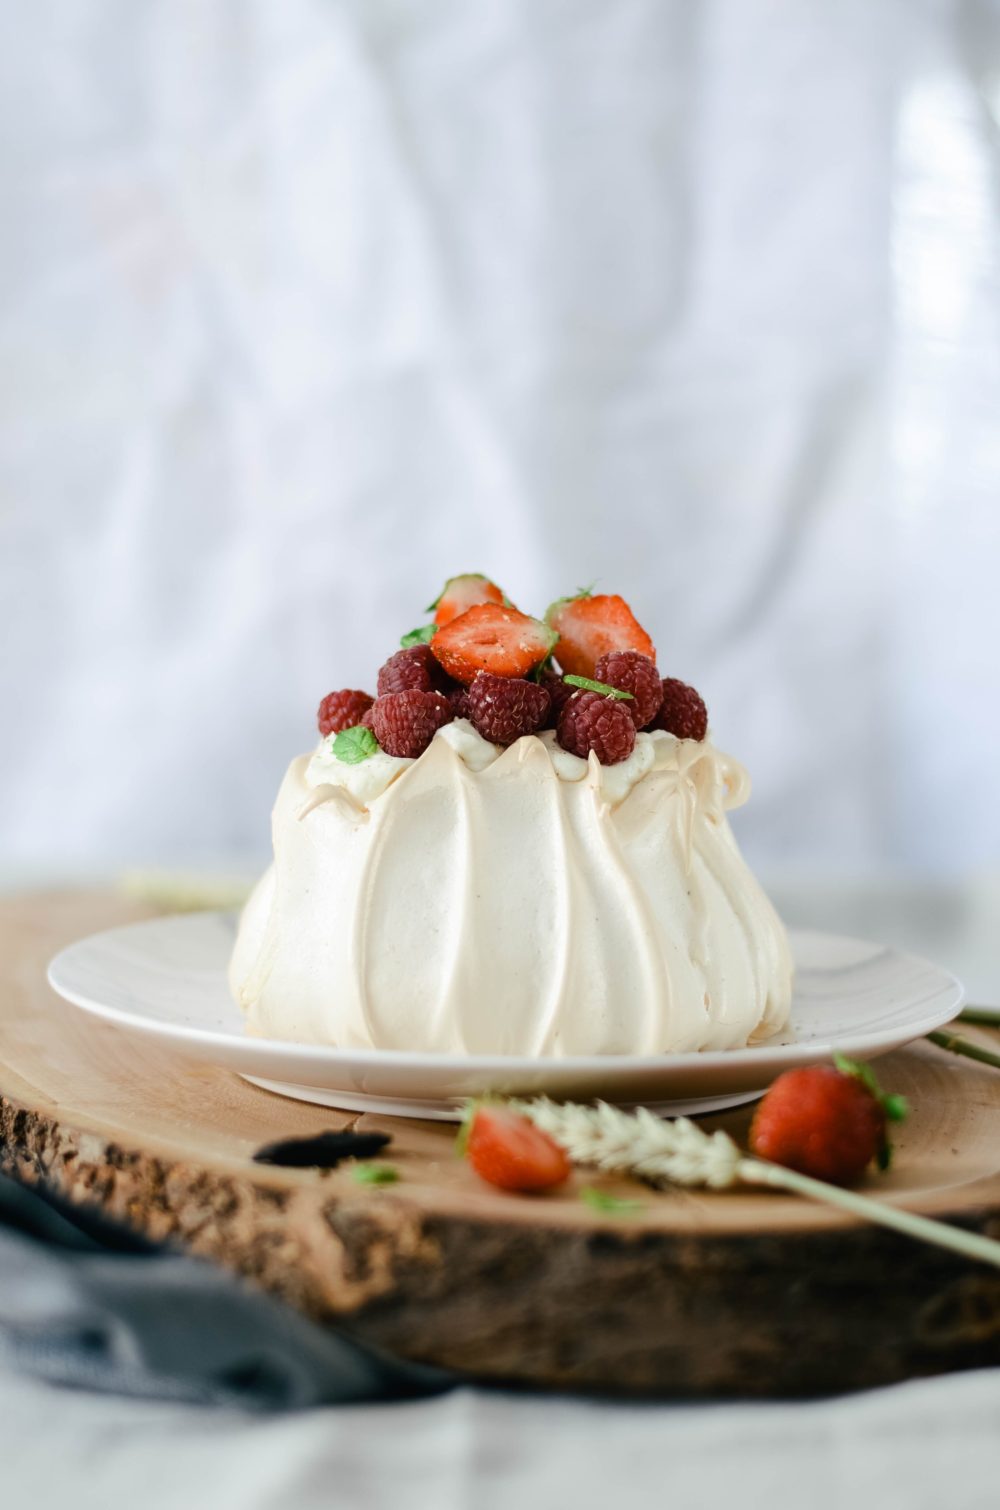
Are you familiar with this wonderful dessert: red fruits pavlova?
For those of you who follow me on Instagram, you’ll remember that I described the dessert my little guy wanted for his 3rd birthday. An all-white cake with strawberries, raspberries and apricots.
It’s a good thing he was born in summer!
As I couldn’t find any apricots, I made a red fruit pavlova. As he loves whipped cream, meringues and fruit, he was well served!
As I went to the market this morning and found some more beautiful strawberries and raspberries, I’m taking this opportunity to quickly share this recipe with you, so you can enjoy it too!
This recipe is really quick and easy to make, you just need to be a bit patient as the baking time is quite long (1h30) and you need to wait at least 1 hour before opening the oven after baking so that the meringue doesn’t crack.
The secret of a good pavlova is to use lots of fruit, really! And rather acidic fruit, so that it balances well with the sweetness of the meringue and whipped cream.
In fact, I may try it with citrus fruit this winter… 😉
It was also the first time I’d used my KitchenAid food processor, and I was blown away by the efficiency of the whisk – I’m so glad I did!
Red Fruits Pavlova Recipe
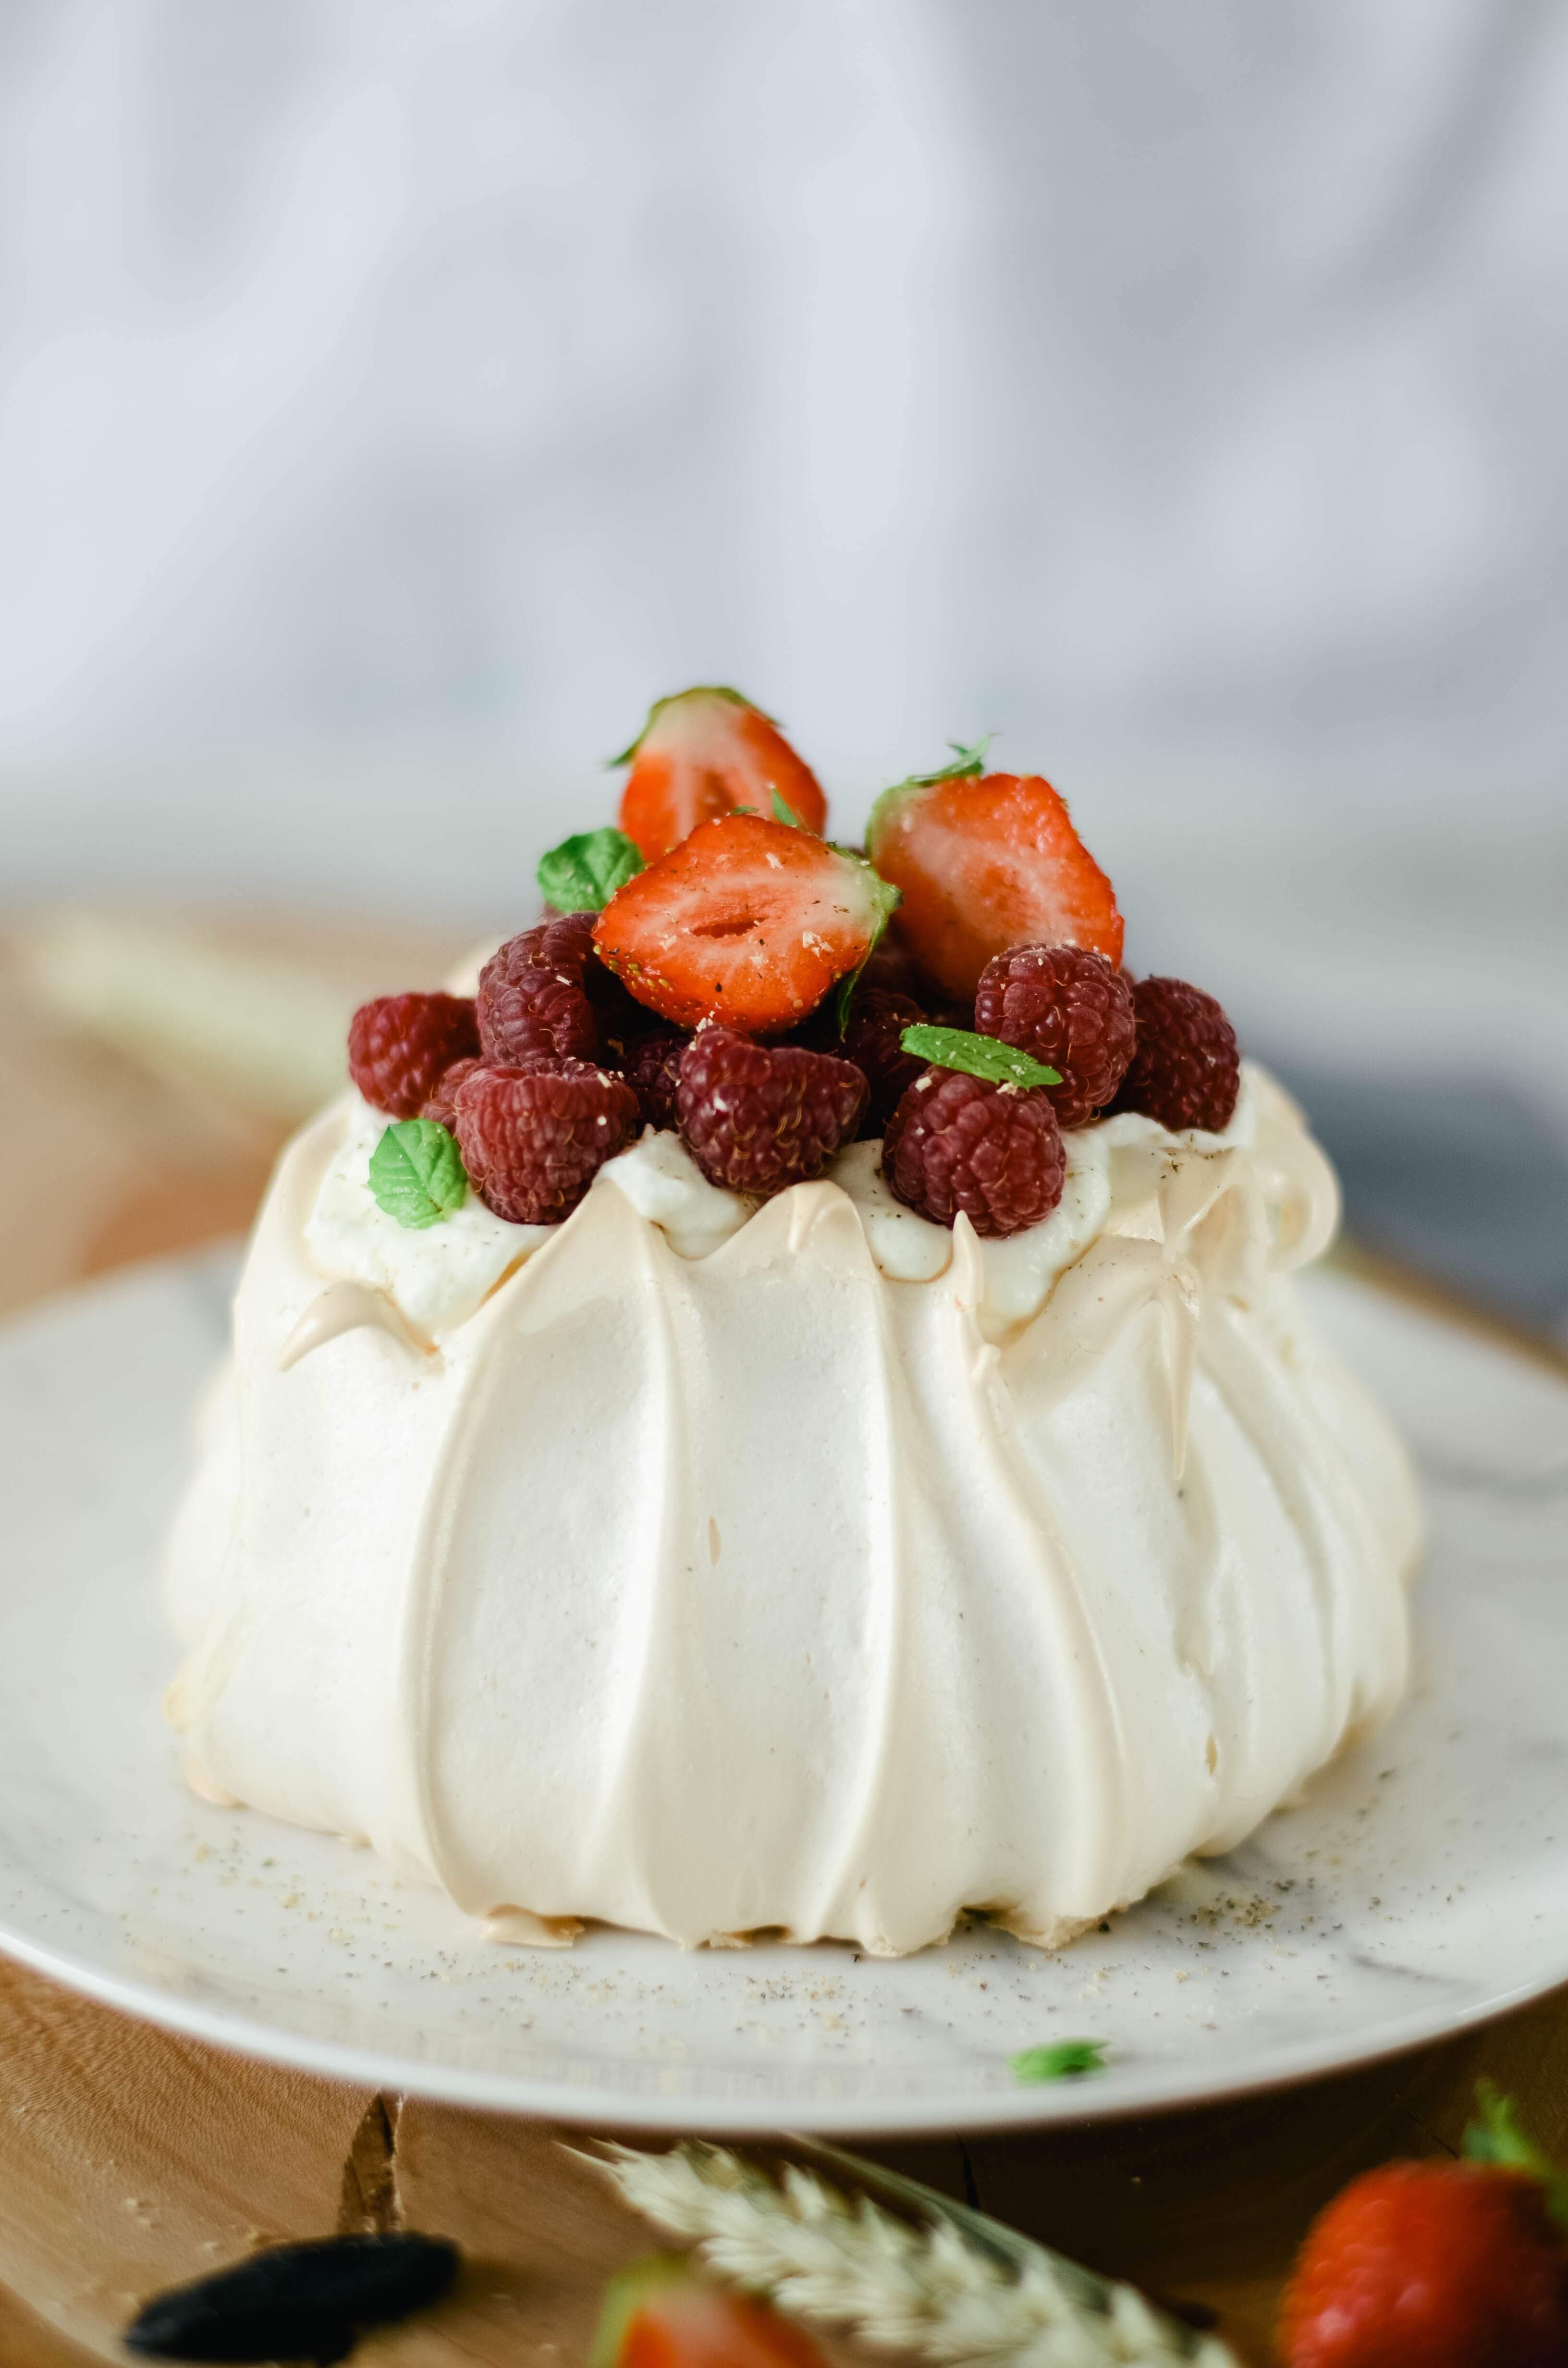
What ingredients do you need to make this Raspberry and Strawberry Pavlova recipe?
For the meringue
- eggs
- icing sugar
- cornstarch
- lemon juice
- vanilla extract
To garnish
- whole cream
- icing sugar
- fresh berries (strawberries, raspberries)
- mint leaves


For Pavlova fans, I recommend that you immediately try my Eton Mess recipe, a kind of deconstructed Pavlova… You will love it!
Red Fruits Pavlova Recipe
Ingredients
FOR THE MERINGUE
- 6 egg whites
- 300 g icing sugar
- 10 g cornstarch
- 2 teaspoons lemon juice
- 1/2 teaspoon vanilla extract
For garnish
- 20 cl refrigerated whole cream
- 50 g icing sugar
- 1 bowl fresh red fruits strawberries, raspberries…
- A few mint leaves for decoration
Instructions
- Preheat to 130°C.
- Prepare your pastry robot with the whisk and the sieve-scale accessory.
- Pour the 300 g of icing sugar into the closed container of the sieve and leave it closed for the moment.
- Pour the egg whites into the bowl of your mixer and whip with the whisk, starting the program at speed 6 or 8.
- When they have risen, gently open the container of the sieve balance accessory with the wheel to gradually incorporate the sugar. When the eggs are well beaten, do the same with the cornstarch in the colander, continuing to whisk.
- Finally, add the lemon juice and vanilla extract. When everything is well mixed, stop the robot.
- Once the egg whites are ready, lay a sheet of parchment paper on a baking sheet. Place the eggs on top and form a nest using a spatula. You can smooth the edges if you want.
- Bake for 10 minutes then lower the temperature to 90°C and cook for another 80 minutes. Never open the oven door during cooking.At the end of cooking, turn off the oven without opening the oven door and let cool completely (at least 1 hour).
- Remove from the oven and set aside at room temperature.
- For the whipped cream, place the bowl of your mixer as well as the whisk and the cream in the refrigerator for at least 1 hour. Whip the cream then add the icing sugar
- Pour the whipped cream over the meringue then generously distribute the red fruits. You can also garnish with lemon zest.
If you ever make my pavlova recipe and you like it, don’t hesitate to tag me on Instagram @tangerinezest so I can see the result and share it myself…
Finally, just to let you know I am French and I translate my recipes, be indulgent if you see syntax errors and do not hesitate to leave me a comment so I can correct it. I hope you will like my recipes and enjoy your visit to my food blog!
Bonjour Madame Tangerine,
Ne vous en faites pas, votre anglais est excellent, meilleur même que celui de plusieurs anglophones.
Votre pavlova est magnifique et j’aimerais beaucoup savoir comment vous réussissez à lui donner cette forme si élégante.
Cordialement,
Claire qui vous écrit du Québec
Bonjour Claire,
Un grand merci pour votre message, c’est bien gentil ! 🙂
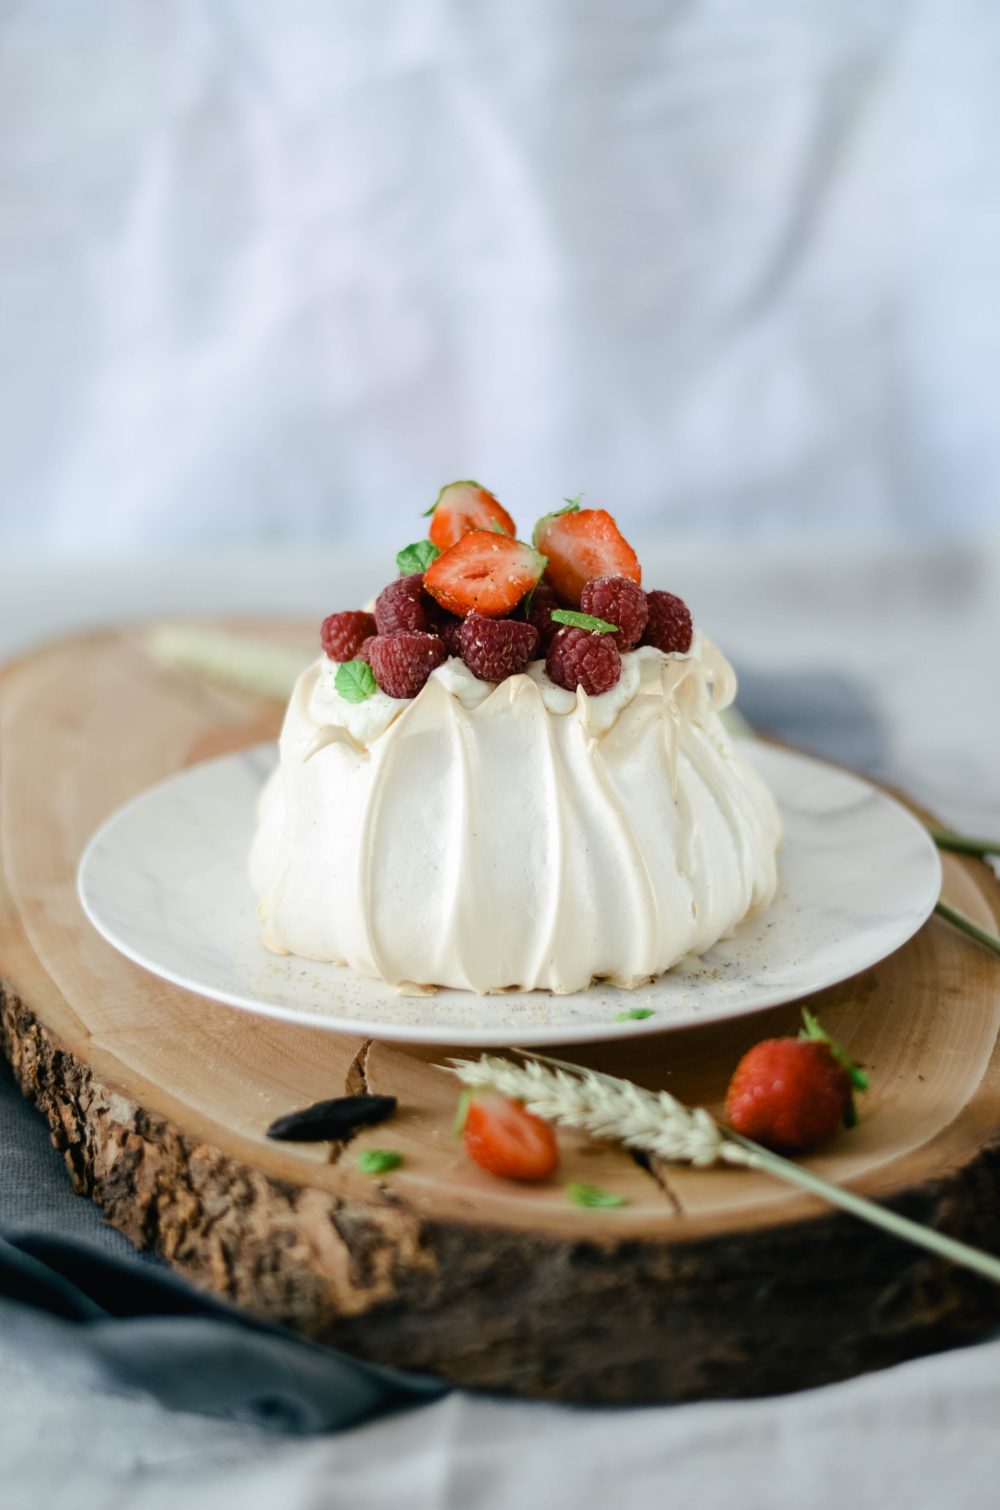
Pour la meringue, je la dépose délicatement sur une feuille de papier cuisson puis à l’aide d’une maryse ou d’une spatule, je pars de la base et remonte doucement vers le haut. Ca permet qu’elle ait cette jolie forme bien haute qui lui apport le moelleux dont je raffole. 😉
Belle journée,
Léa