How to make the perfect cheese platter?
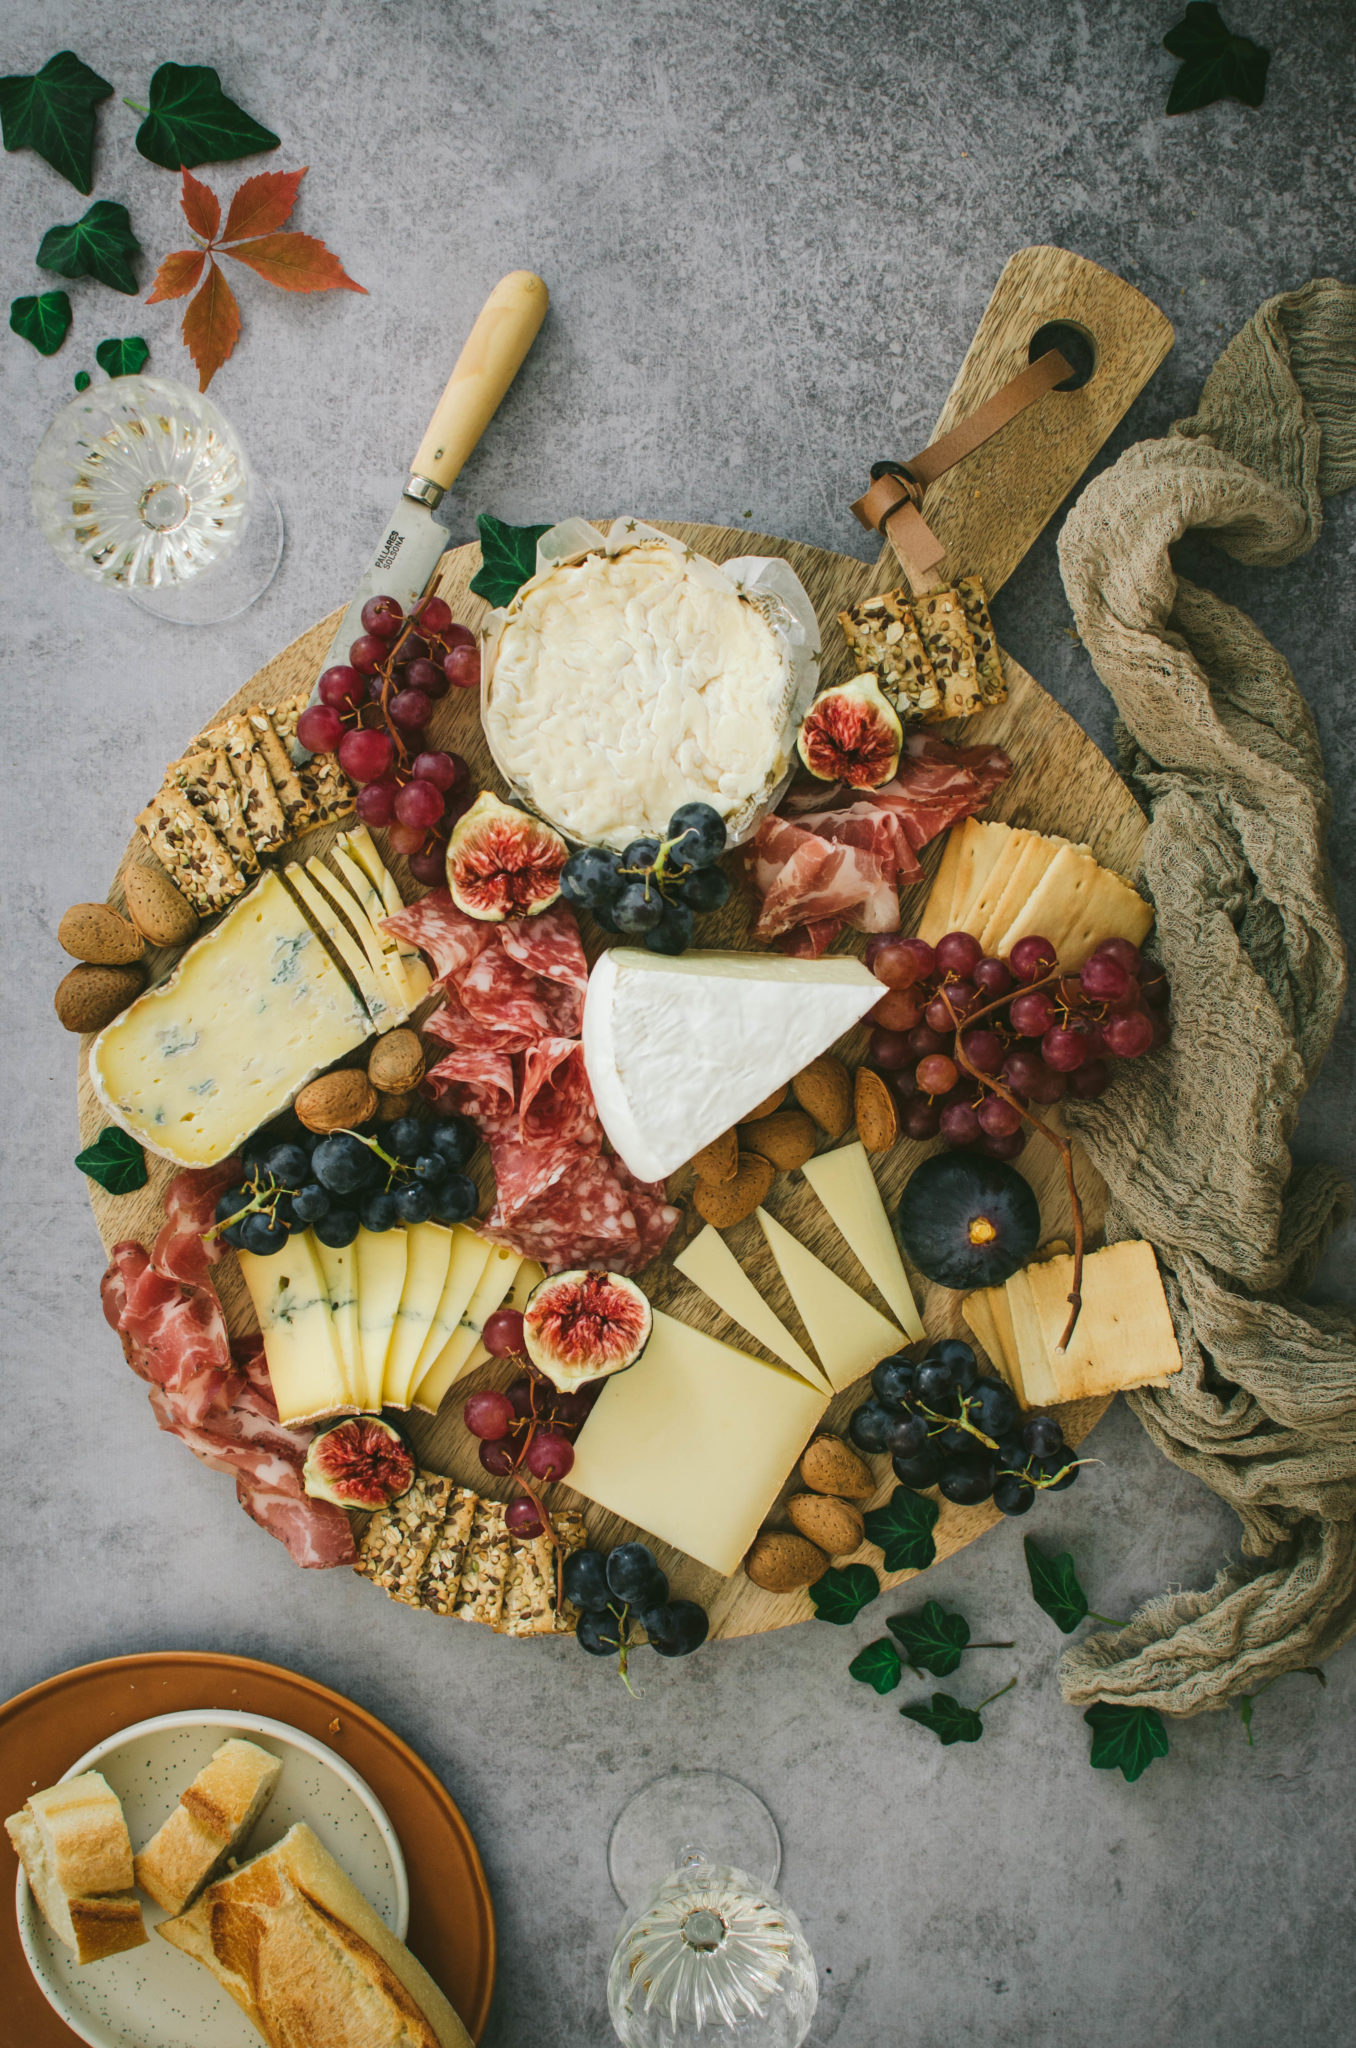
Today, I wanted to share my love of cheese and explain to you how to make the perfect cheese platter in a few minutes, to share with friends as an aperitif for example.
You’ll see, it’s so easy and quick to make for an exceptional result and to impress your guests!
Last year, I shared with you a version of a cheese platter for Christmas and I remember that you liked it a lot so I really wanted to do it again but with another version.
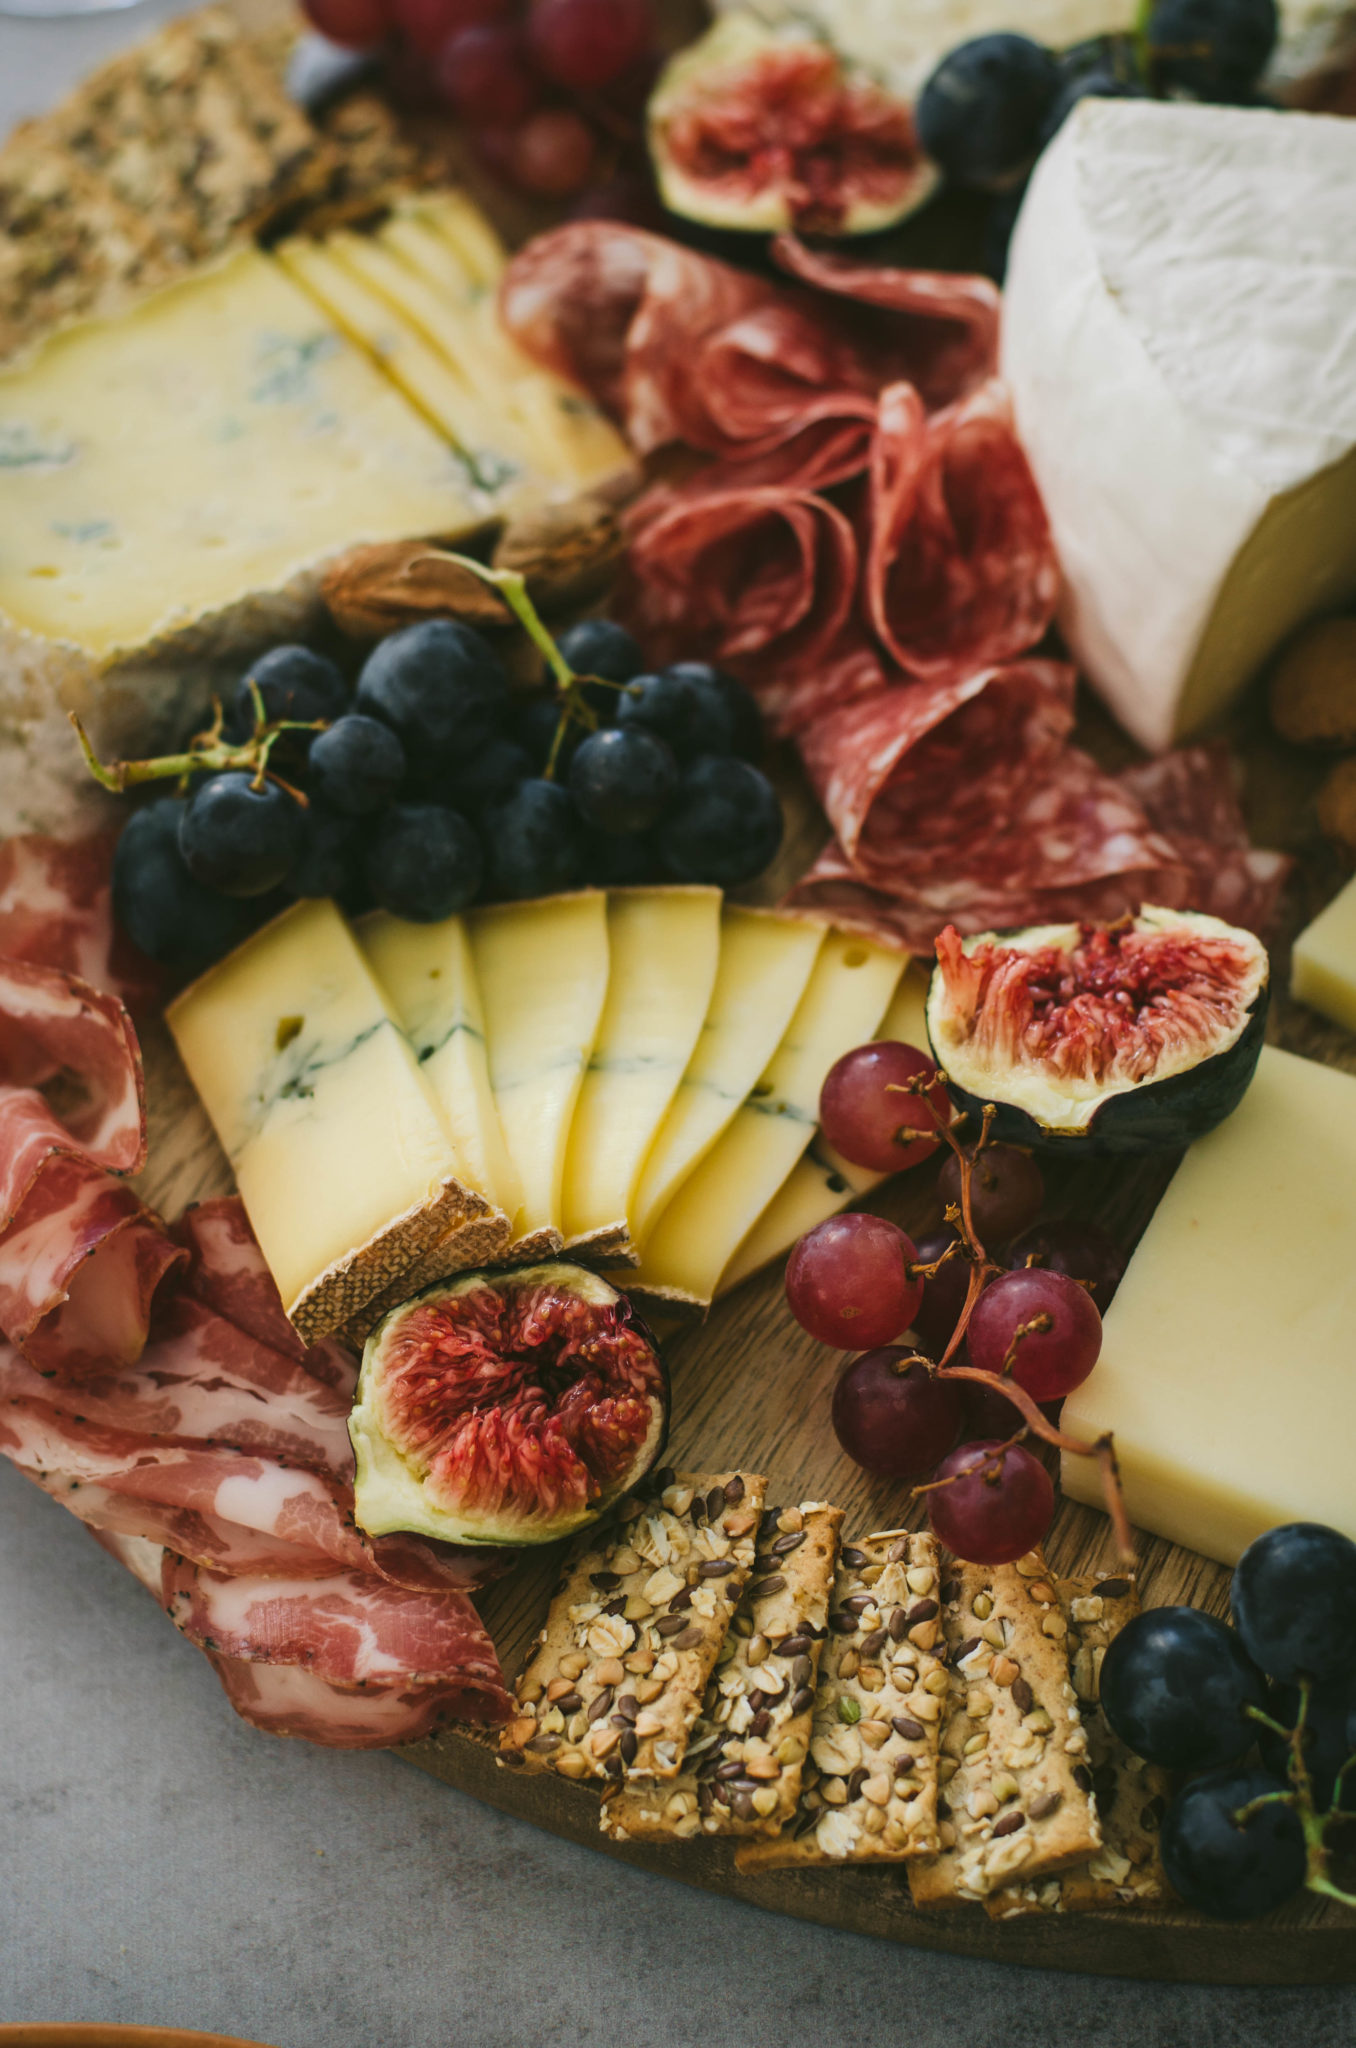
I also have to admit that I had a lot of fun making it and photographing it. Don’t you think it’s really photogenic?
Come on, follow these steps and you too will learn how to make a perfect and easy cheese and charcuterie board!
How to make the perfect cheese platter?
First step: choose your cheeses.
I like to mix and match different types of cheeses in terms of shape, size, type (cow’s or goat’s milk, and there are even vegan ones), hard or soft cheeses.
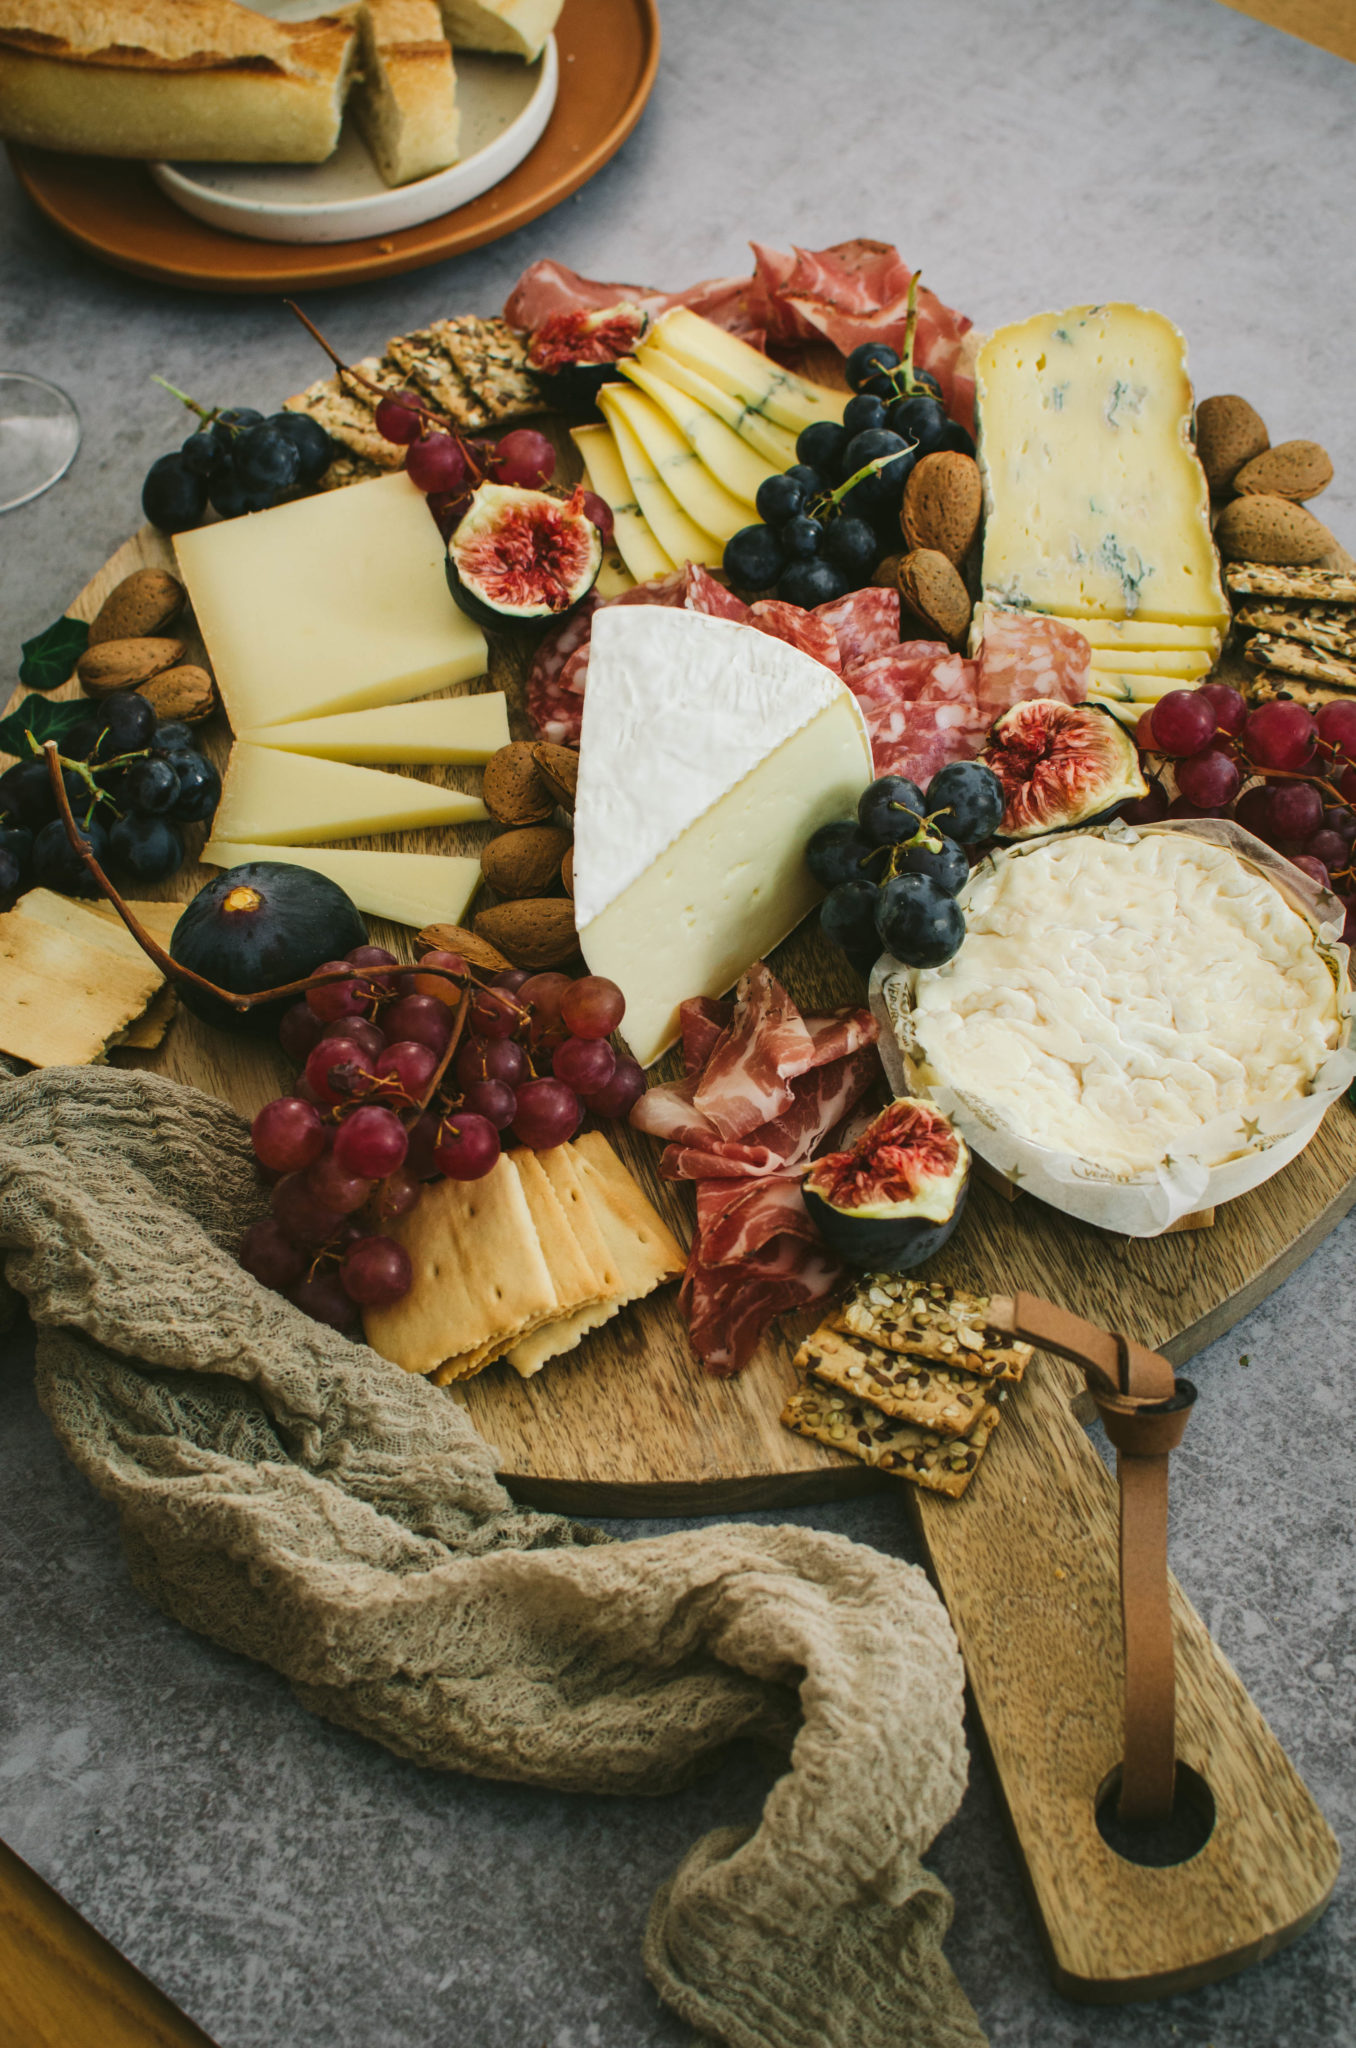
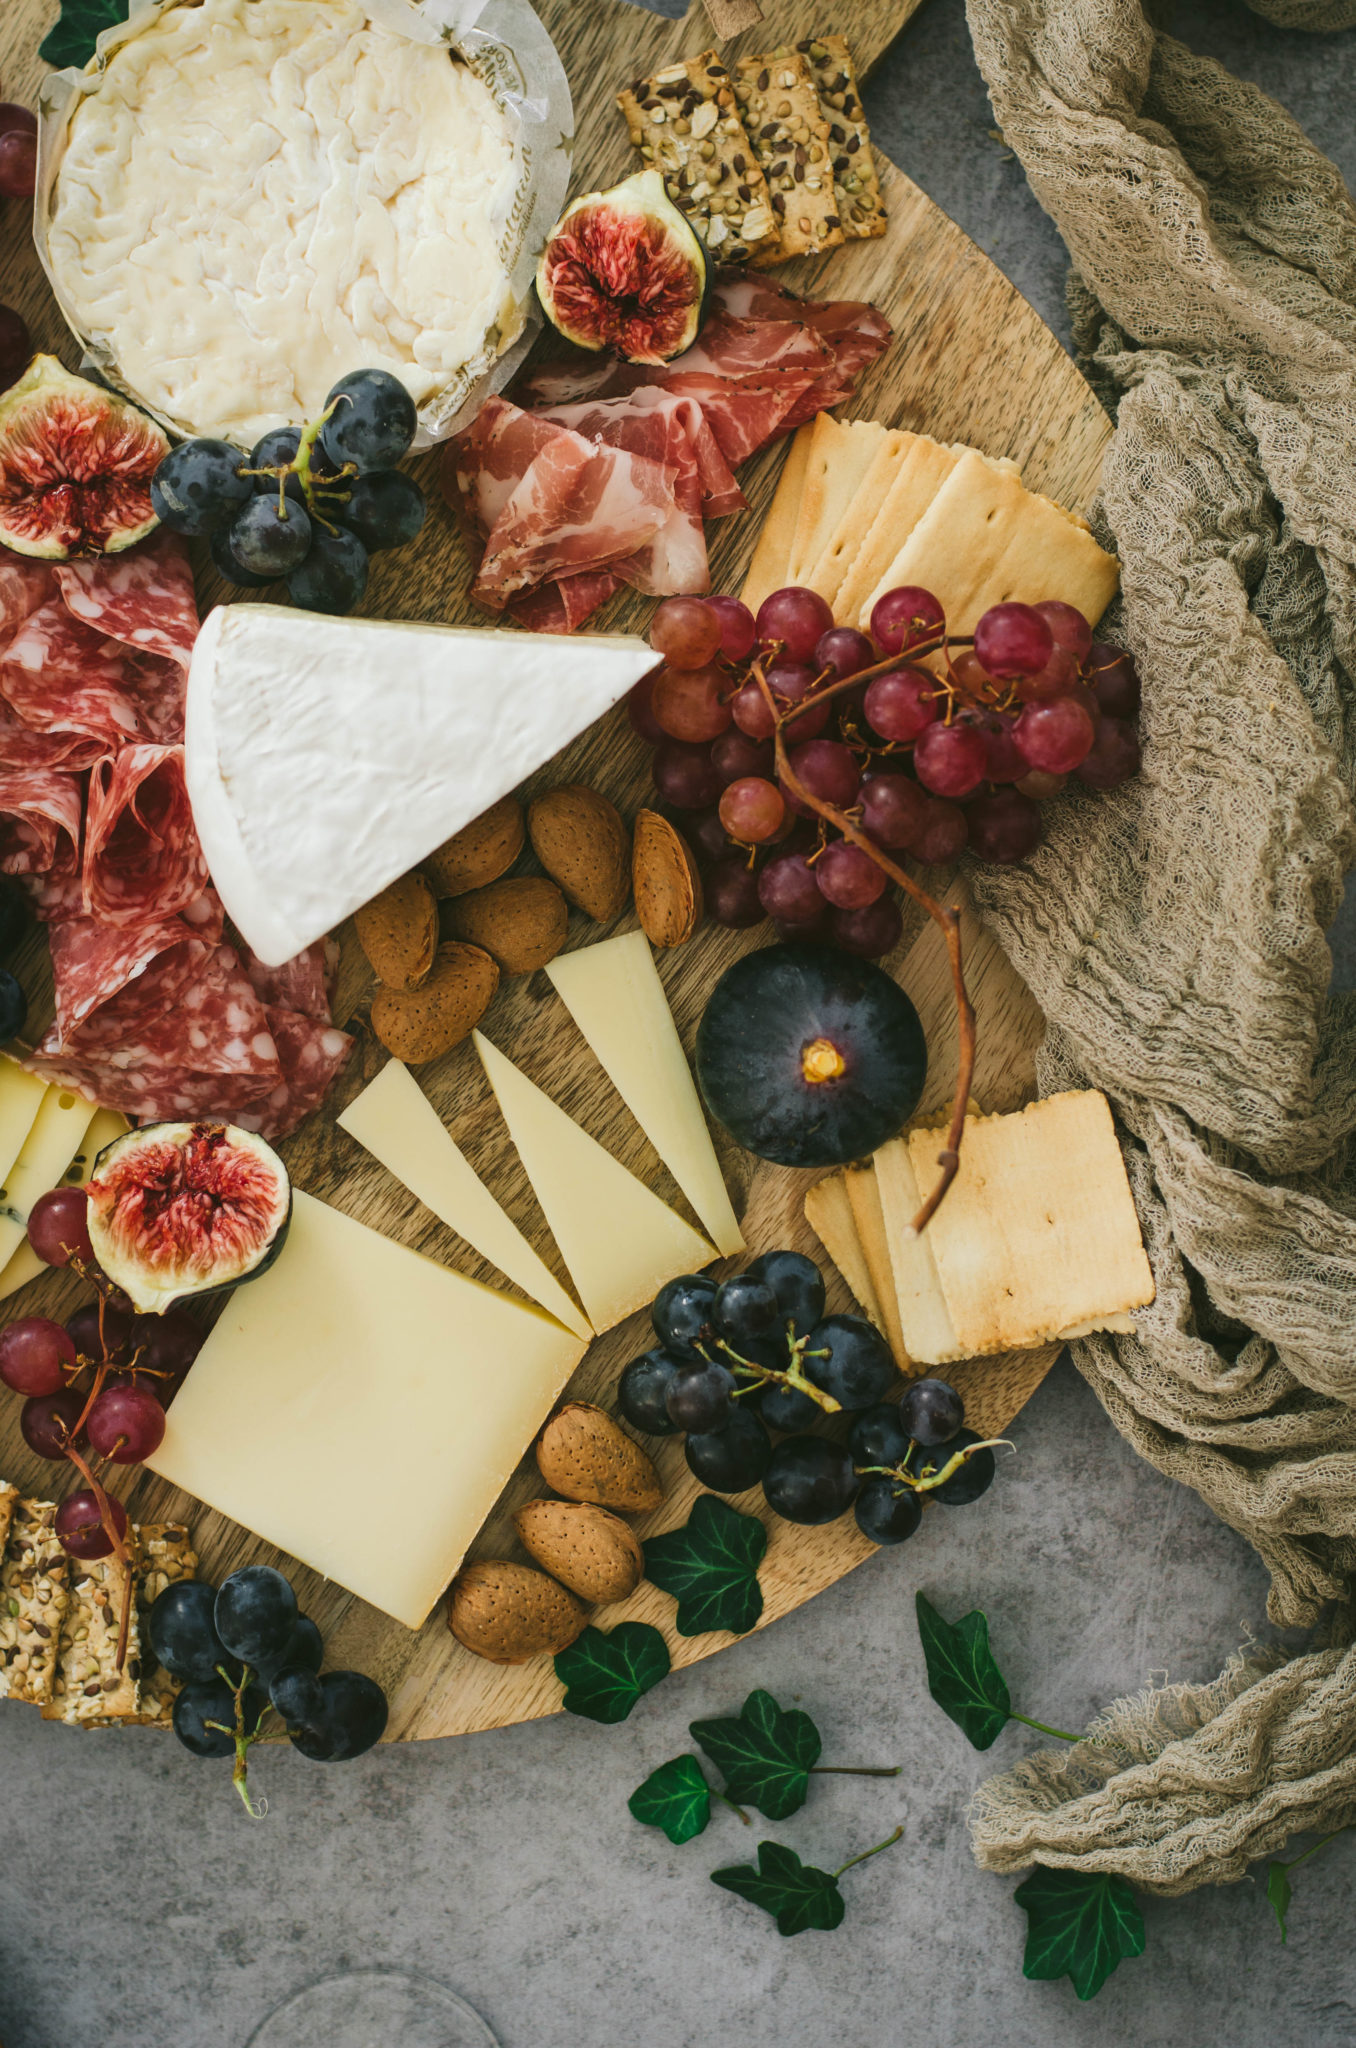
In this tray, I had chosen a Tomme de chèvre (in the center), a Saint-Félicien, Morbier, Bleu and Beaufort. Personally, I also like dry goat cheese, a good 24 months Comté…
I invite you to choose cheeses from your region but to try other things that may be less common for you or your guests.
If you can’t make up your mind, don’t hesitate to ask your cheesemonger for advice, he will be able to guide you very well.
For 6 to 8 people, I advise you to select 4 to 6 cheeses so that everyone has a choice and can help themselves.
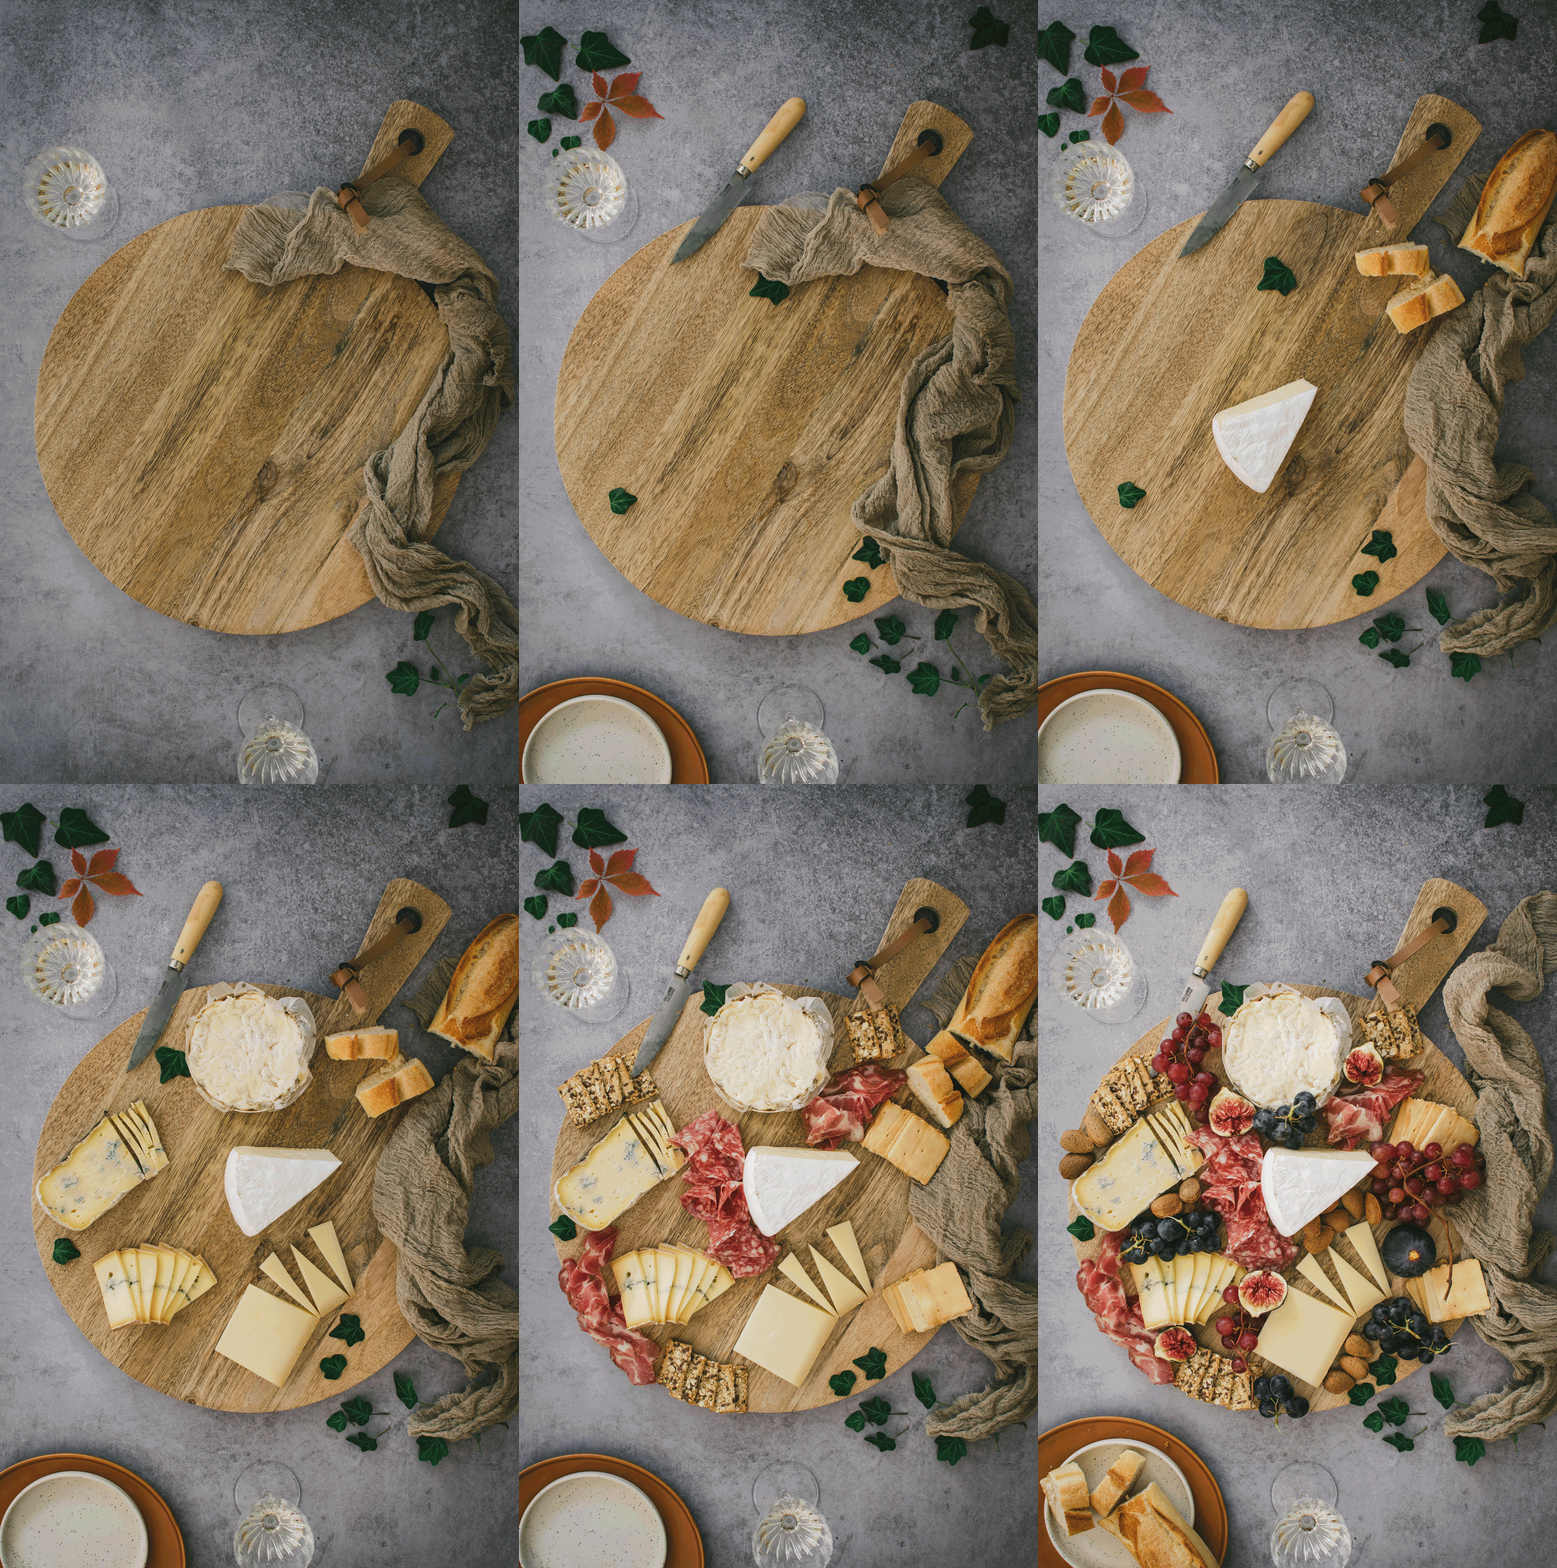
Second step: place your cheeses on your board.
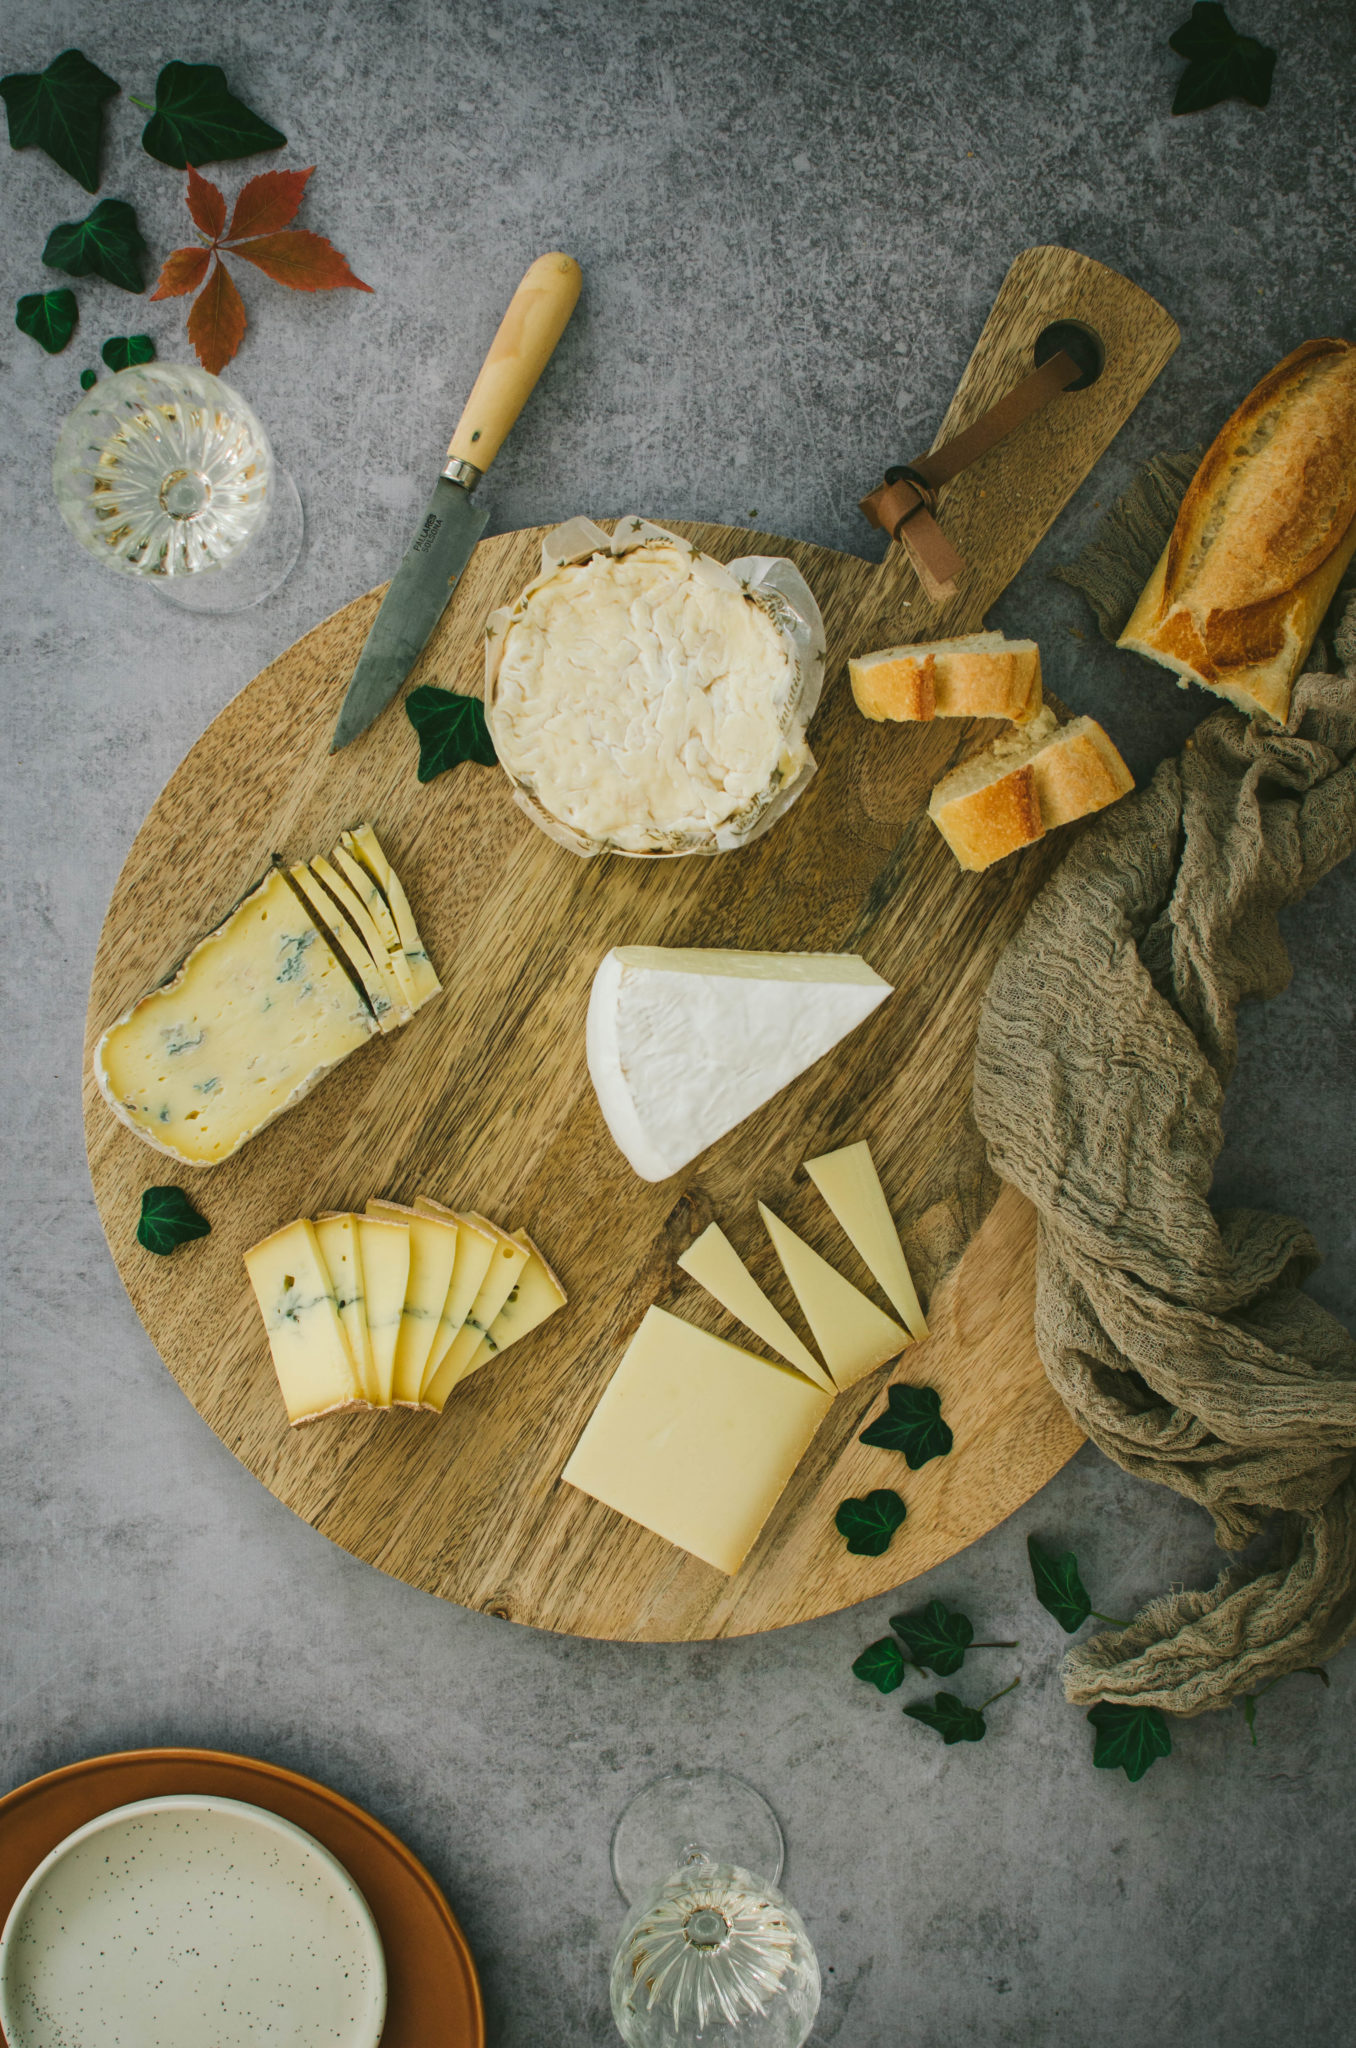
As a general rule, I recommend starting with the larger cheeses and moving on to the smaller ones.
I like to put different shapes and textures on top to make it more harmonious and visually pretty.
Also cut your cheeses into different shapes, you can leave some in whole blocks, crumble them, cut them into triangles, put a soft cheese (fresh sheep) in a bowl and drizzle it with olive oil and herbs… the possibilities are endless.
Be creative and mix it up!
Then spread them out on the platter in several places, leaving space between each one.
Adapt the cheeses to the number of people, but also to the size of your cheese board. If you’re using a smaller one, opt for just 2 cheeses and place them in several places on your platter. Repetition will make your platter visually larger and more plentiful!
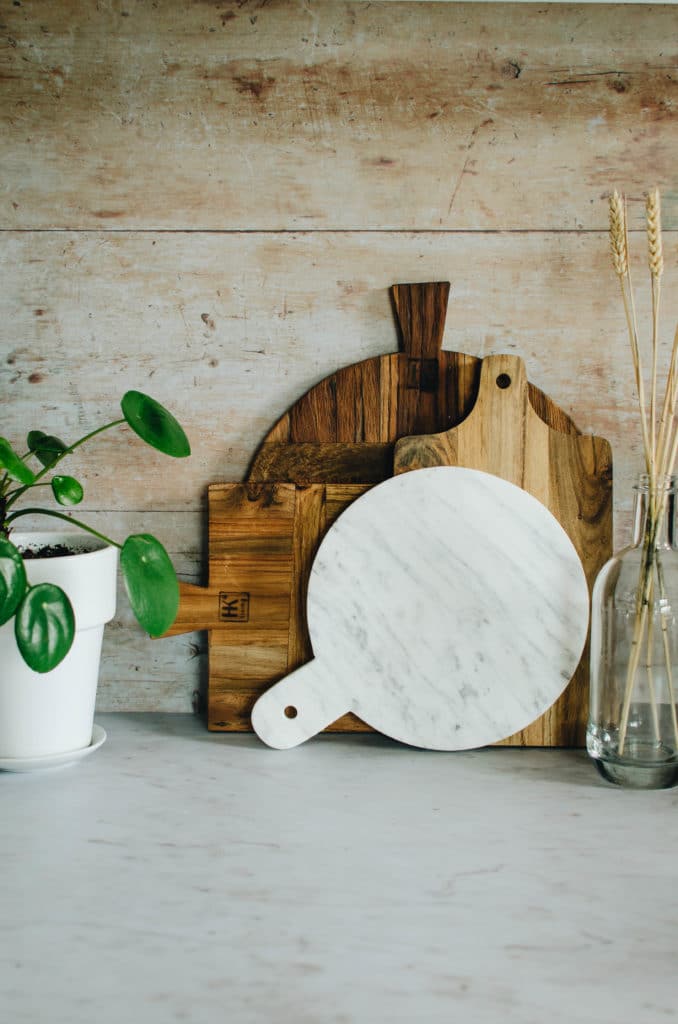
As for the trays, those who follow me know that I love cutting boards, I can even say that I collect them! I like to leave them as decoration on my kitchen worktop, I find that the different materials and especially the wood, warm up the atmosphere.
Third step: arrange your cold cuts and crackers around your cheeses.
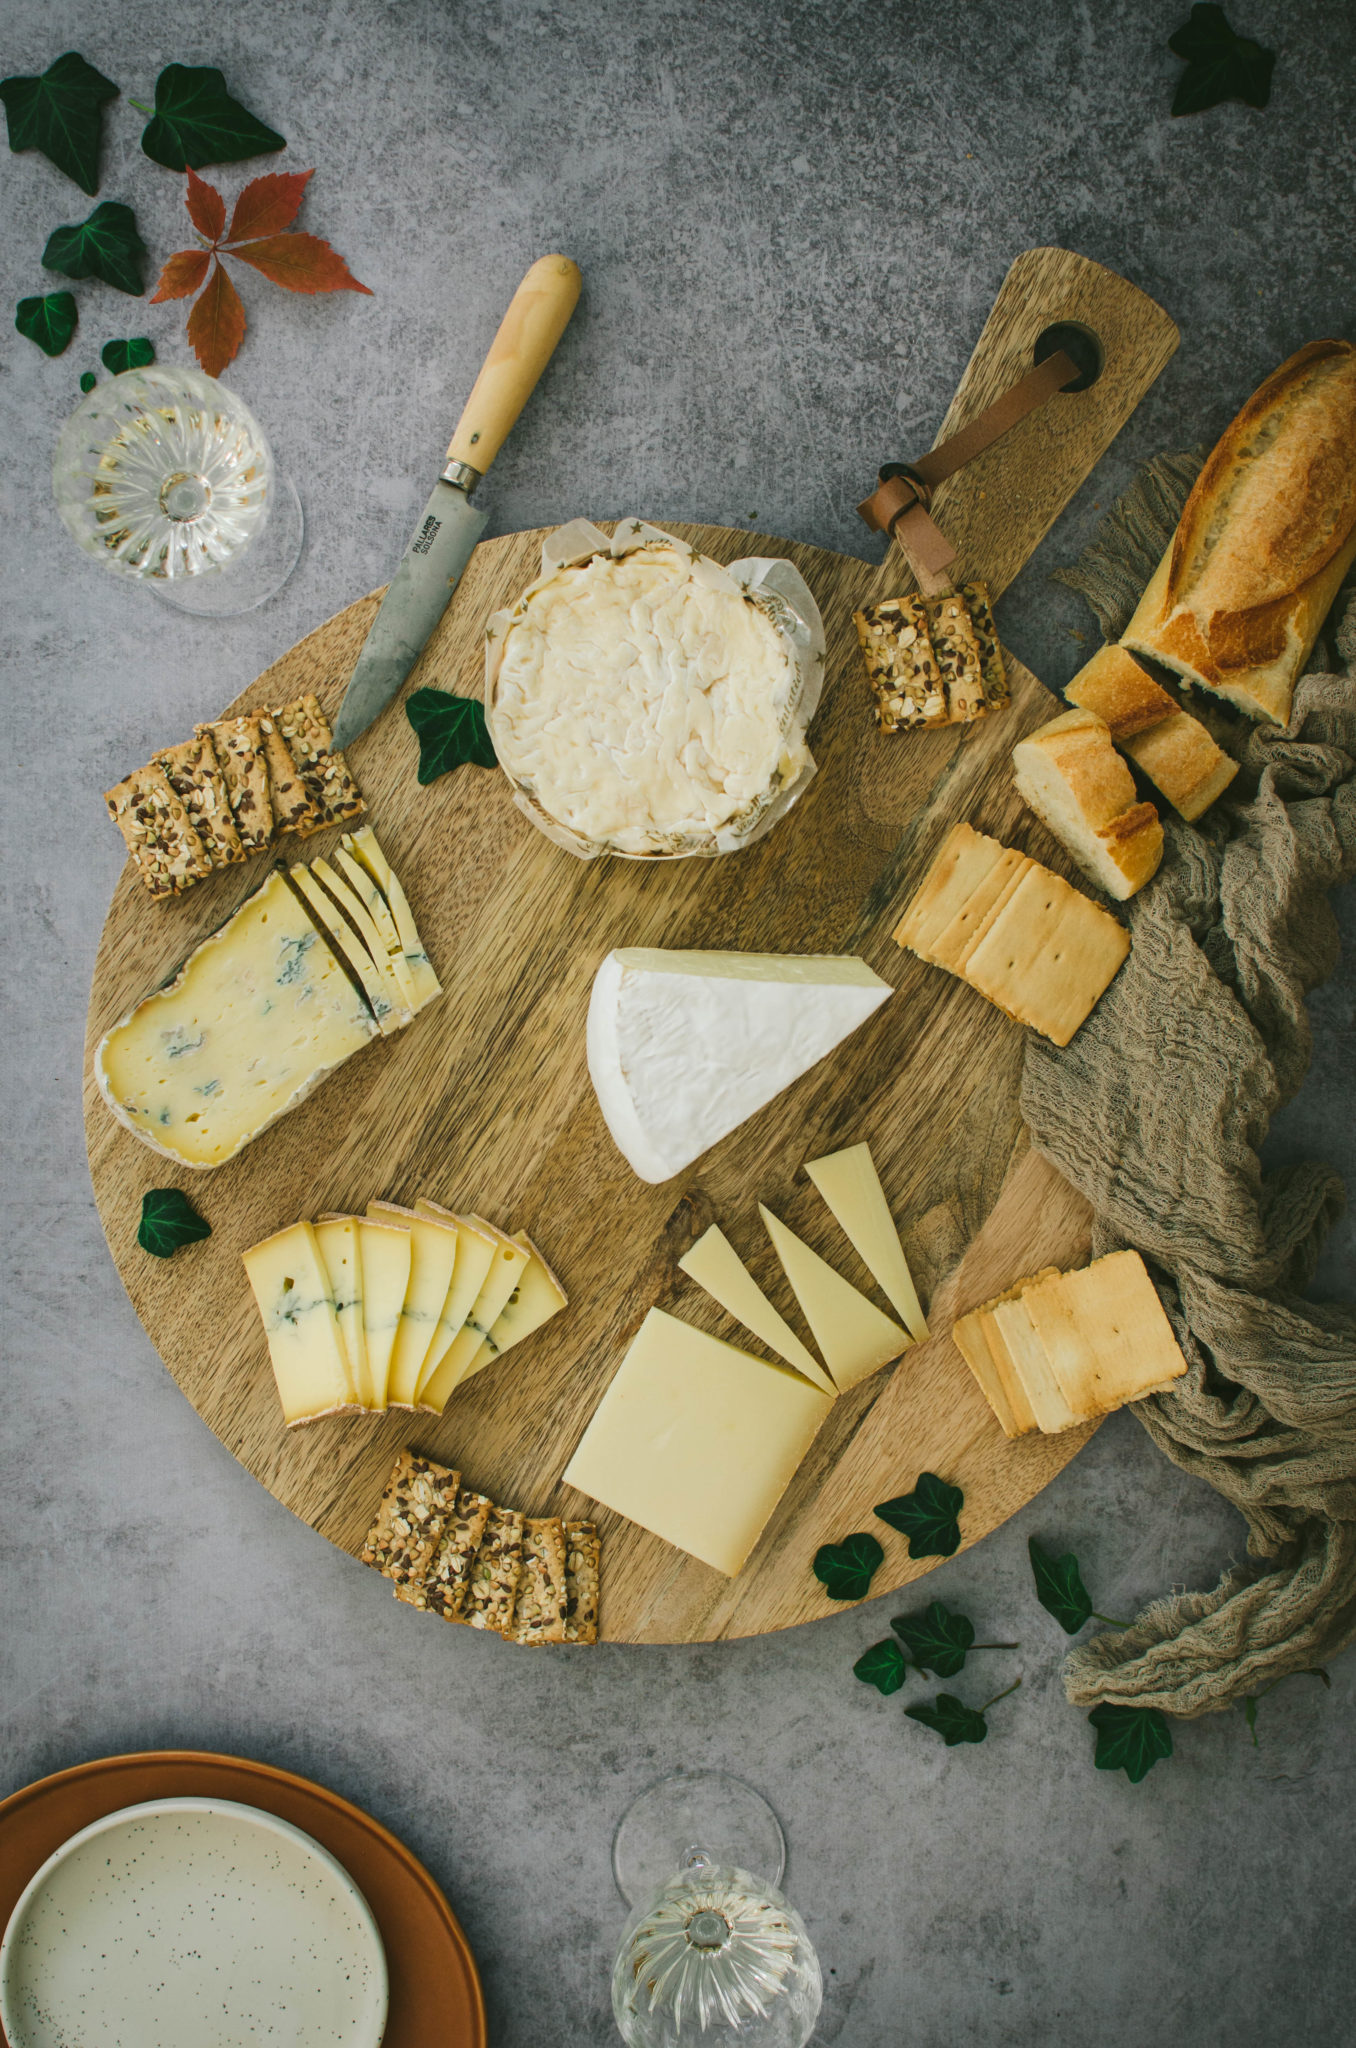
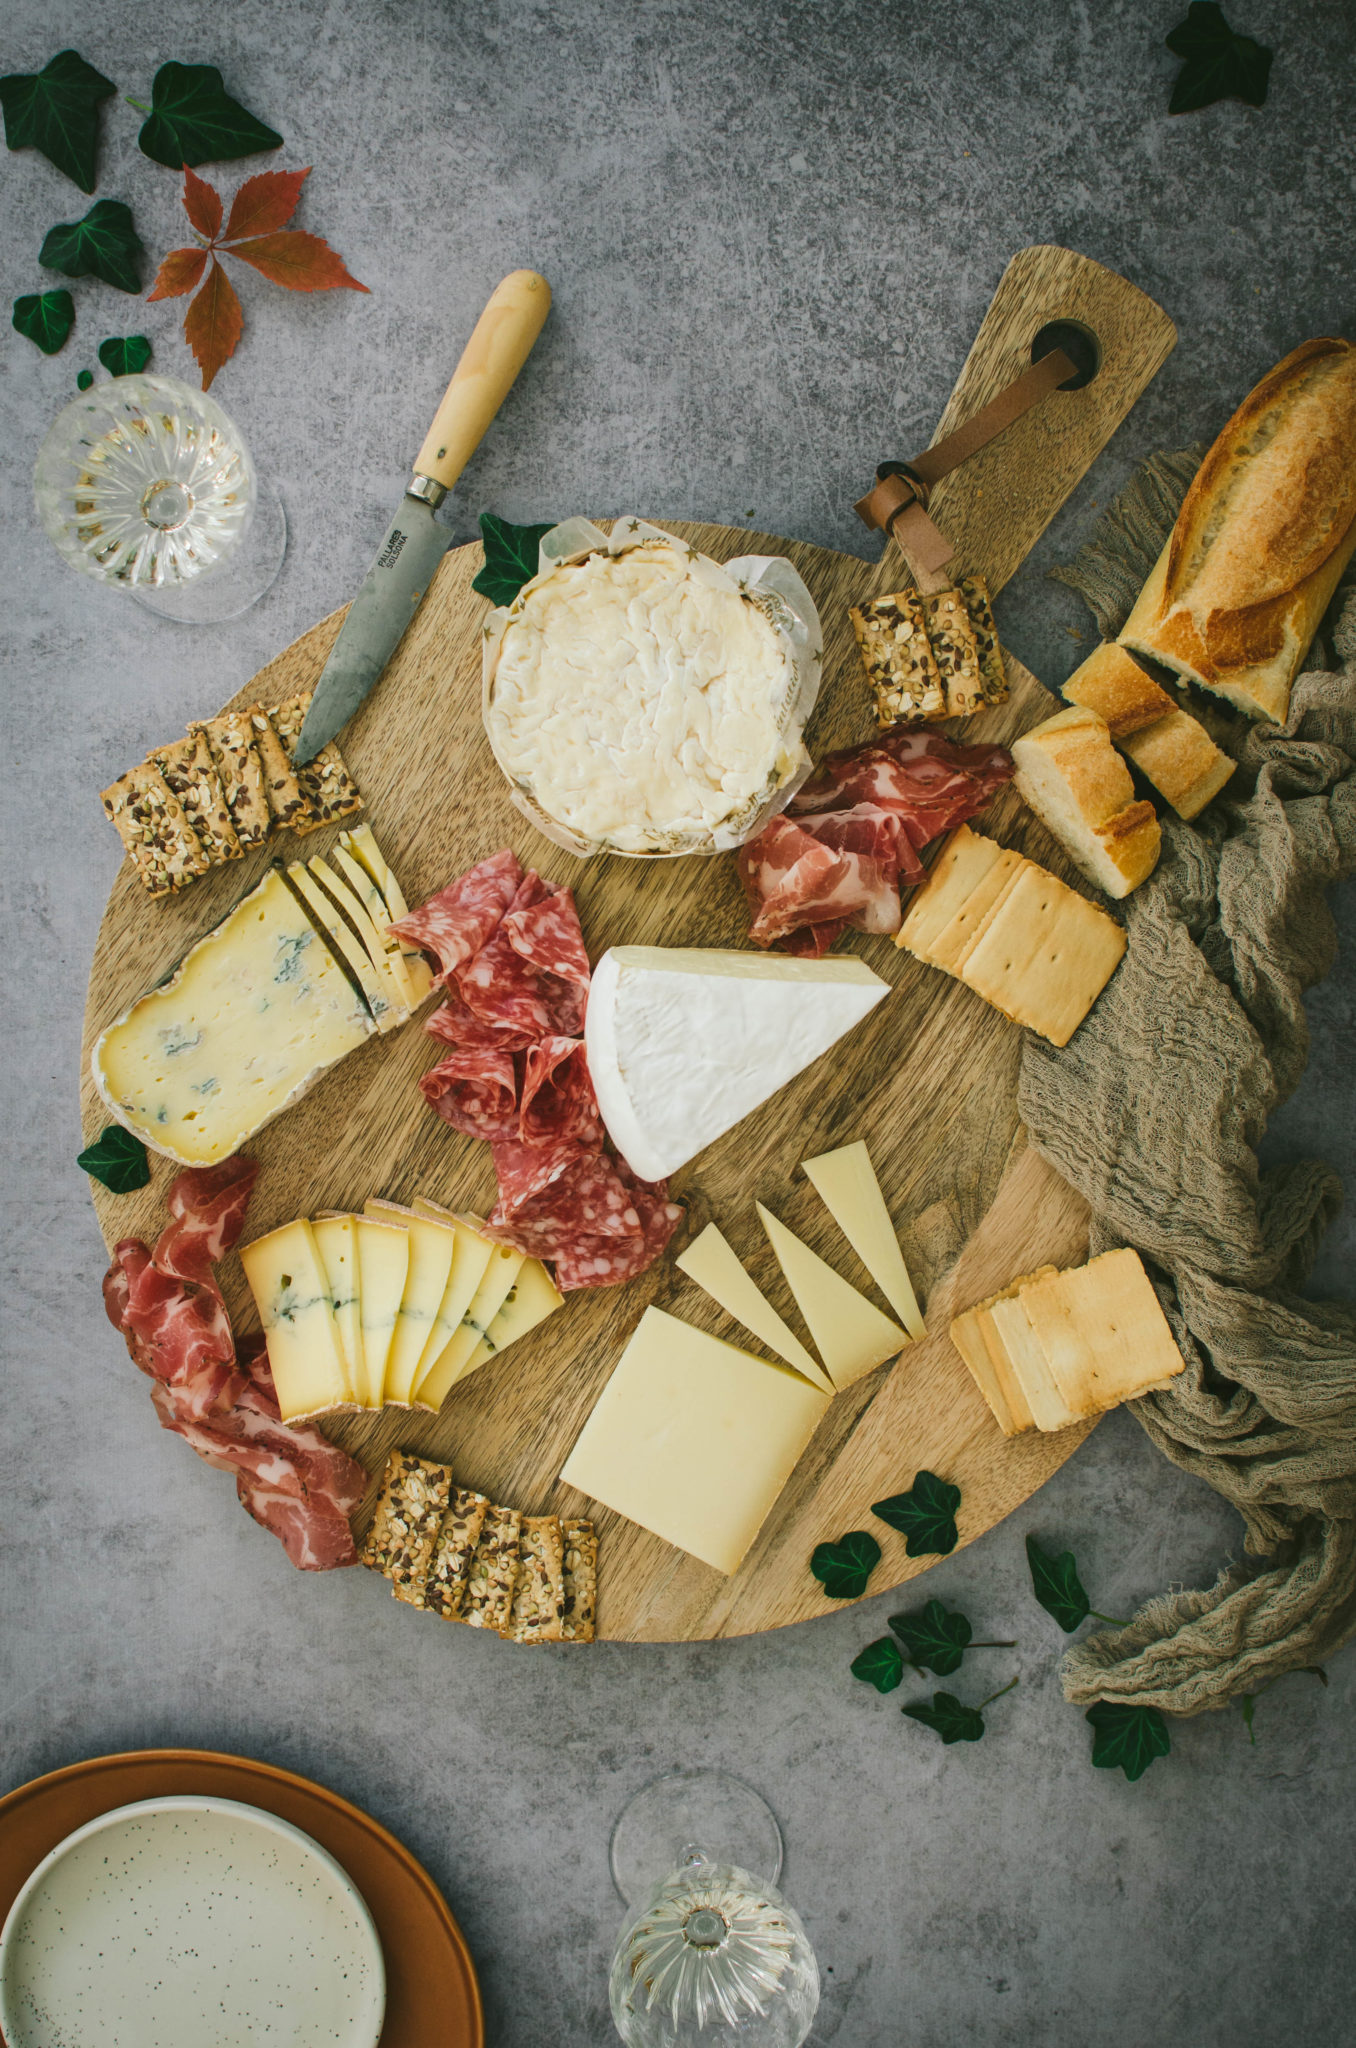
After the cheeses, come the crackers. I know it’s not very conventional in France to eat cheese with crackers, but I have to admit that since I live in the UK, it’s a treat that I like to eat from time to time, especially when it’s an aperitif platter of cheeses and charcuterie.
I obviously love a good slice of homemade bread, but I like to vary the pleasures and offer several options…
Indulge yourself and choose crackers of different shapes, sizes and colors, with and without seeds, long or flat, round or square, to create variety. As you place the crackers on your board, have fun organizing them: create a fan, stack them…
Repeat things so that the crackers appear more than once, this will give your board a better look.
If an item appears more than once, be sure to arrange it in the same way to encourage repetition and create cohesion in your board.
For example, if a cheese is cut into triangles on one part of the board, you should also have it in triangles each time, for aesthetics but also to not lose your guests.
Then add the cold cuts. I recommend putting 2 or 3 different types.
Again, make sure your charcuterie appears several times on your platter. I like them cut very thin because I find it prettier, more enjoyable to eat and it allows me to arrange them nicely on my platters by “crinkling” them.
I tend to choose raw charcuterie but adapt according to your taste.
Don’t hesitate to vary the aspects like with bison meat so that the platter is full of colors and contrasts.
Of course, if you’re a vegetarian, remove or replace the cold cuts with other products you like.
Now that your platter is starting to fill up nicely, keep in mind that the same products should not touch each other, nor should foods of the same color, so that the platter looks harmonious.
Step 4: Place your fruits and dried fruits
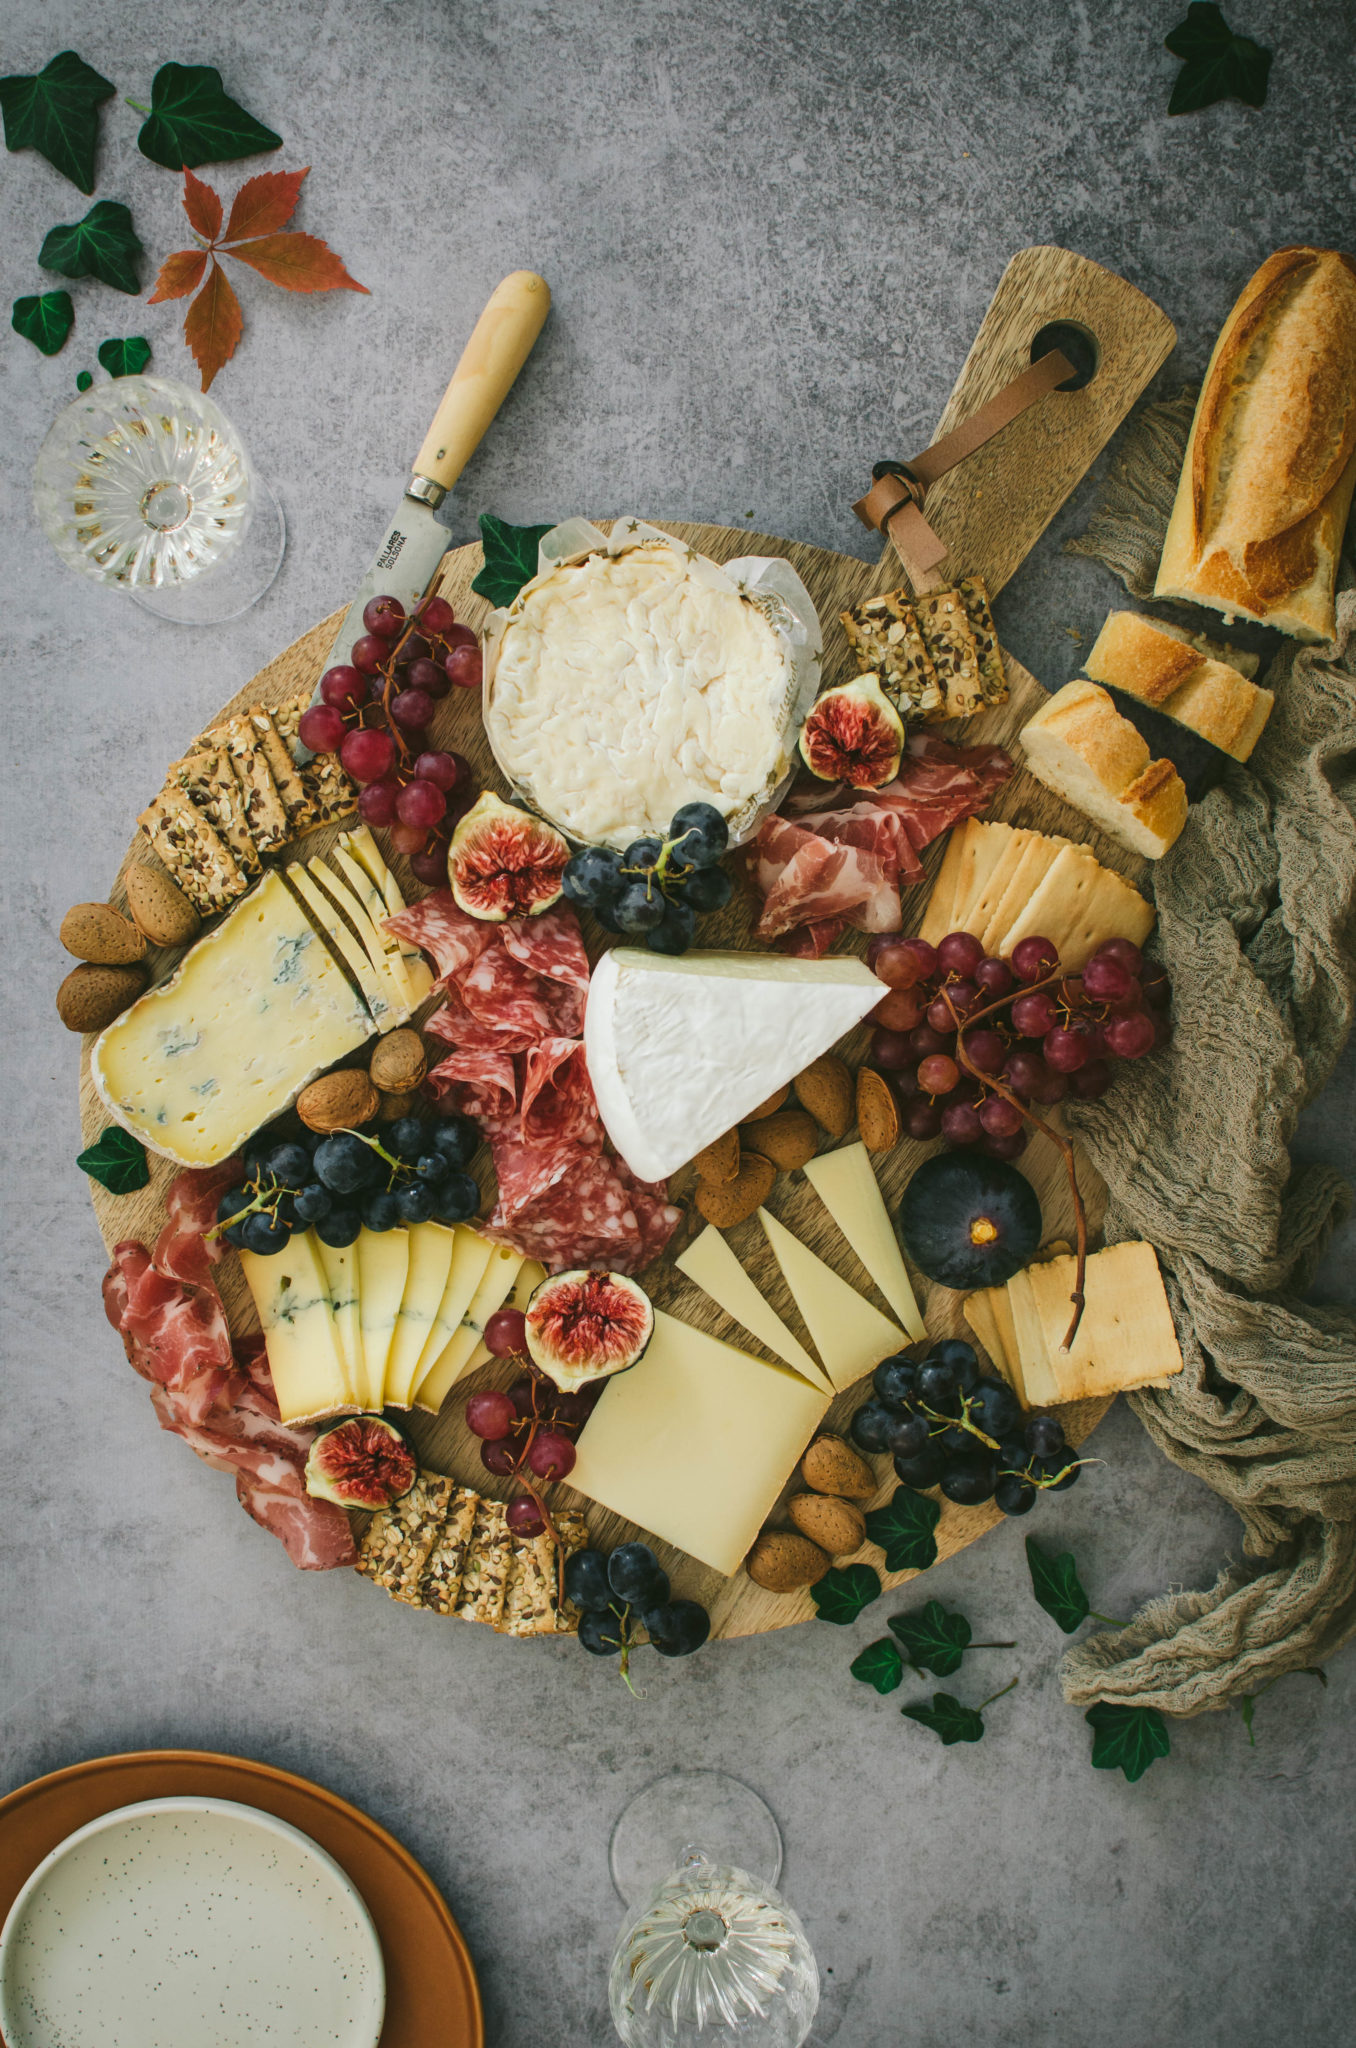
Now it’s time to put down your seasonal fruits. Since it’s fall, I chose grapes and figs, but you can also put pickles, olives, sliced apples, chutney, candied onions, cherry jam, balsamic vinegar reduction….
Try to choose a color palette based on the season, shapes and sizes to keep it visually interesting and vibrant. Cut up some foods and leave others whole, such as 1/2 a thinly sliced apple and the other half whole, or a whole fig and another cut in half. Play with textures, colors, shapes and sizes.
Then fill in the spaces by adding walnuts, hazelnuts, almonds, pine nuts… Simply place small handfuls in all the empty spaces.
Fifth step: enjoy your perfect cheese platter… and take some pictures before devouring it!
What to drink with a mixed cheese and charcuterie board?
To accompany your cheese and charcuterie platter, I like to serve wine, whether white, rosé or red, depending on the season but also on the cheeses that will compose your platter.
Personally, I like to serve a dry but round white wine like a Saint-Joseph with a goat cheese, for example, and a red wine with a good Camembert.
For the amateurs, a wine like an Arbois or a yellow wine will also be very nice with a comté, a Mont d’Or or a cancoillotte.
I could go into more details about wine, but maybe that will be the occasion of another article… 😉
Here are my final 5 tips for making a worthy cheese and charcuterie platter:
– Work from the biggest to the smallest. It’s much easier to place the small things at the end than the big things. Not only does this make it easier to design your painting, but it also makes it more abundant, leaving no empty space.
– Space your cheeses. Each cheese should not touch another cheese, crackers should not touch another cracker, bread should not touch bread, etc. Keep each food on its side.
– Repeat things. If you use the same item multiple times on your board (for example, the same cookies in two different places), arrange them the same way in each place.
– Don’t make things too symmetrical and straight for naturalness. Don’t be afraid to add a few elements on the fly.
And above all, don’t forget to accompany with a good wine!!! Red or white and why not both depending on the cheeses! ;-).
There you go, now you know how to make a nice cheese and charcuterie platter ! You just have to start ! Say “cheeeeese”!
And if you ever do it, don’t hesitate to share with me your beautiful realizations!
How to make the perfect cheese platter?
Equipment
- 1 wood platter
Ingredients
VARIOUS CHEESES (5 TO 6)
- Beaufort
- Saint-Félicien – Saint-Marcellin
- Tomme de Savoie
- Reblochon
- Blue cheese
CARCKERS AND COLD CUTS
- 2 or 3 types of crackers
- Homemade bread
- 2 or 3 cold cuts (Chiffonnade – Raw ham – Chorizo – Sausage)
FRUITS AND DRIED FRUITS
- Grape
- Figs
- Apple cut into thin slices
- Nuts or almonds
THE CONDIMENTS
- Onion confit
- Pickles
- Olives
Notes
If you make a cheese platter and enjoy it, feel free to tag me on Instagram or Facebook so I can see the result and share it back…
[show_shopthepost_widget id=”4298382″]
Just to let you know I am French and I translate my recipes, be indulgent if you see syntax errors and do not hesitate to leave me a comment so I can correct it. I hope you will like my recipes and enjoy your visit to my food blog!
