10 Homemade Jam recipe ideas

Make your own homemade jam with seasonal fruits: my tips and recipe ideas.
Every year, I look forward to making my own homemade jams. What a joy to savor the beautiful seasonal fruits: ripe apricots, juicy plums, fragrant strawberries, or even roadside blackberries… There’s nothing like rediscovering their flavors in the middle of winter, on toast or in plain yogurt.
If you’re also eager to give it a try, here are my basic rules for making jam like a pro. Nothing complicated, I promise; here are my tips and recipes!
How to make homemade jam – my tips and steps :
1. Quality fruits above all
For a good jam, you first need good fruit! Choose ripe, sun-drenched, and fragrant fruit. Avoid damaged or overly green fruit; this is immediately noticeable in the taste.
2. Sterilizing jars is essential
This is a step that shouldn’t be overlooked: keeping the jars clean is essential for proper preservation. Here’s how I do it:
I immerse the jars and their lids in boiling water for a few minutes.
I then place them upside down on a clean cloth and let them air dry, without wiping them.
3. Prepare the fruit carefully
I start by quickly washing the fruit under running water (or in a basin), without letting it soak to avoid damaging it. I then gently drain it on a cloth.
Once the fruit is hulled, pitted, or cut, I weigh it and add between 40 and 50% of its weight in sugar. I then let it sit for a few hours, or even overnight. This allows the sugar to be fully absorbed by the fruit.
4. Cooking the jam
The next day, I pour the fruit and sugar into my jam pan (a copper one, if you have one, it’s perfect!). I add a little lemon juice and bring to a boil. Then I let it cook over high heat for about ten minutes, stirring constantly.
If foam forms, you can skim it off, but it often disappears on its own at the end of cooking.
A little tip: for a less runny jam, use special jam sugar, which already contains pectin. And to check if it’s ready? I do the cold plate test: I place a drop of jam on a plate, tilt it, and if the jam sets quickly without running, it’s ready!
5. Potting
It’s important to pour the jam into very clean jars that are still very hot. I fill them almost to the last thread, screw on the lids, and then immediately turn the jars upside down. I leave them like this until they’re completely cold. Be careful not to burn yourself!
Last tips
Once your jars have cooled, remember to label them (name of the jam + date of manufacture). Then store them in a dry place, away from light.
And there you have it! You’re ready to enjoy your homemade jams all winter long.
10 Homemade Jam recipe ideas
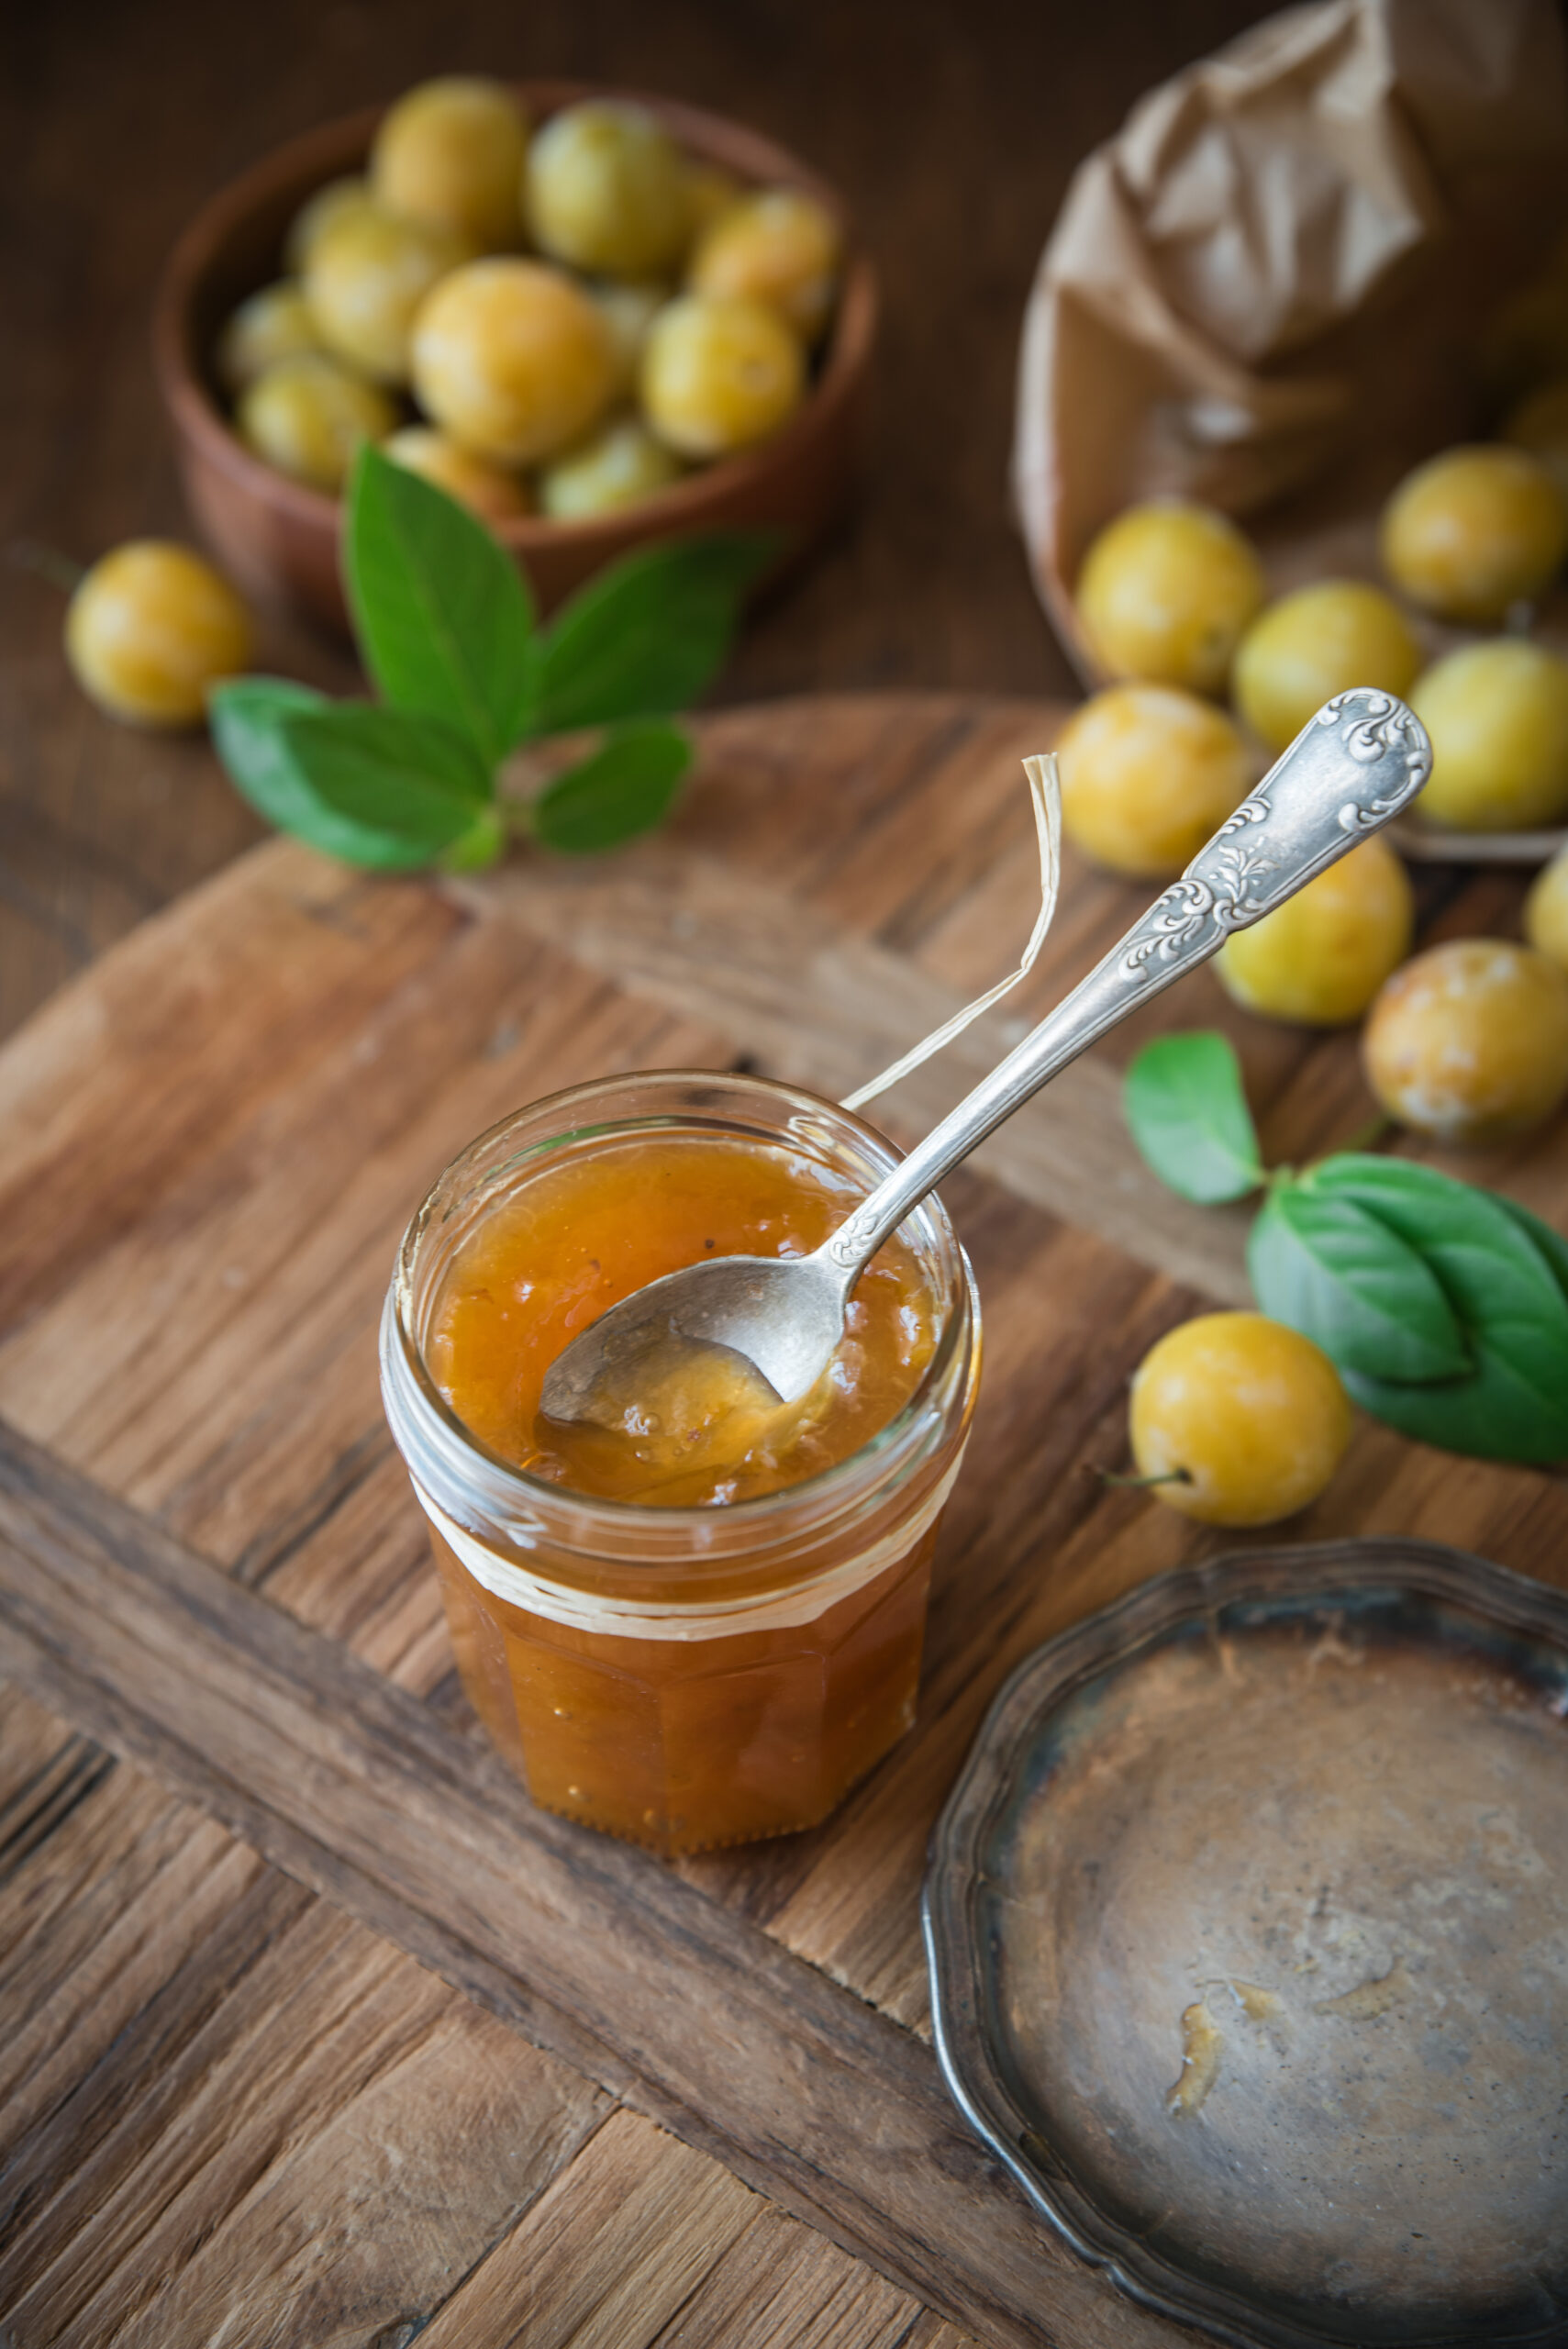
1. Mirabelle Plum Jam
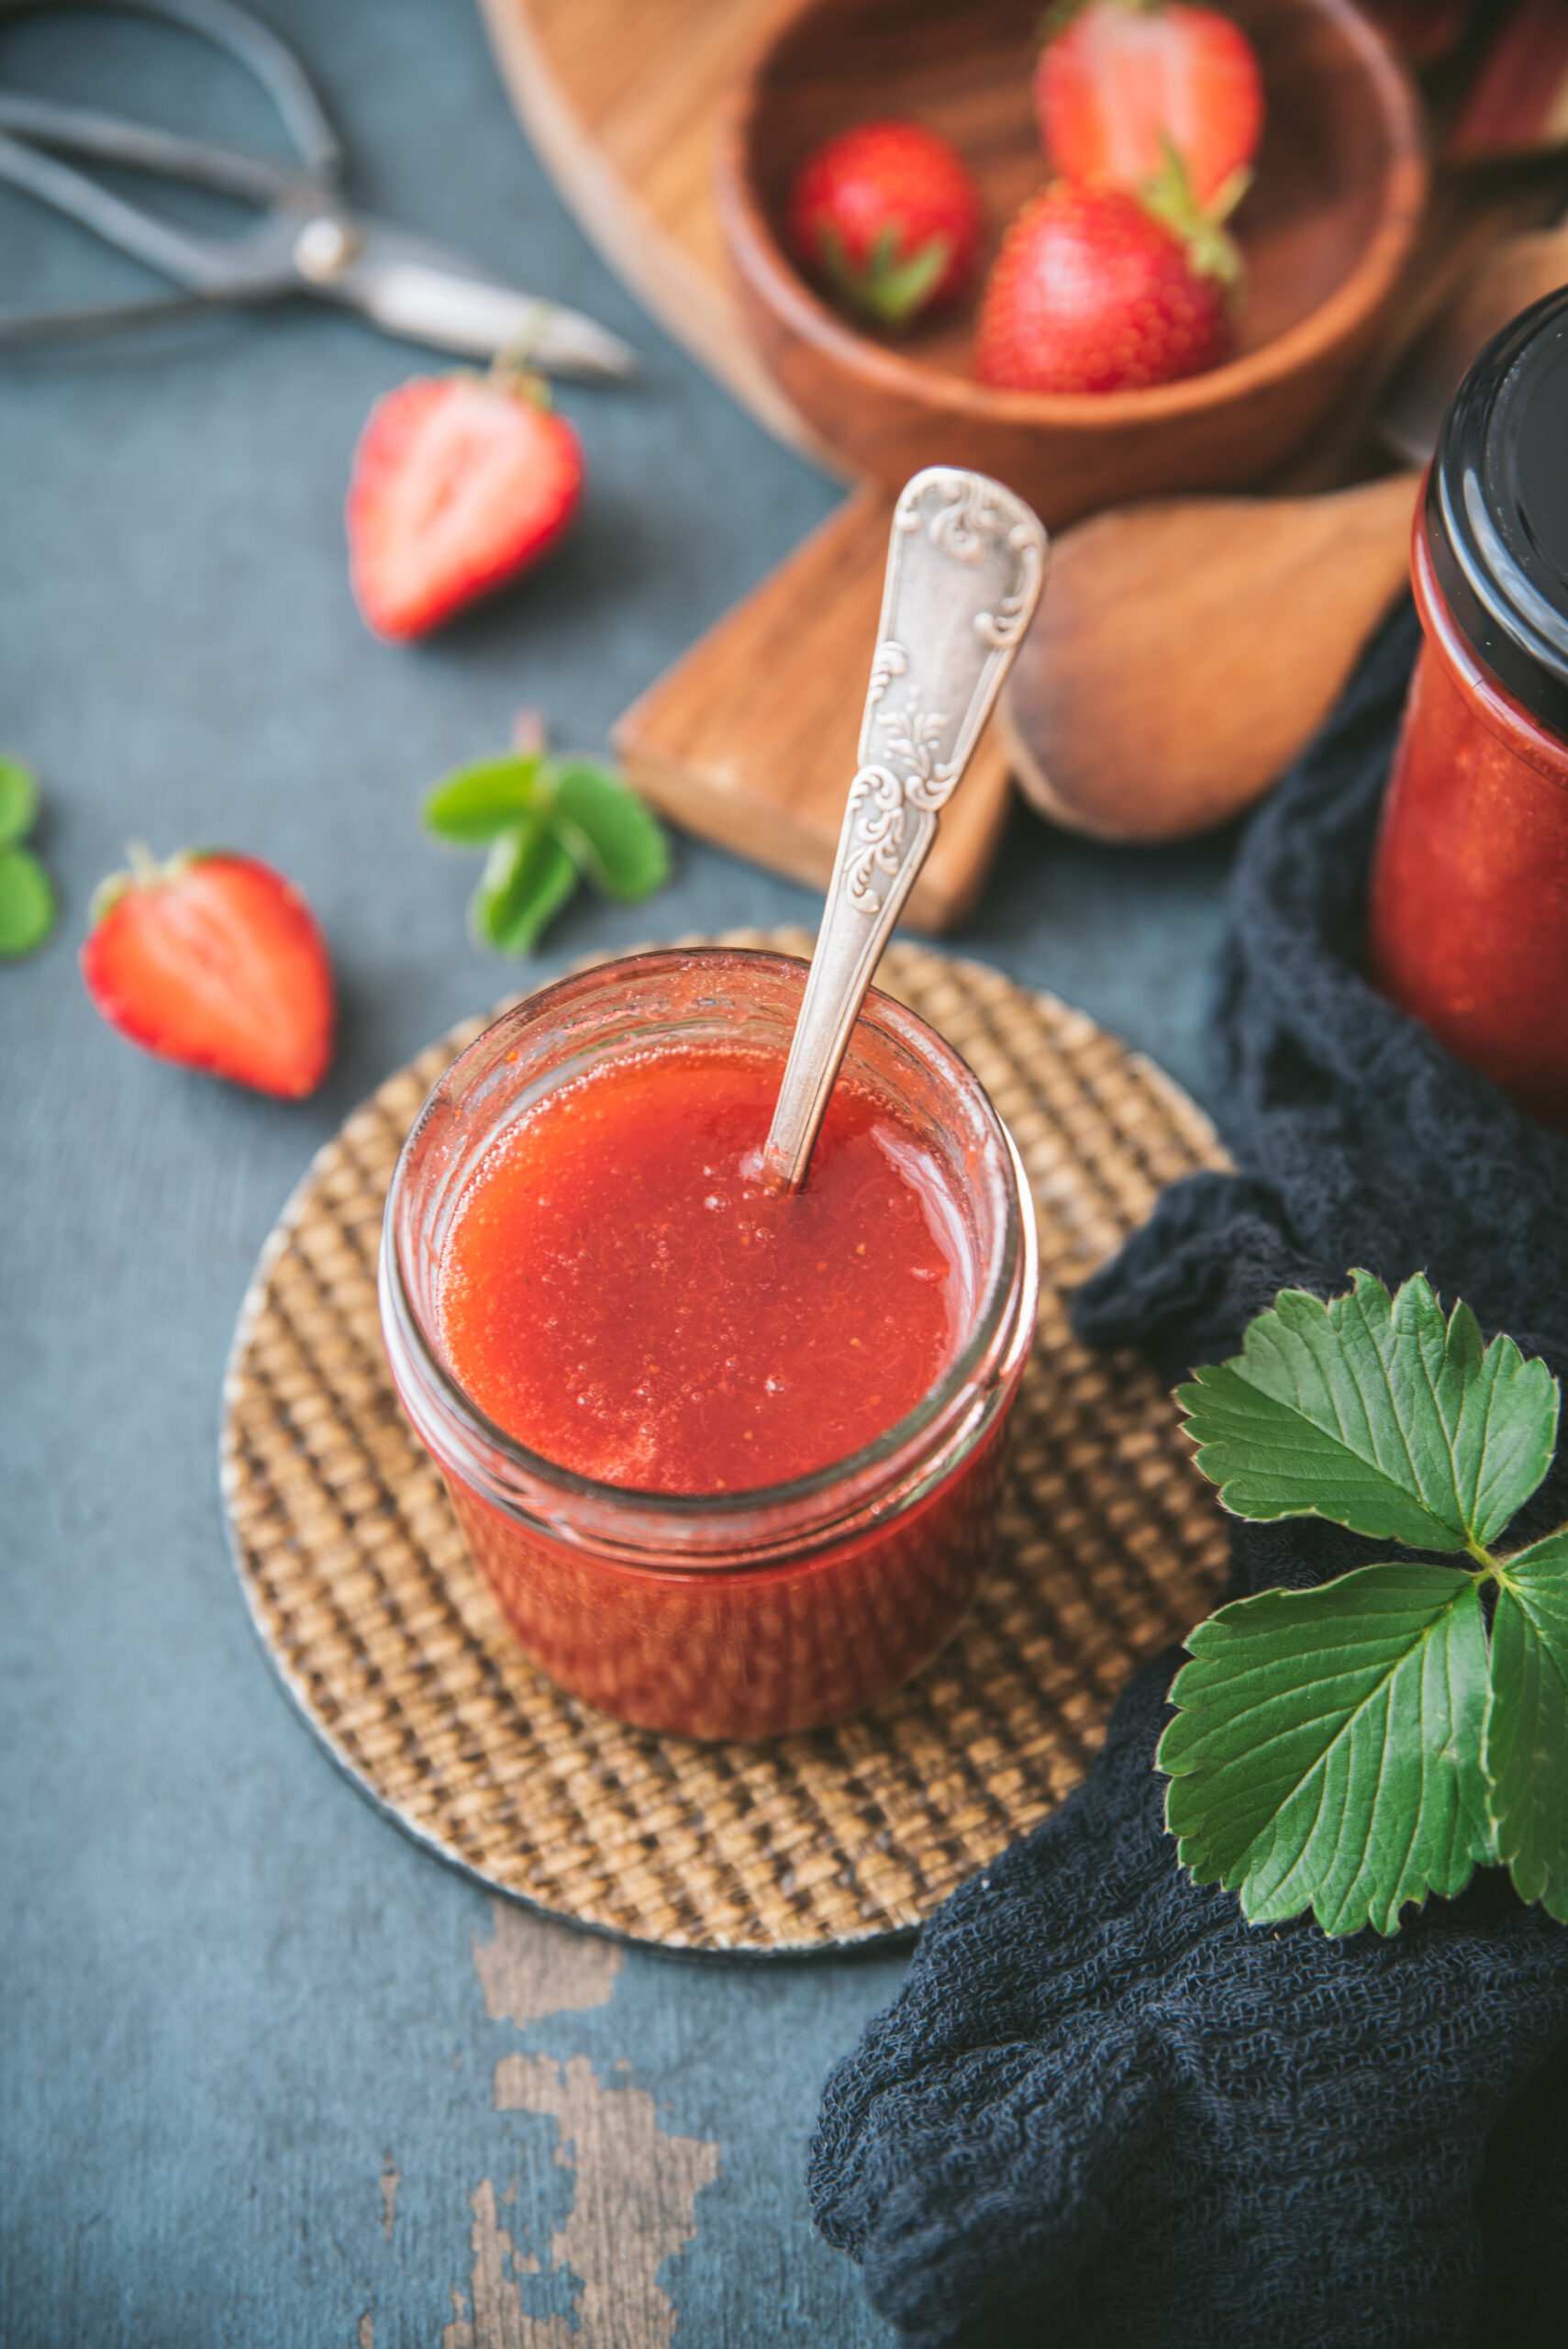
2. Strawberry Rhubarb Jam
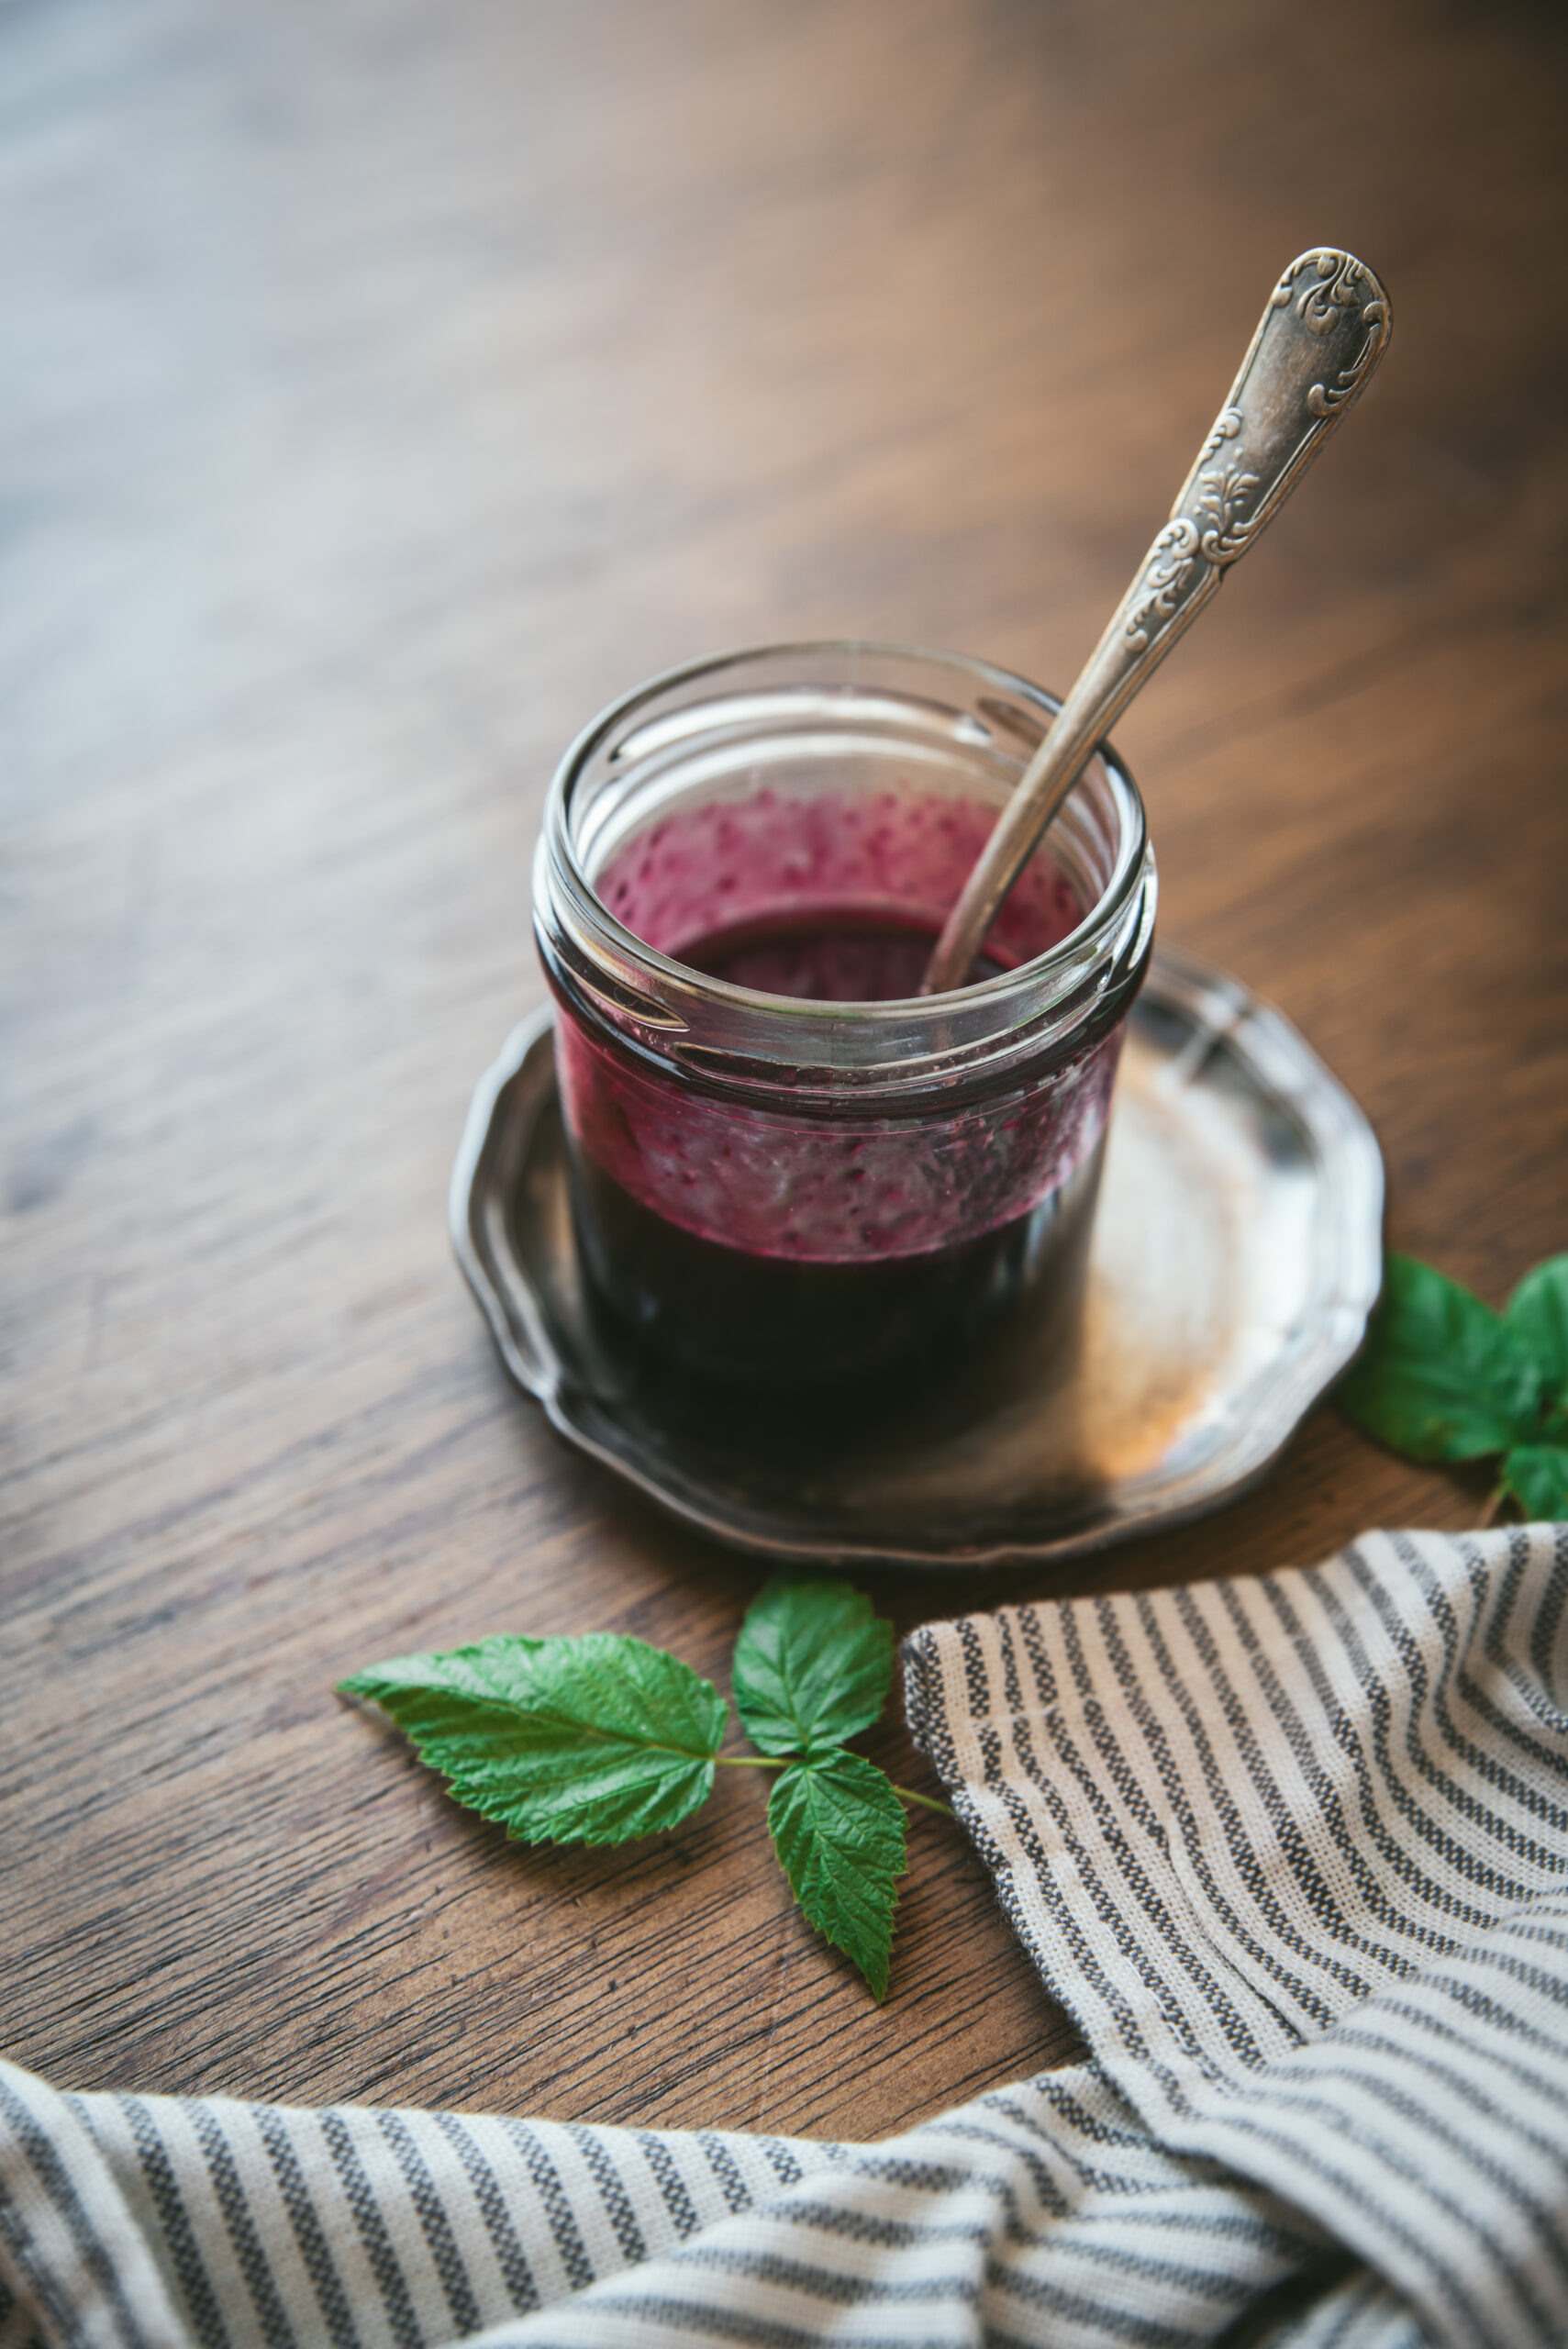
3. Blackberry Jam
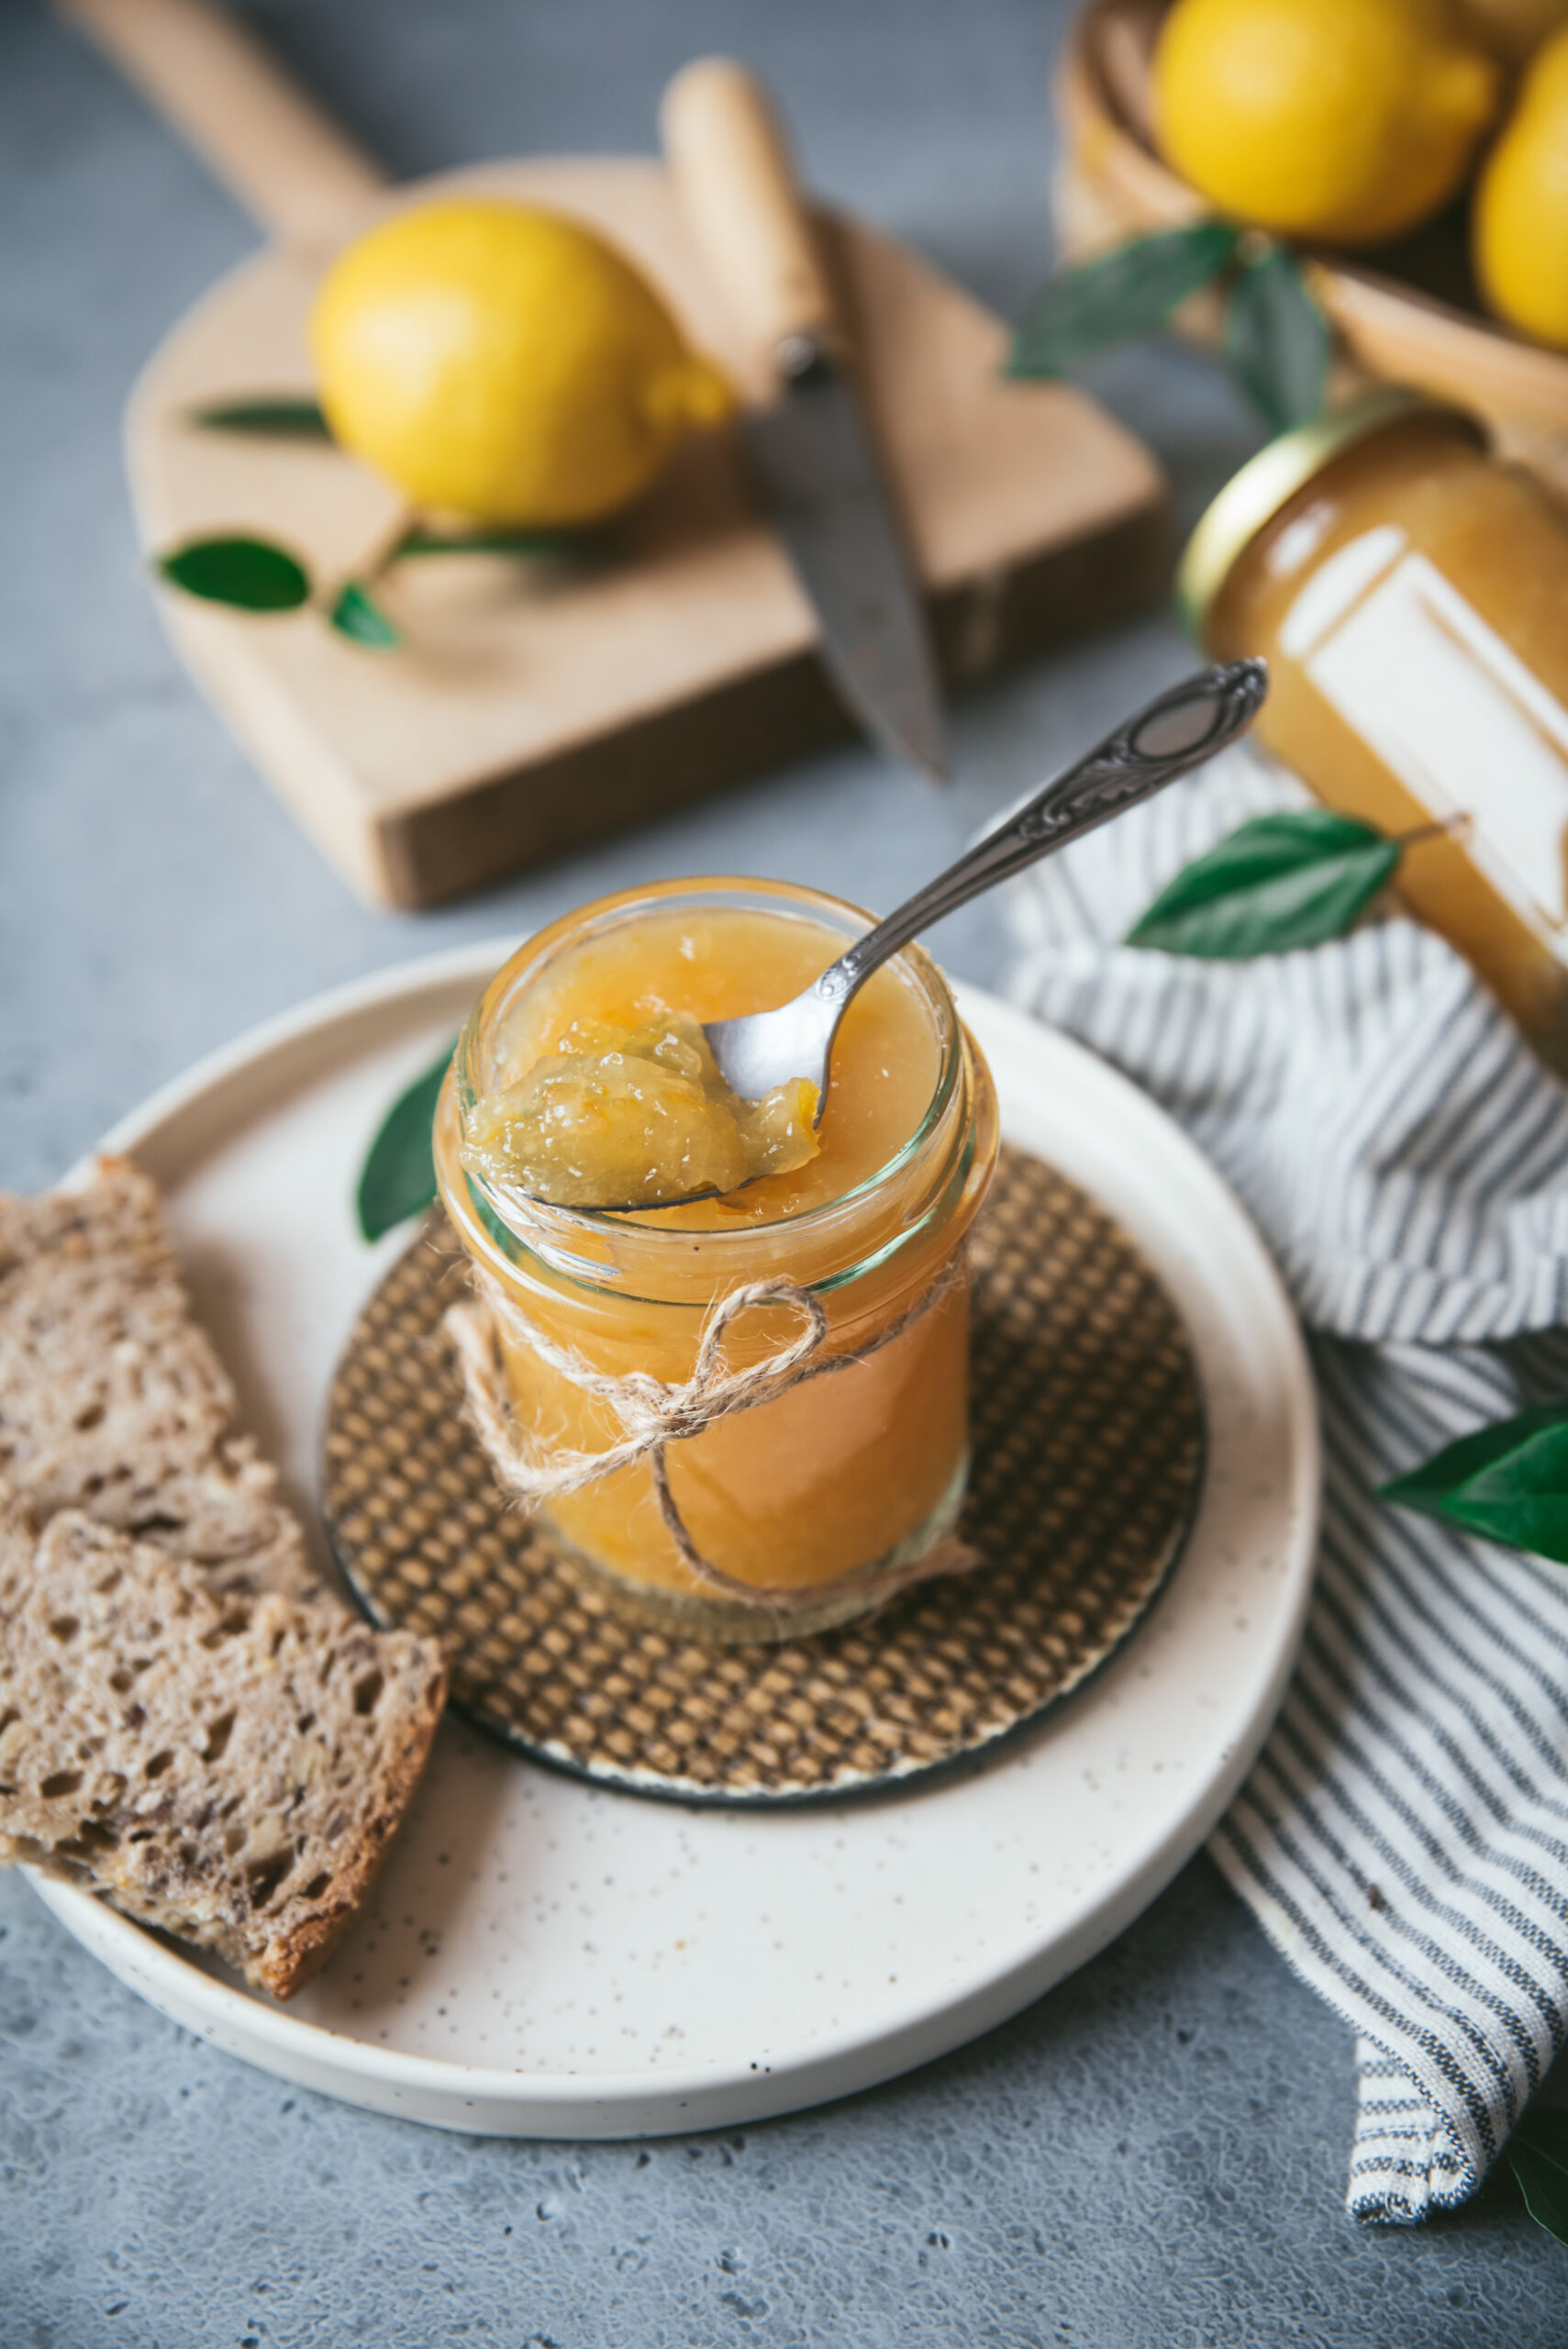
4. Lemon and Bergamot Jam
5. Rhubarb and Raspberry Jam
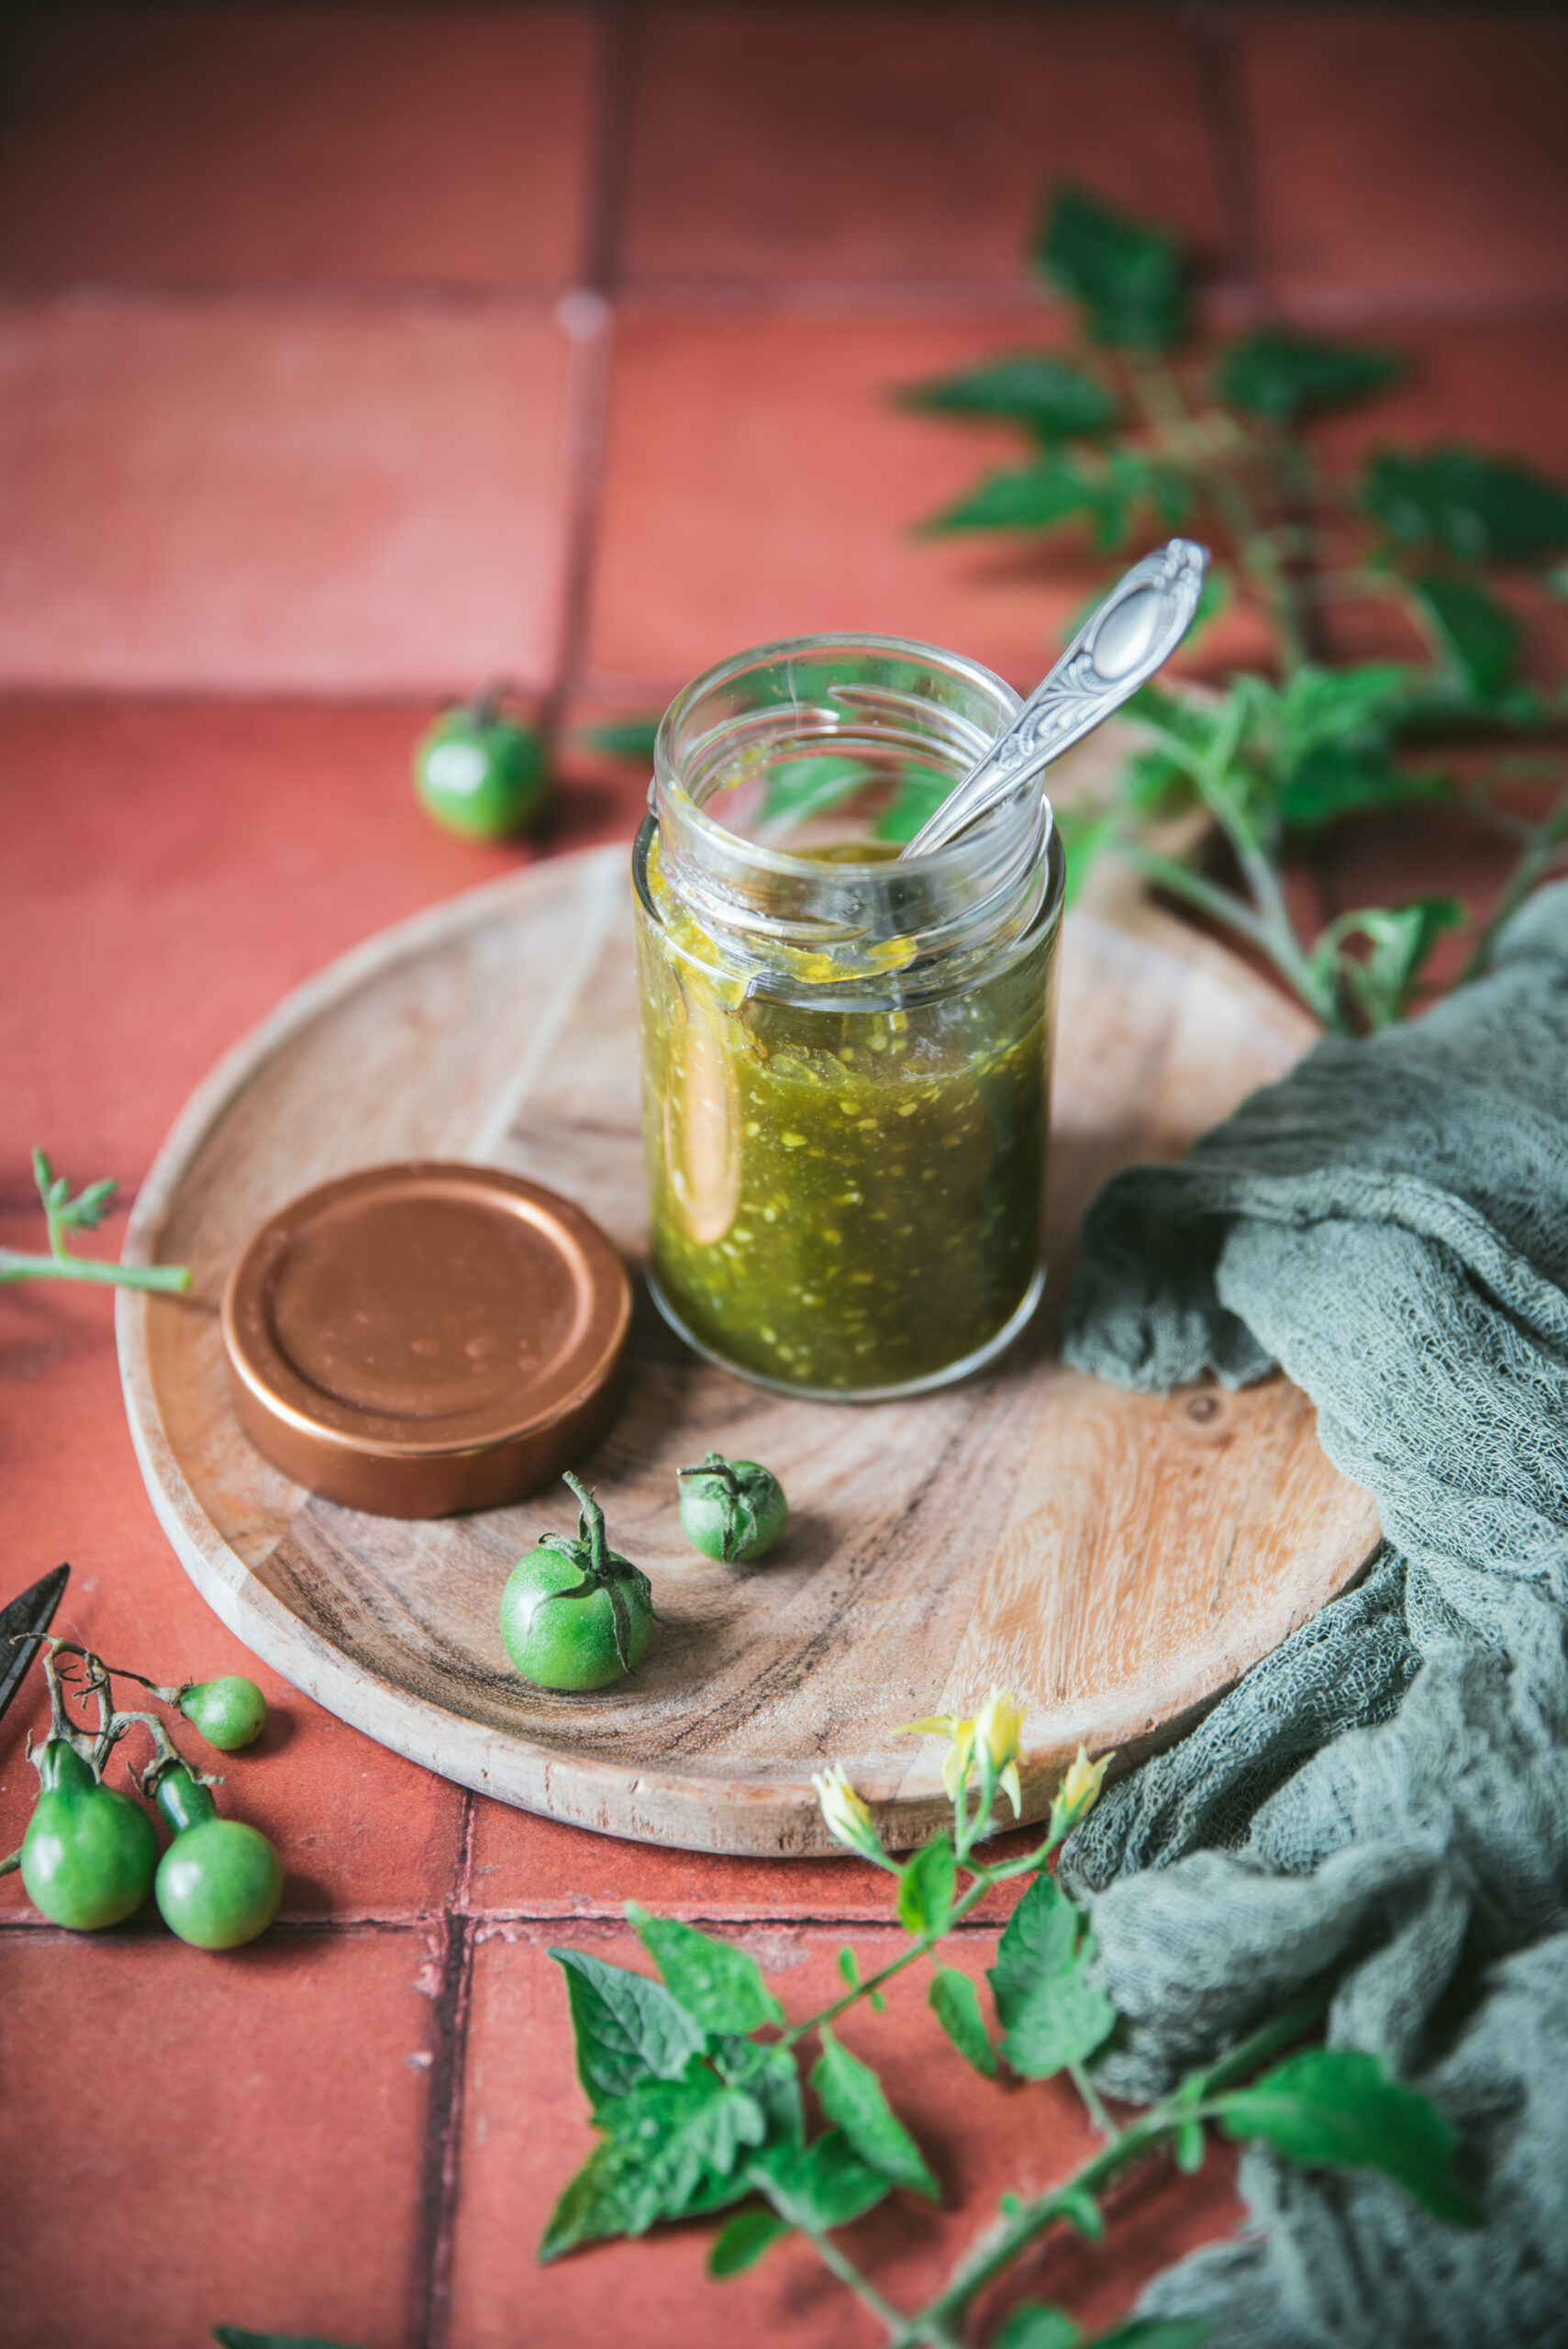
6. Green Tomato Jam
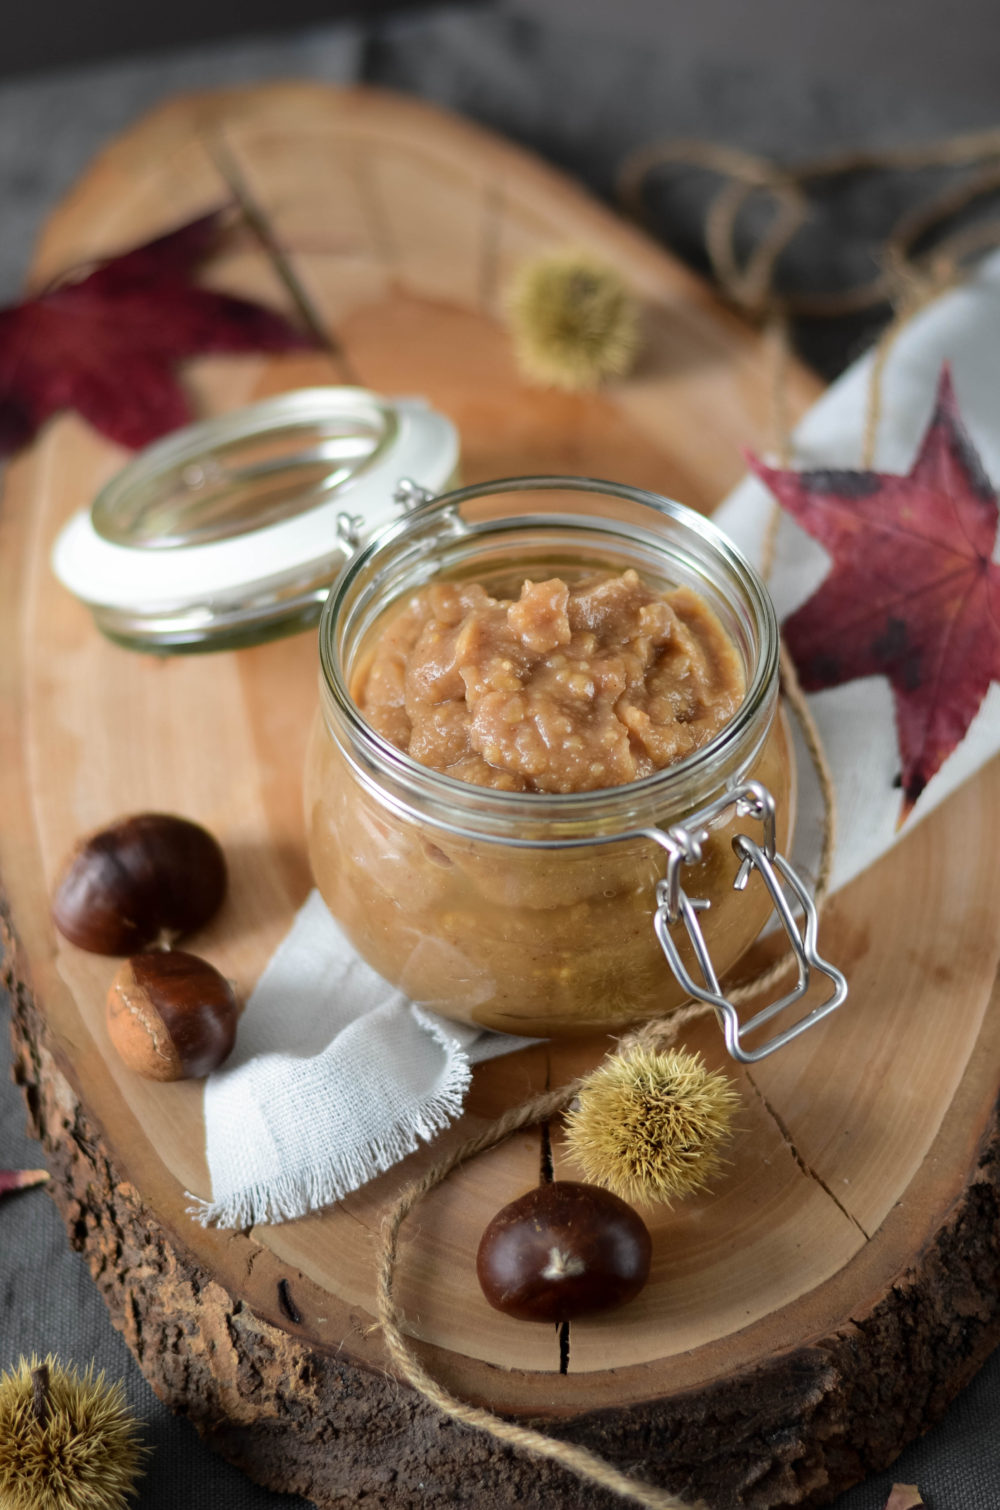
7. Chestnut Cream
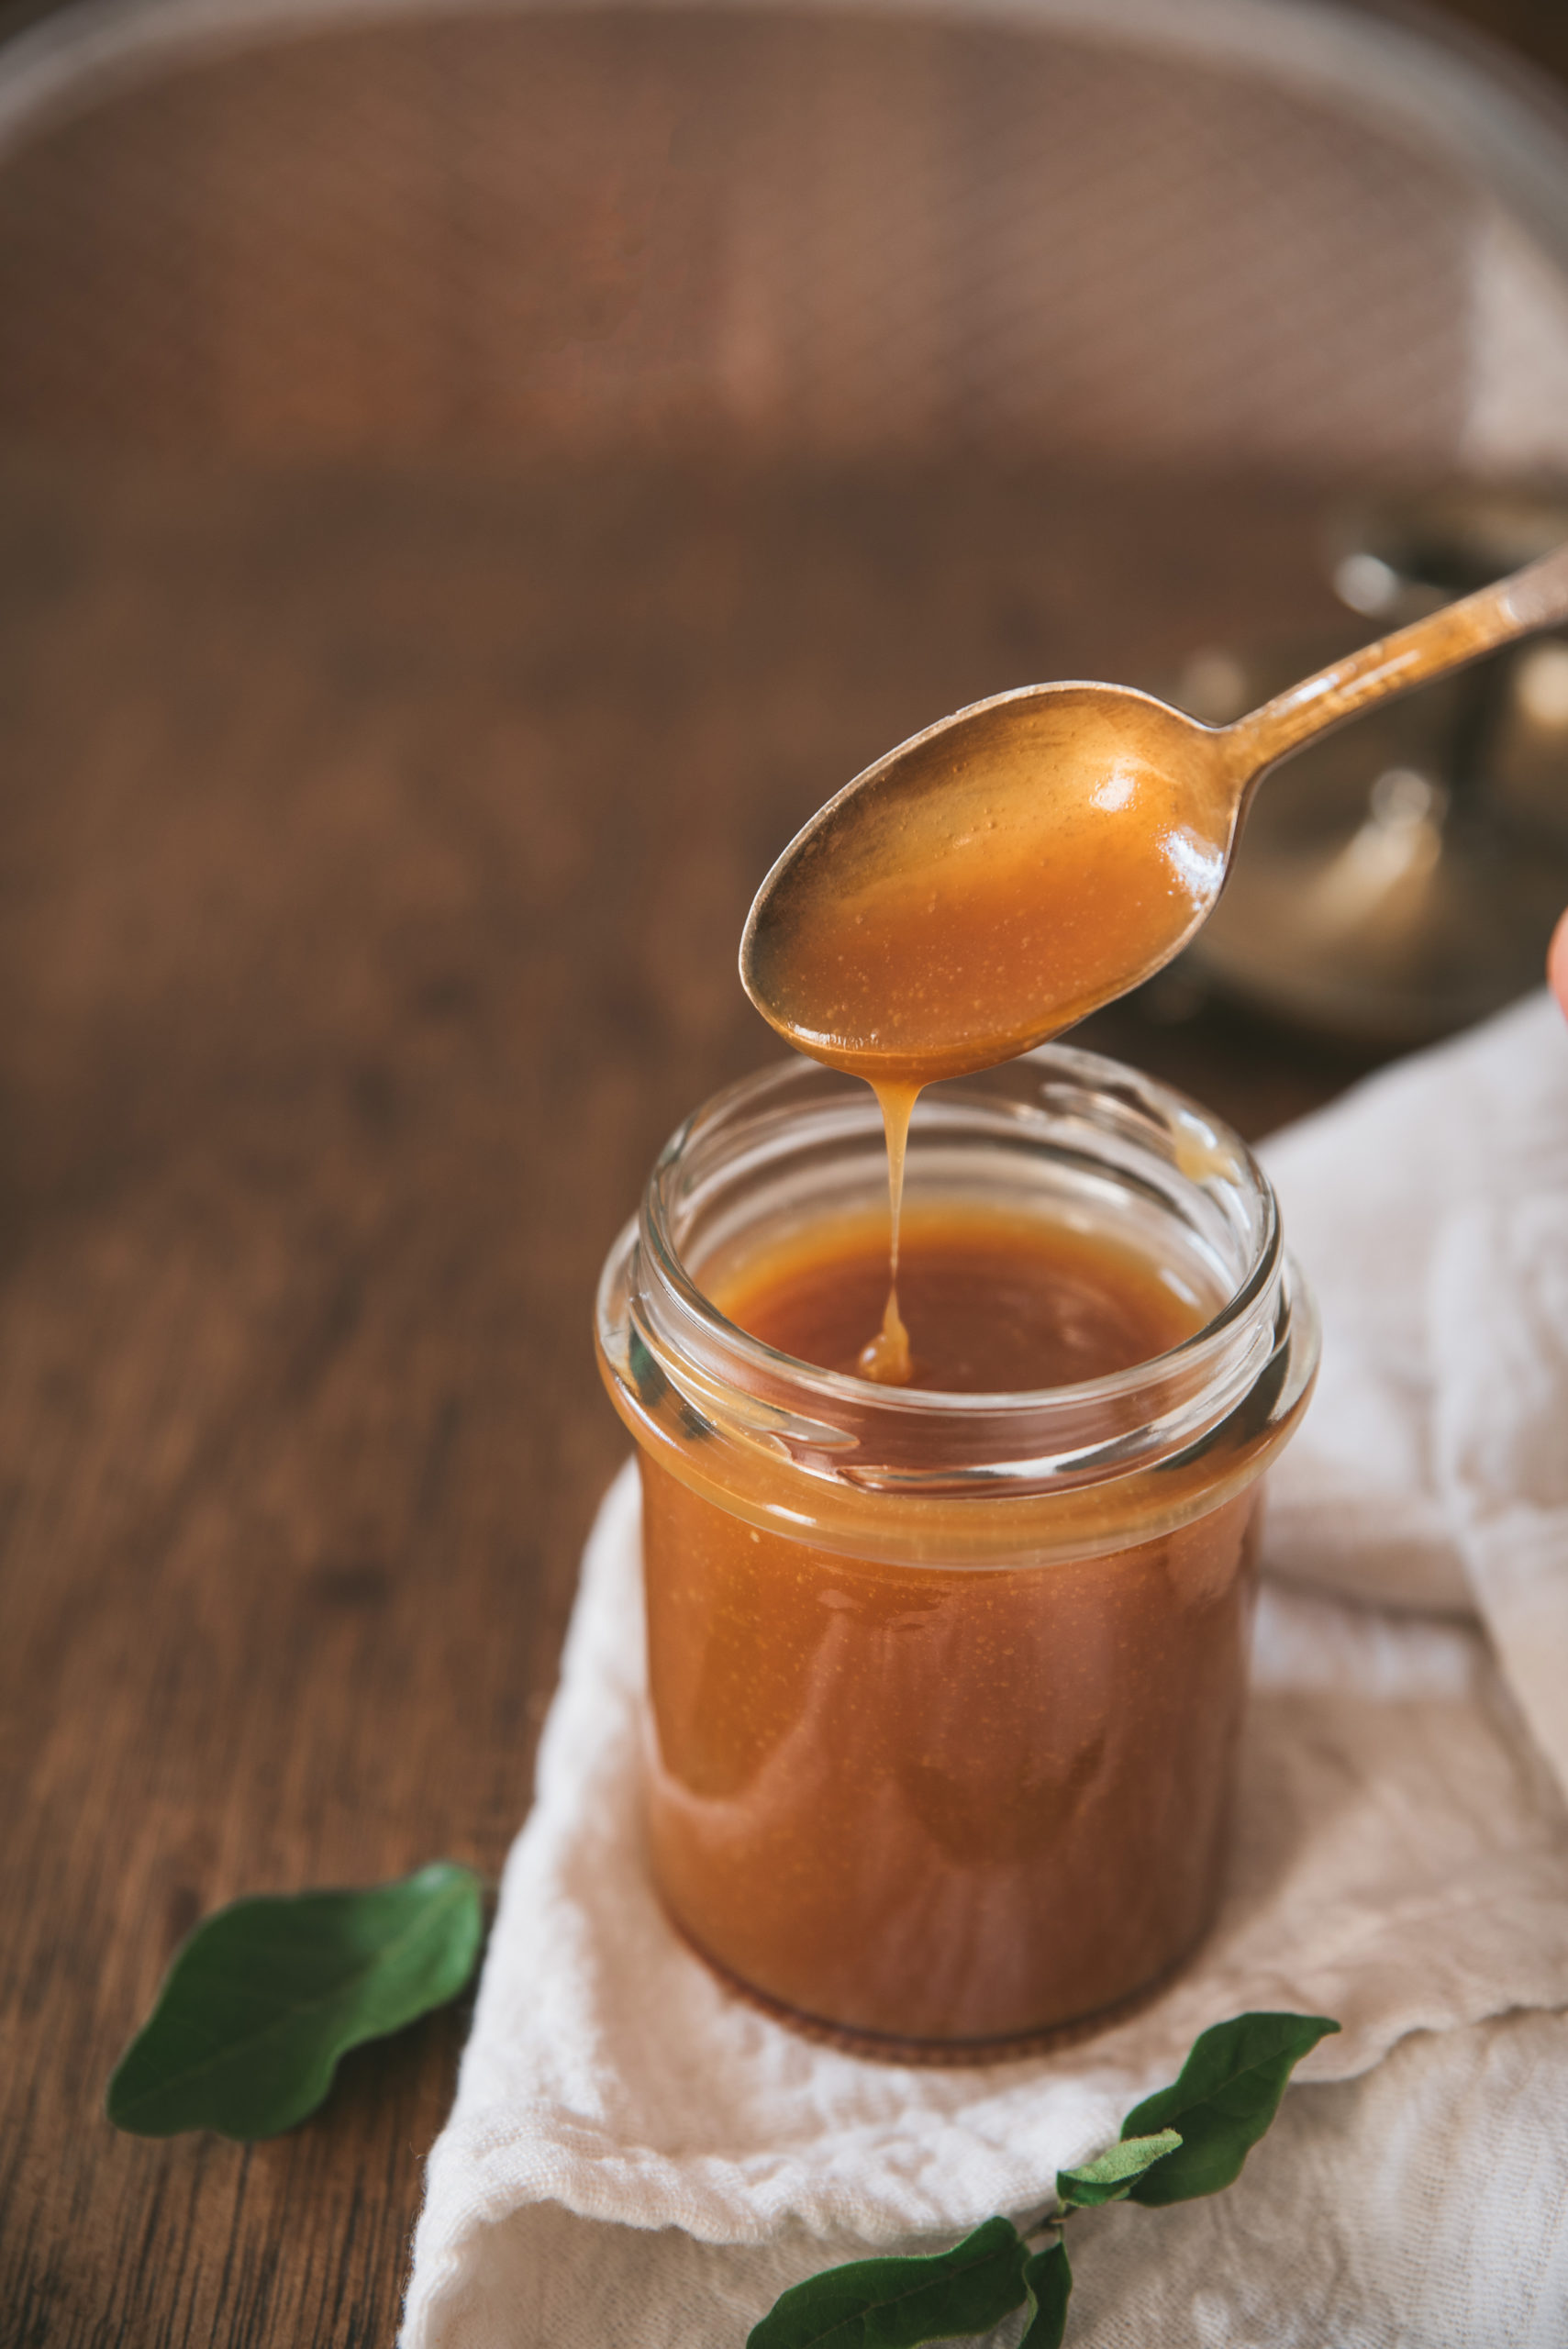
8. Salted Butter Caramel
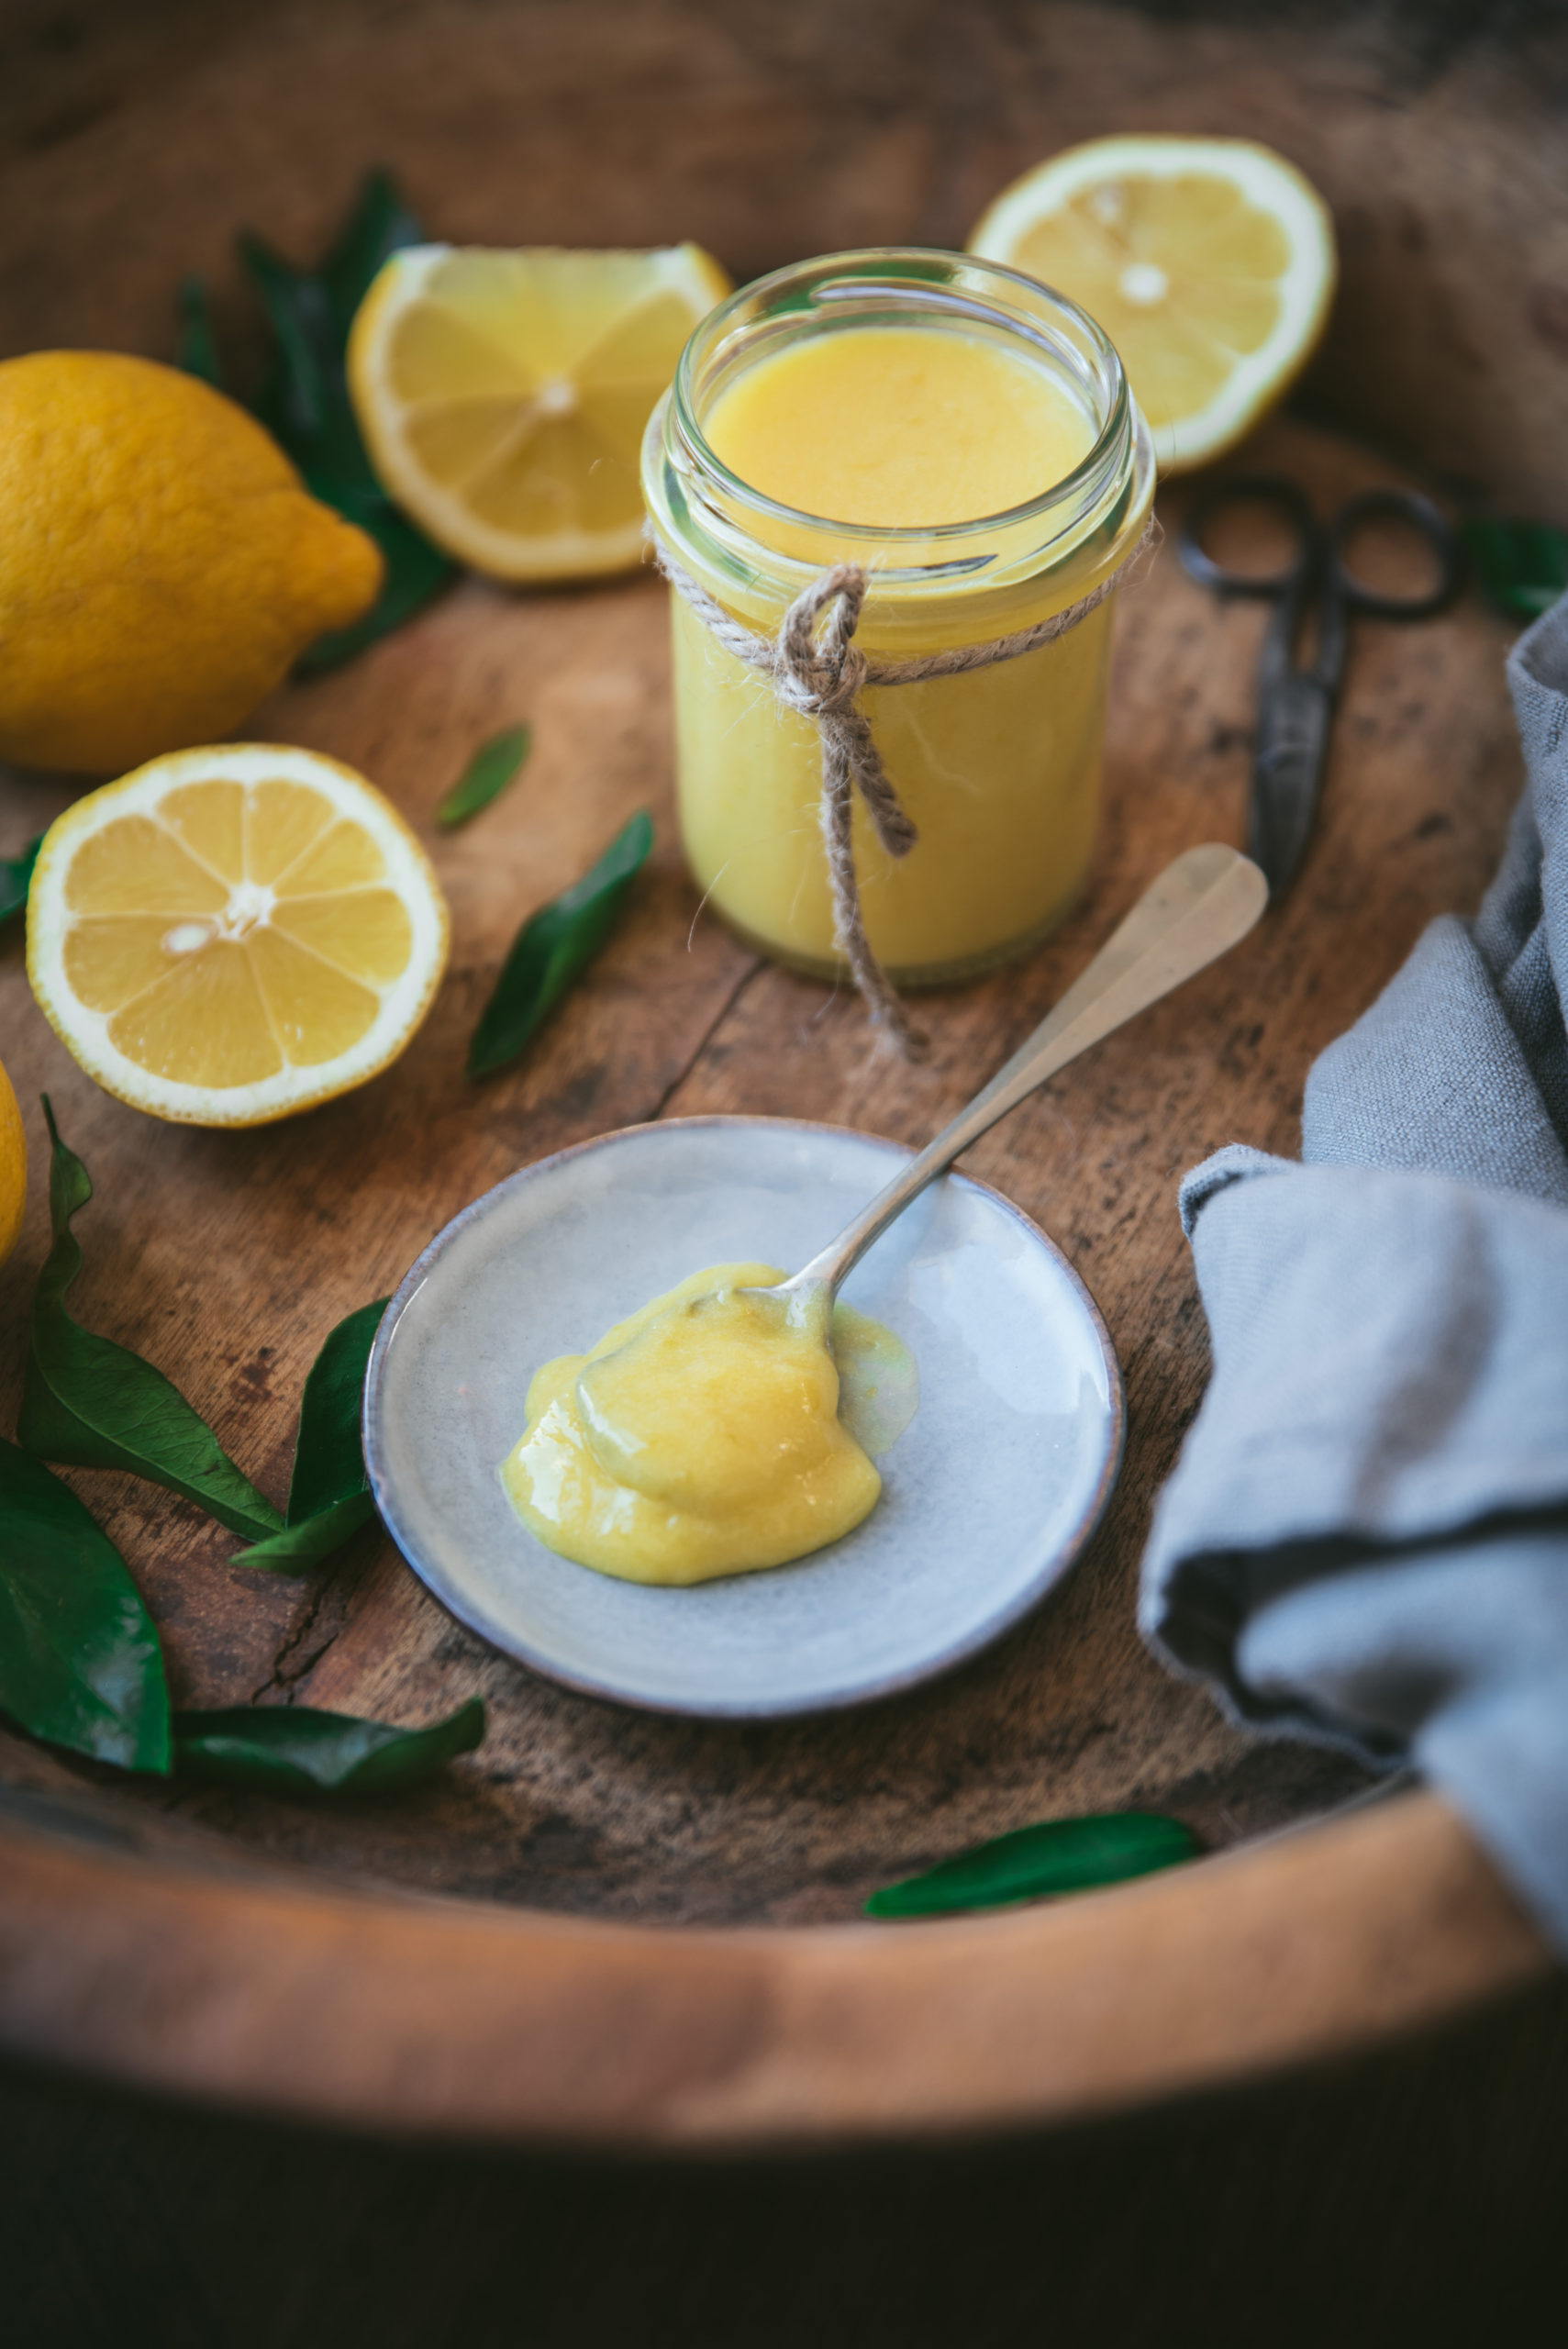
9. Lemon Curd
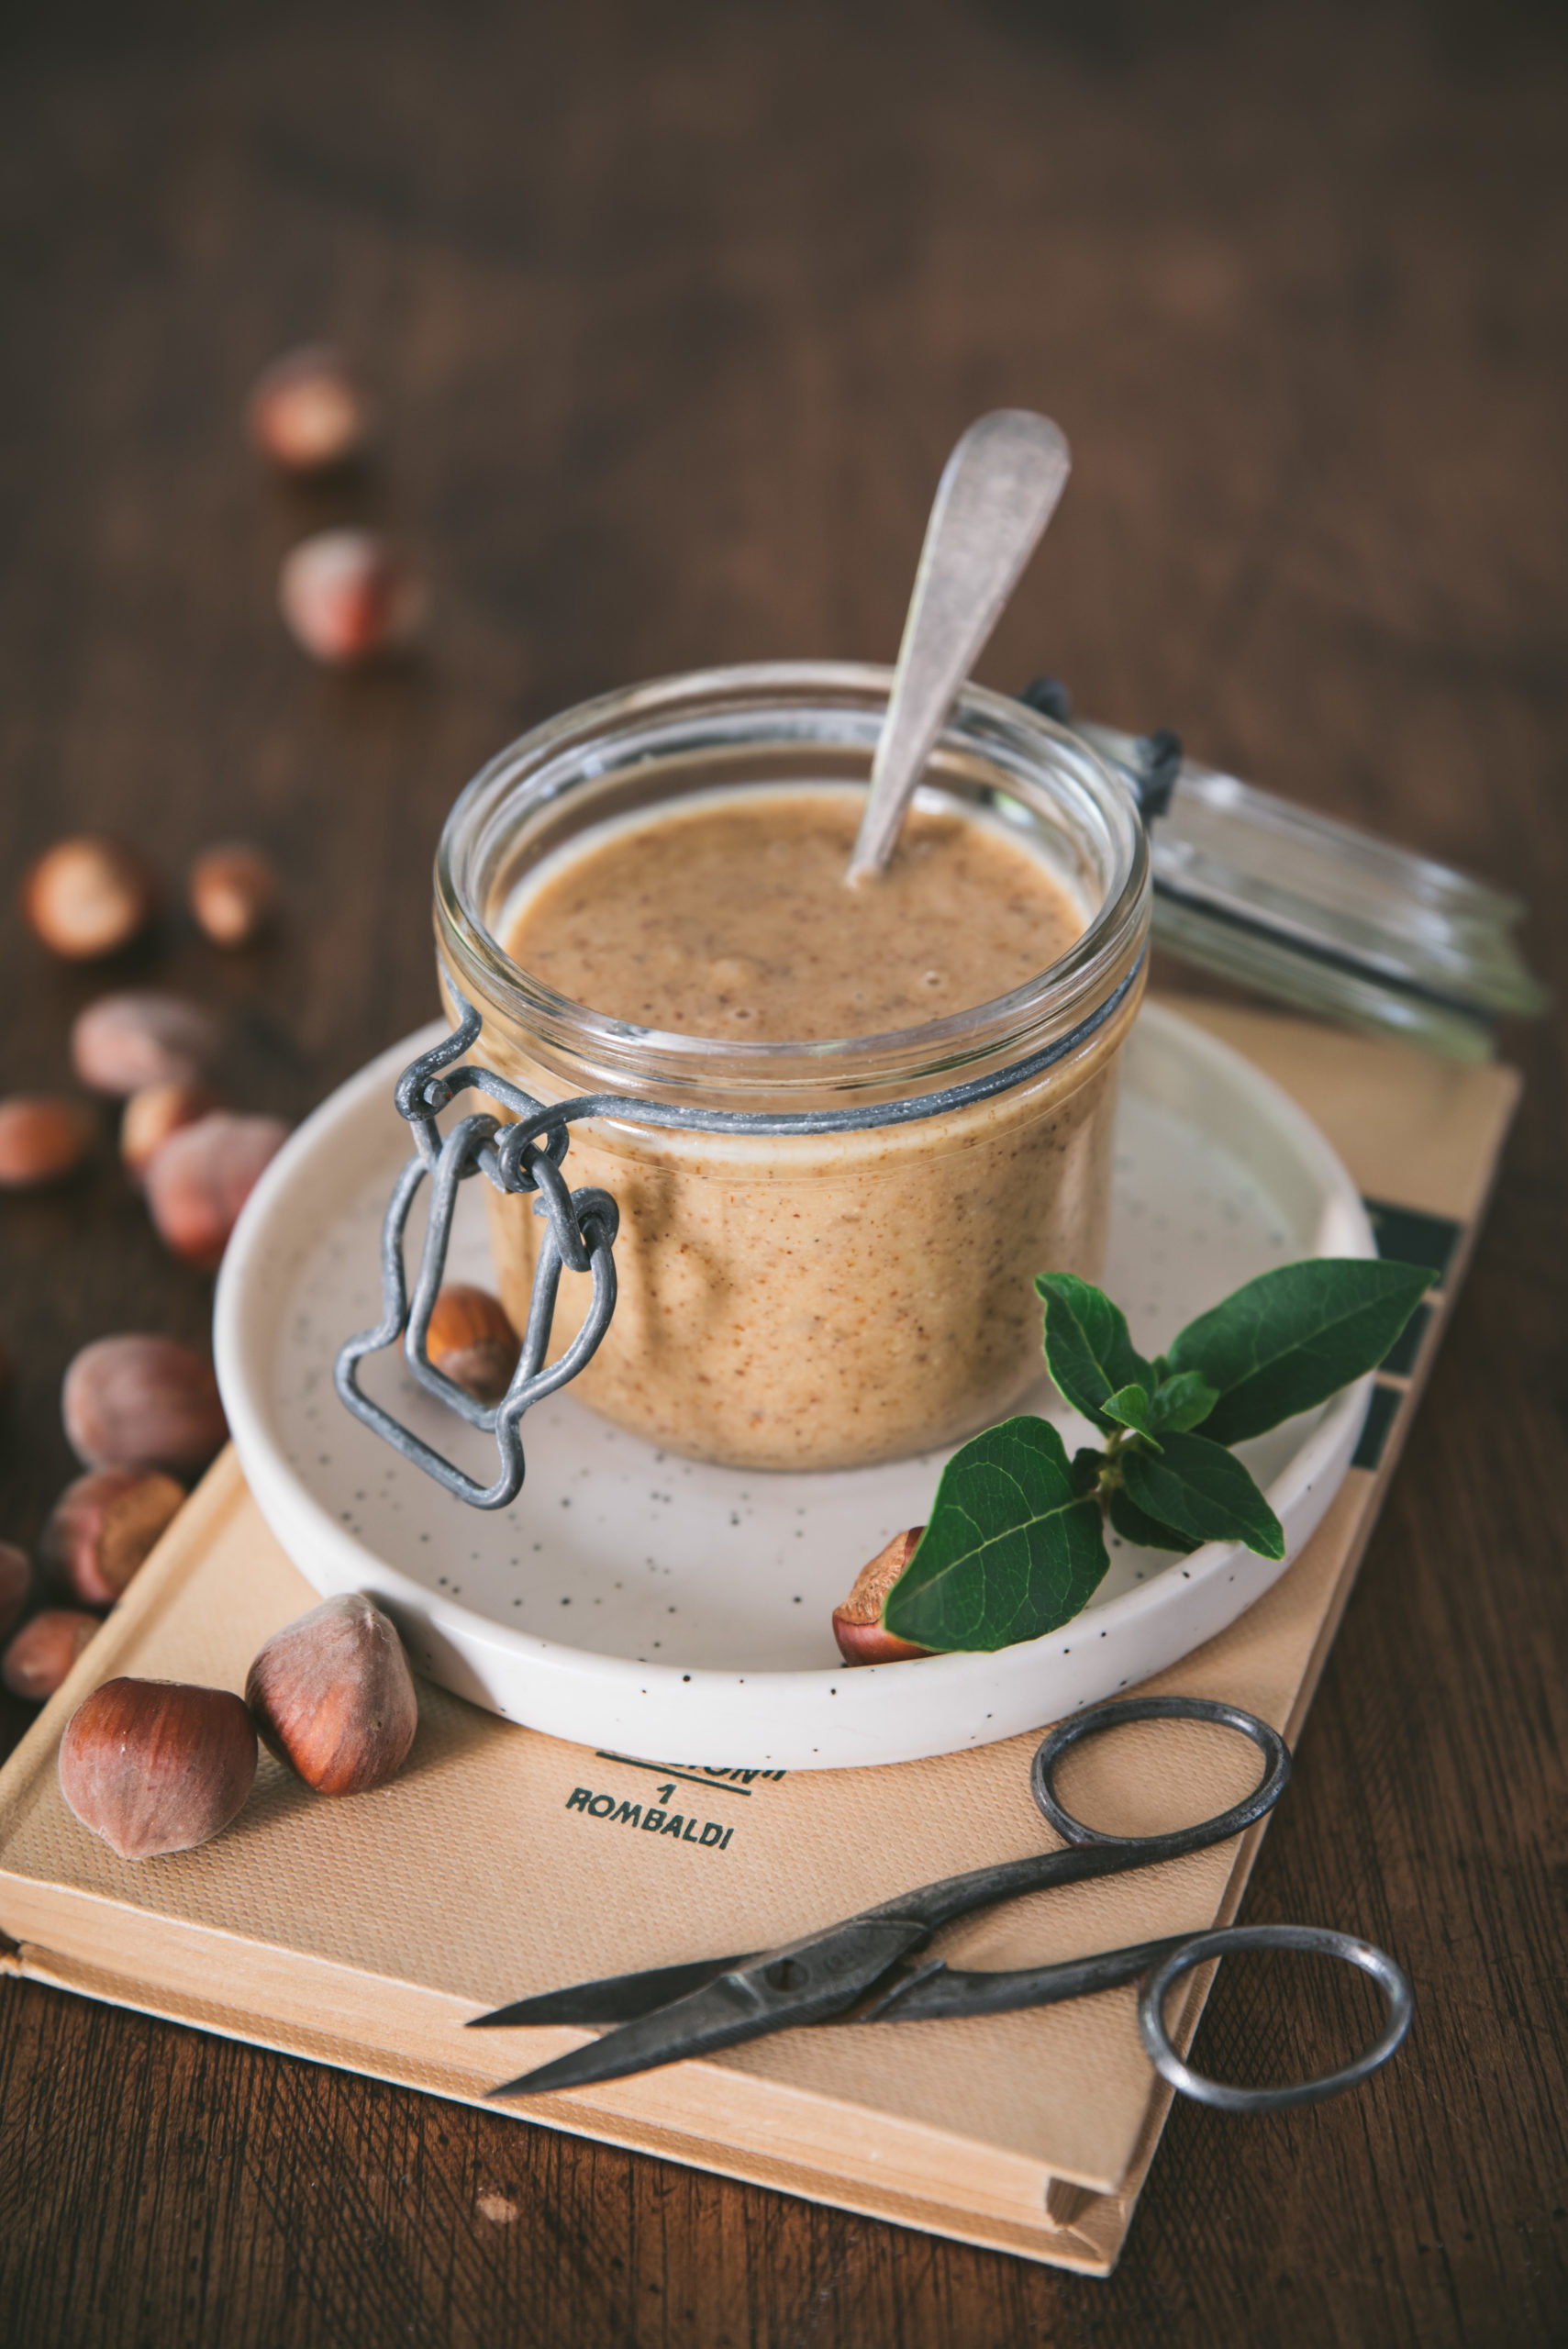
10. Hazelnut Praline Paste