10 Homemade Jam Recipe Ideas

Homemade Jam Recipe Ideas: Easy Tips for Making Jam at Home.
Making homemade jam is one of my favorite ways to enjoy seasonal fruit long after summer is over. There’s something pretty special about opening a jar of strawberry, apricot, plum, or blackberry jam in the middle of winter and getting that little taste of sunshine all over again.
And honestly, making your own jam is much easier than it sounds. You don’t need fancy equipment or complicated techniques. With good-quality fruit, sugar, a little lemon juice, and a few simple tricks, you can make delicious homemade jam right in your own kitchen.
Whether you’re looking for homemade jam recipe ideas, wondering how to make jam from fresh fruit, or simply have a basket of ripe fruit that needs using up, this guide will get you started.
From choosing the best fruit to knowing when your jam is ready, here are my tried-and-tested tips for making homemade jam that tastes like the fruit you started with.
How to Make Homemade Jam: My Best Tips
1. Start with really good fruit
This is the golden rule: the better the fruit, the better the jam.
Choose ripe, fragrant, seasonal fruit that is full of flavor. Strawberries, raspberries, blackberries, apricots, peaches, plums, cherries… there are so many possibilities.
You don’t need picture-perfect fruit, but avoid fruit that is badly damaged or completely overripe. Jam may be a great way to use up fruit that is past its prime, but it can’t magically turn bland fruit into great-tasting jam.
2. Get your jars ready
Clean jars are essential when making homemade jam.
For recipes intended for longer storage, use properly sterilized jars and follow a tested canning or preserving method. A simple approach is to wash the jars and lids thoroughly and sterilize them according to the method recommended for your recipe.
Once sterilized, let the jars drain and dry naturally rather than wiping the inside with a kitchen towel.
And one practical tip: have your jars ready before you start cooking the jam. Once the jam is bubbling away, you don’t want to be hunting around for clean jars.
3. Prepare the fruit carefully
Wash the fruit quickly and gently, then drain it well. Remove the stems, pits, cores, or leaves and cut larger fruit into pieces.
Weigh the prepared fruit before adding the sugar. The amount of sugar depends on the fruit, the recipe, and how you plan to store the jam. For a less sweet homemade jam, some recipes use around 40–50% sugar by weight, while traditional jam recipes often use considerably more.
For an easy homemade jam, combine the fruit and sugar and let it macerate for a few hours or, even better, overnight. This gives the sugar time to draw out the fruit’s juices and helps everything cook more evenly.
4. Cook the jam
Transfer the fruit and sugar to a large, wide pan. A traditional copper jam pan is lovely if you have one, but a large stainless-steel saucepan works perfectly well too.
Add a little lemon juice. It brings some brightness to the flavor and can also help with setting, depending on the fruit.
Bring everything to a good boil, stirring regularly so the fruit doesn’t stick to the bottom of the pan. Cooking time varies depending on the fruit, the amount of sugar, and the type of jam you’re making, so don’t rely on the clock alone.
You may notice some foam forming on the surface. You can skim it off if you like.
And what about pectin? Some fruits naturally contain more pectin than others. If your jam isn’t setting as you’d like, jam sugar or additional pectin can be useful, particularly with fruits that are naturally low in pectin.
5. How to know when your jam is ready
This is probably the part that feels the most intimidating the first time you make jam.
My favorite method is the cold plate test.
Place a small plate in the fridge or freezer before you start cooking. When you think the jam is ready, spoon a little onto the cold plate and let it cool for a few seconds. Push it gently with your finger or tilt the plate.
If the jam wrinkles, thickens, or doesn’t immediately run across the plate, you’re getting close to the right consistency. If it’s still very runny, cook it for a little longer and test again.
Don’t overcook it, though. Jam continues to thicken as it cools, and too much cooking can affect both the texture and the fruit’s flavor.
6. Fill the jars while the jam is hot
Once your jam has reached the right consistency, carefully ladle it into the prepared hot jars, following the headspace and processing instructions for your particular recipe.
Wipe the rims if necessary, close the jars according to your preserving method, and let them cool safely.
Be careful here: hot jam can cause serious burns. A funnel can also make filling the jars much less messy.
A few final homemade jam tips
Once your jars are cool, label them with the type of jam and the date you made it. Trust me, six months from now you won’t necessarily remember whether that mysterious red jar is strawberry, raspberry, or your experimental strawberry-rhubarb batch!
For shelf-stable storage, follow a tested preserving recipe and processing method rather than relying solely on the jars being sealed or turned upside down. Once opened, store the jam in the refrigerator.
And that’s it! Homemade jam really doesn’t have to be complicated.
So grab those ripe summer berries, juicy stone fruits, or whatever seasonal fruit you have on hand, and start cooking. From classic strawberry jam to blackberry, apricot, plum, raspberry, or mixed-fruit combinations, there are endless homemade jam recipe ideas to try.
And there you have it! You’re ready to enjoy your homemade jams all winter long.
10 Homemade Jam recipe ideas
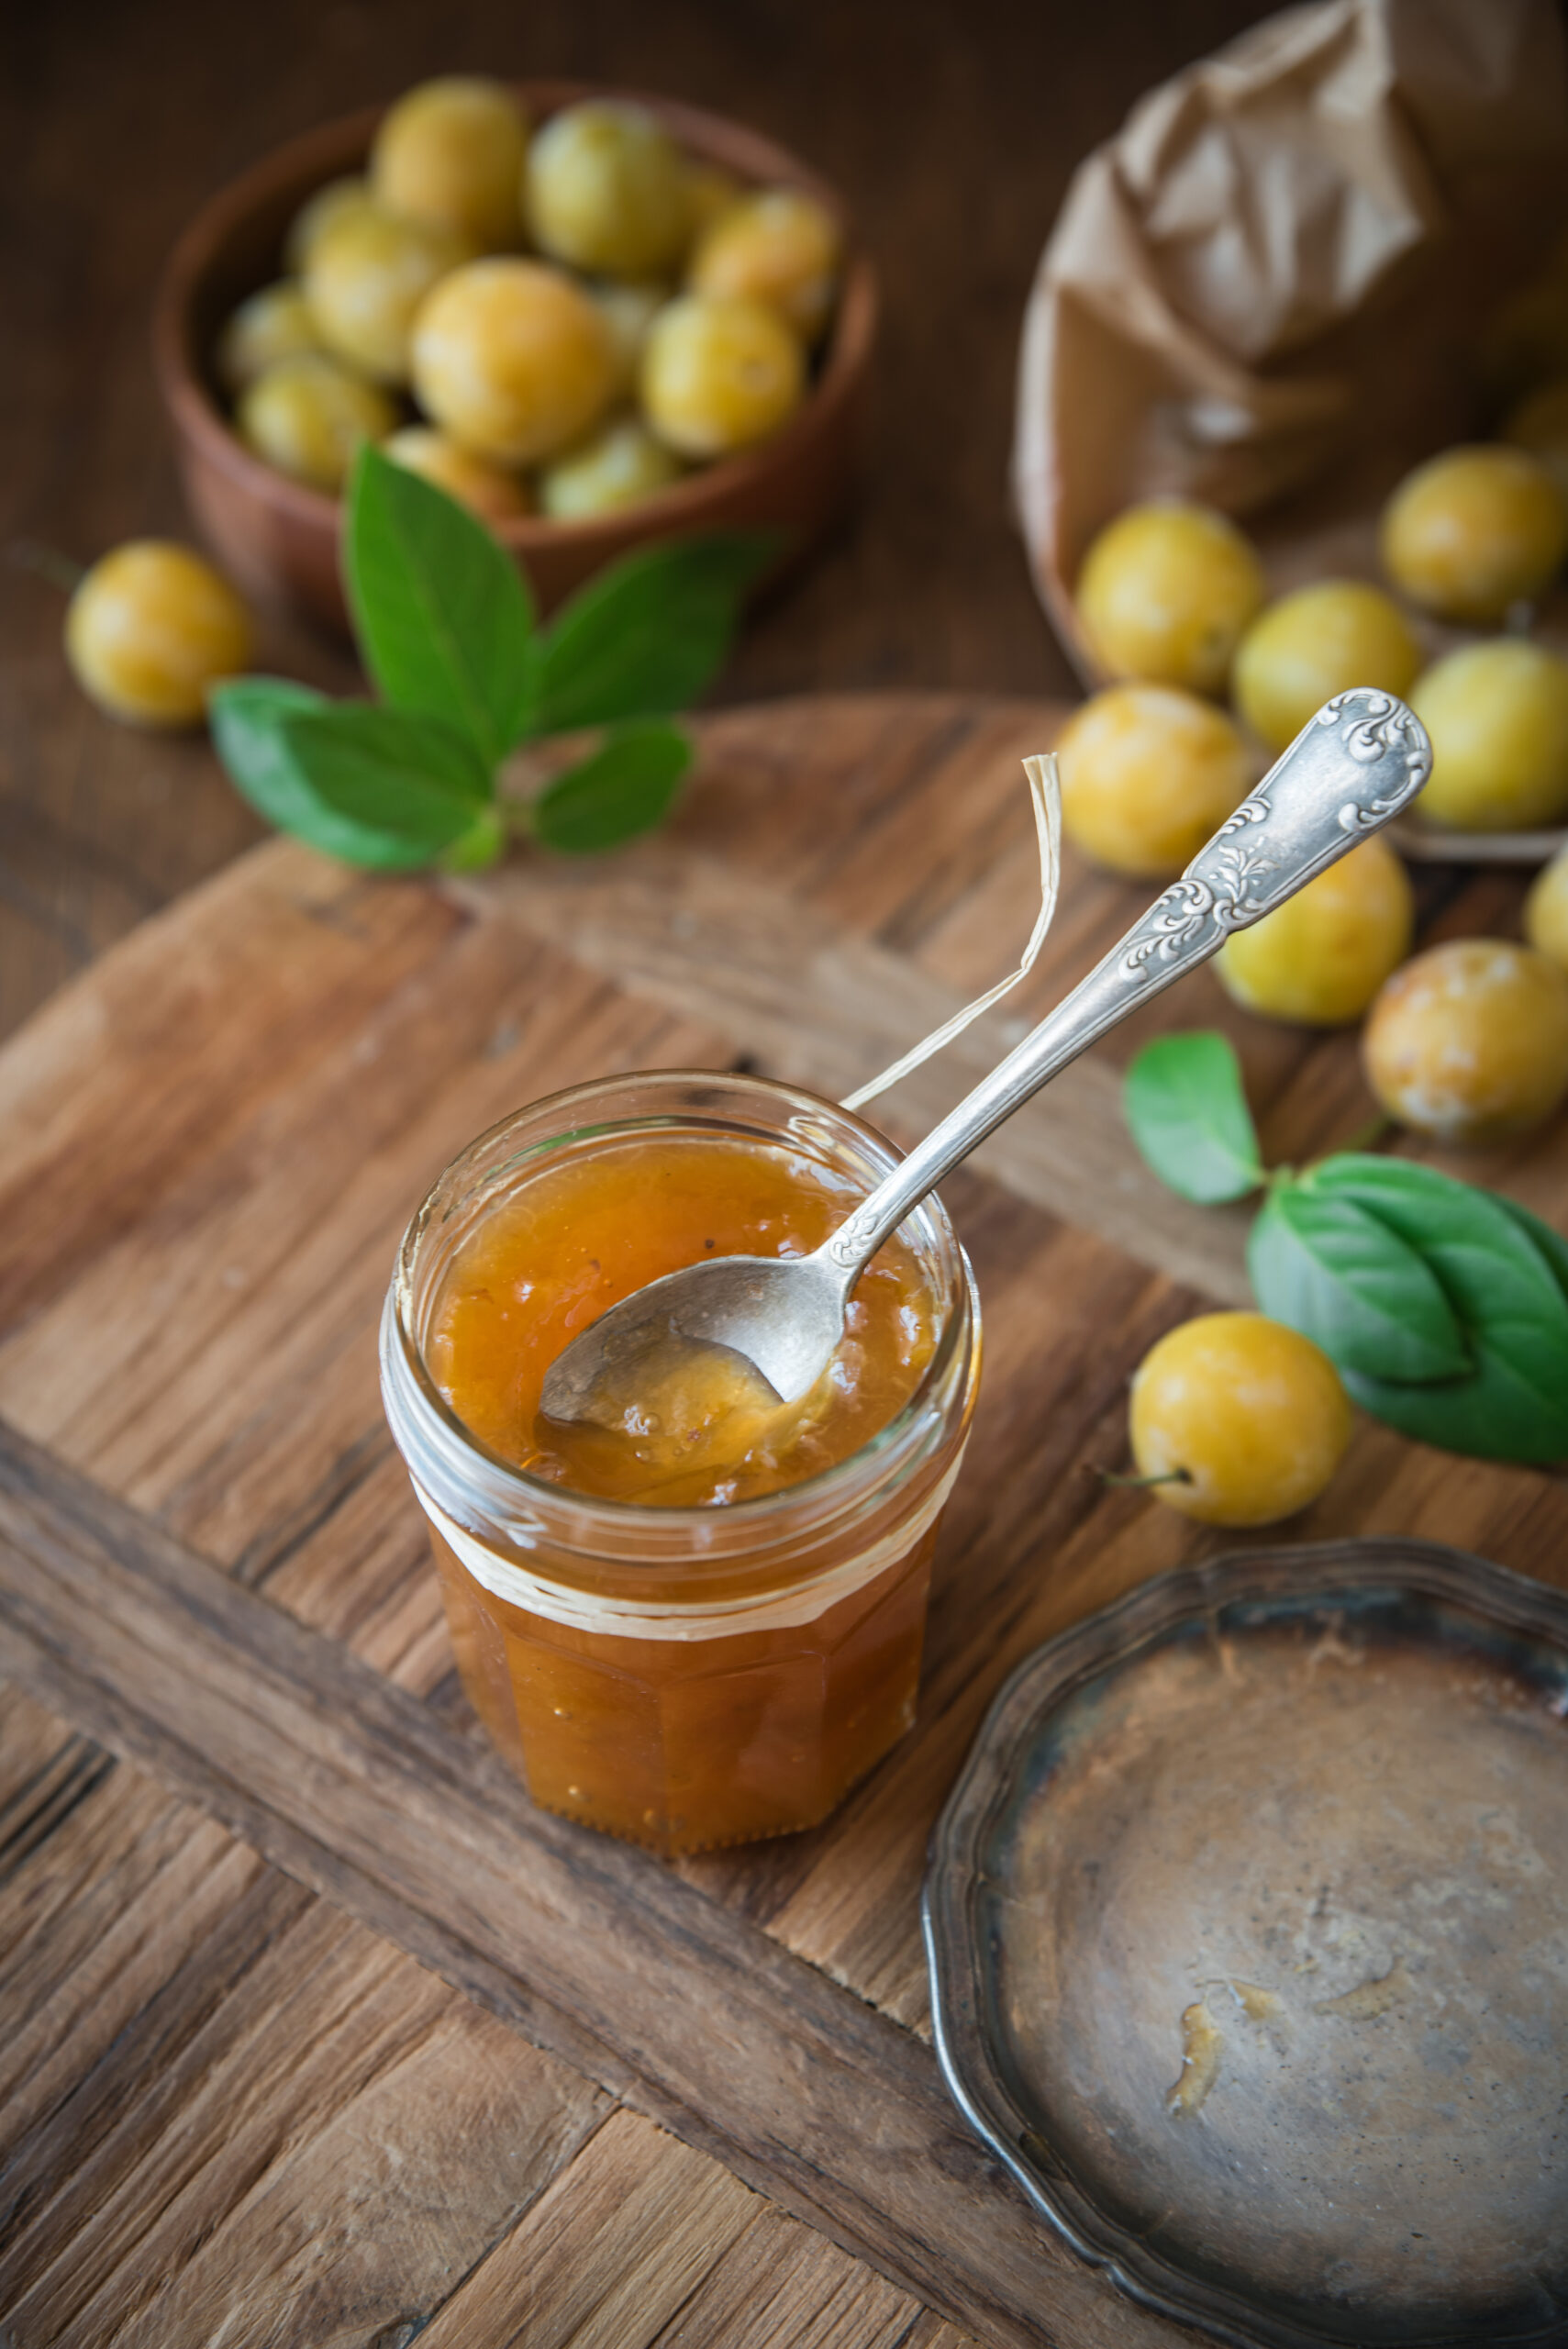
1. Mirabelle Plum Jam
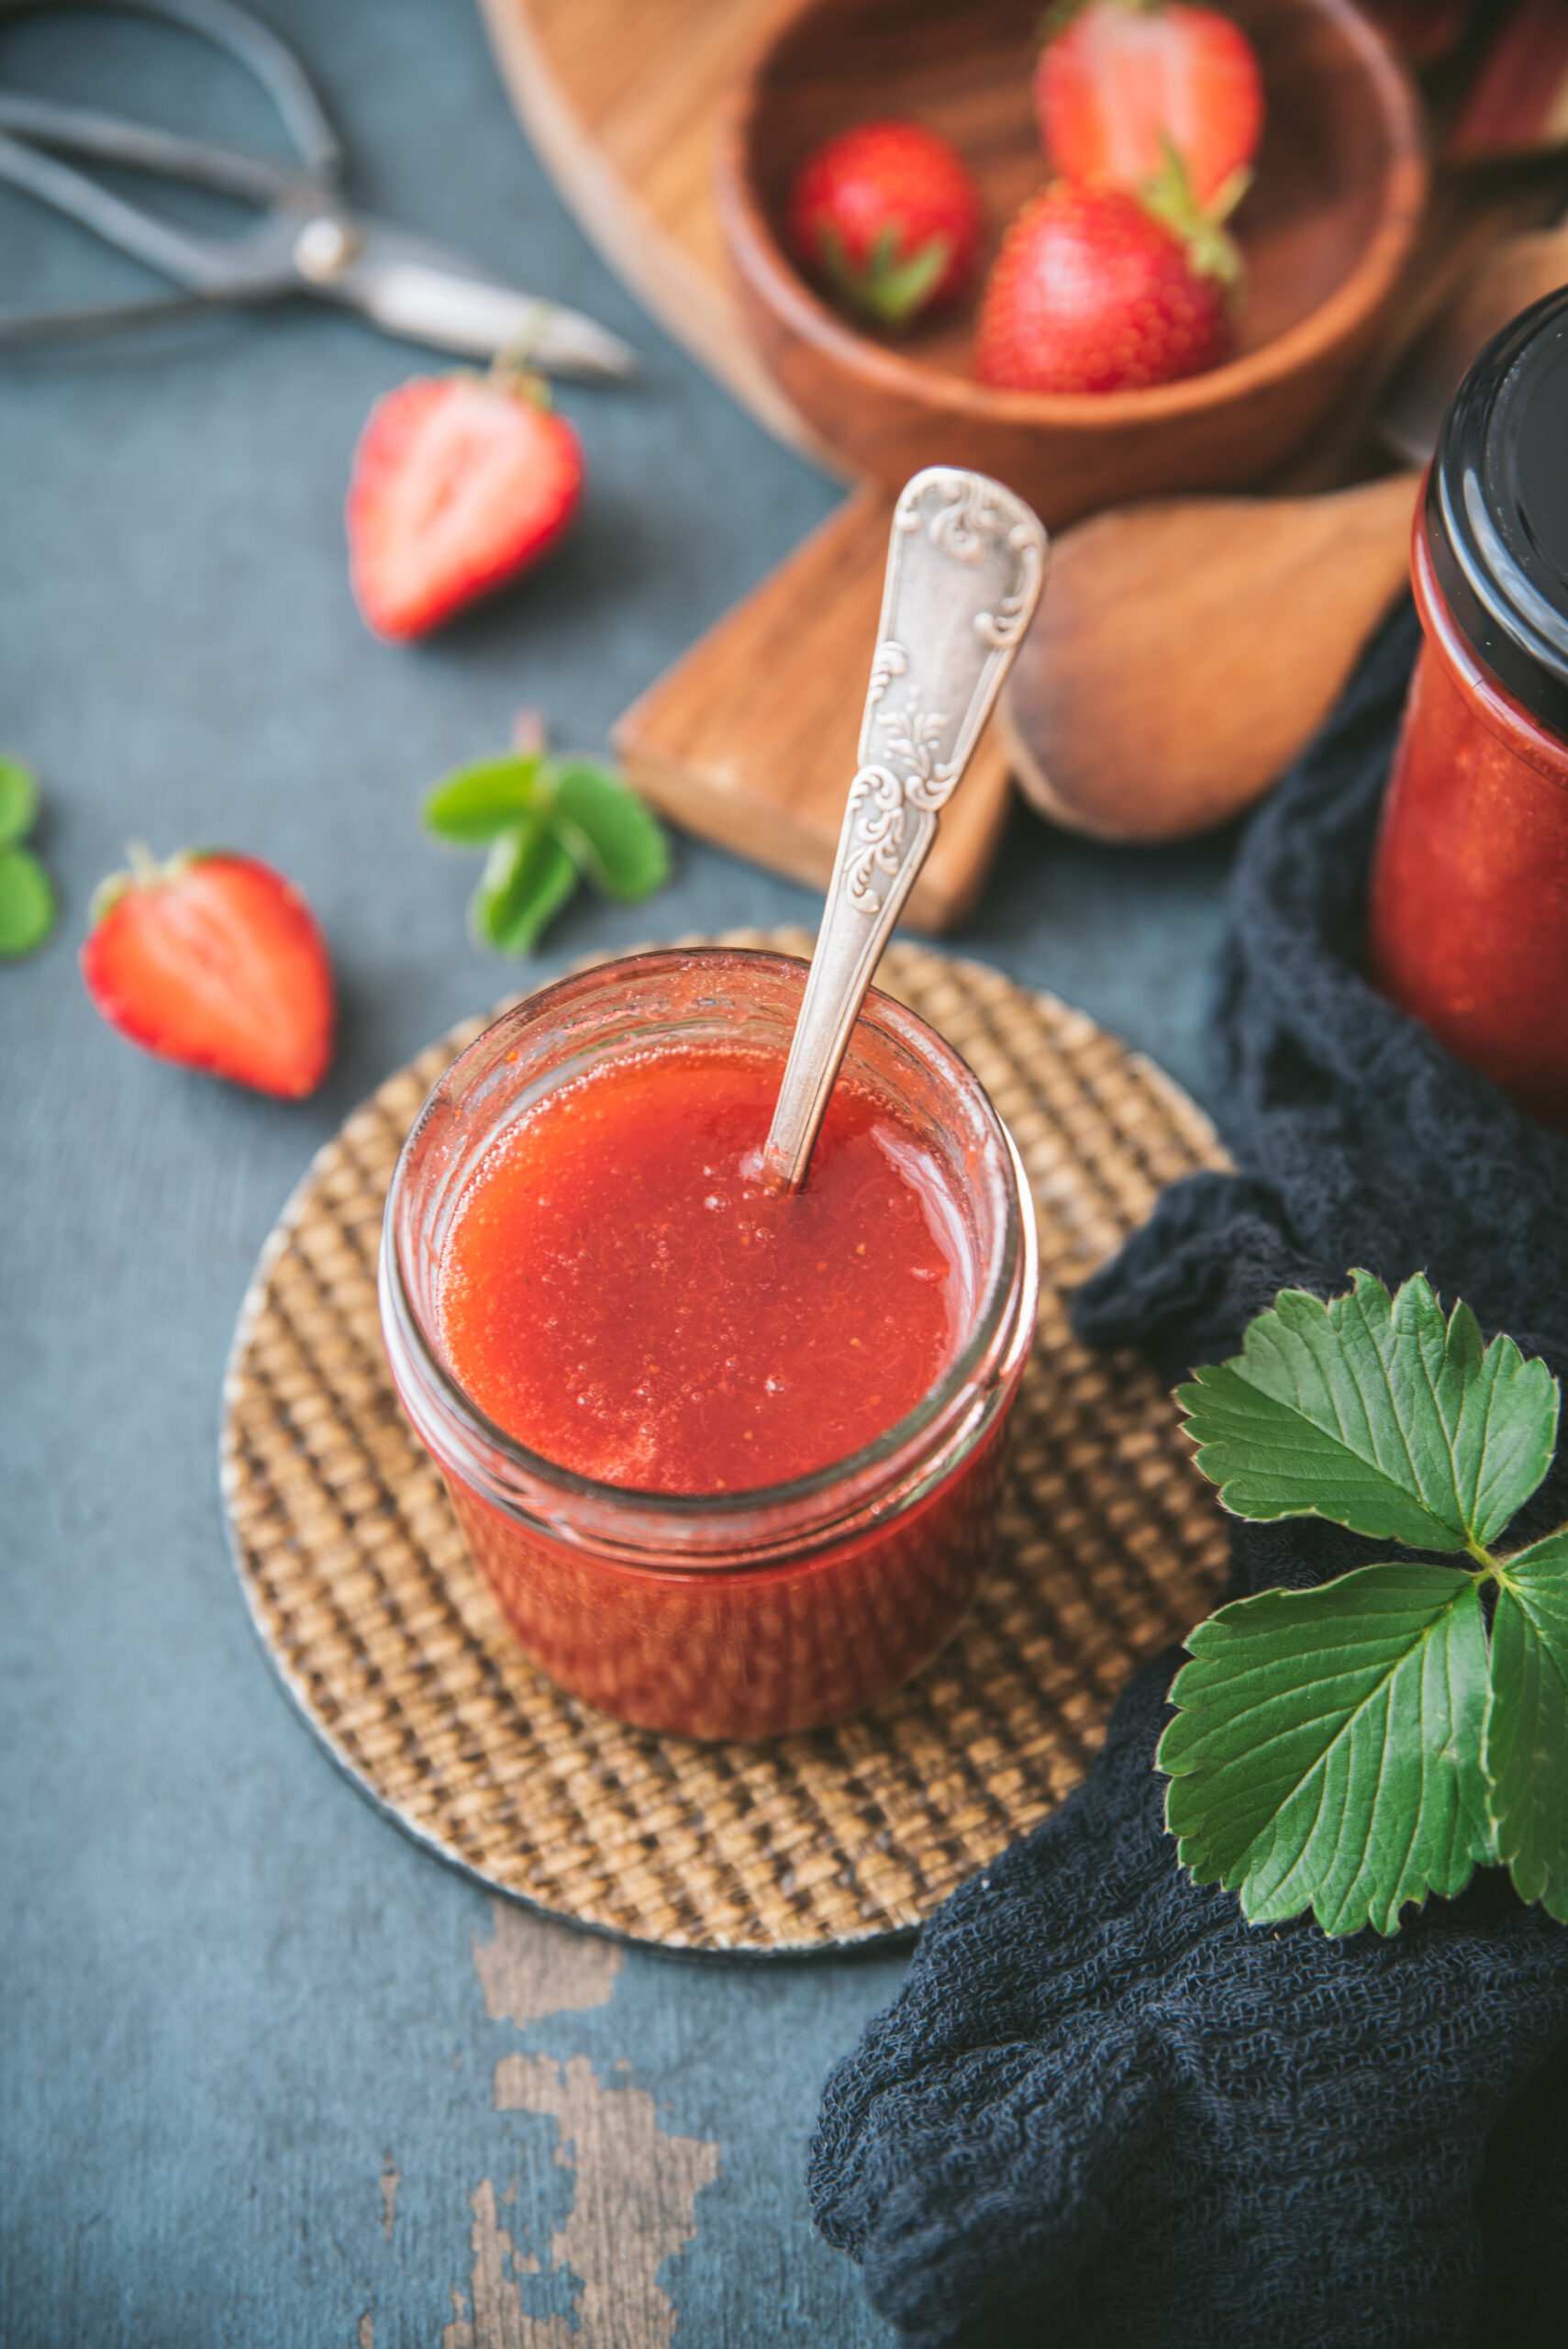
2. Strawberry Rhubarb Jam
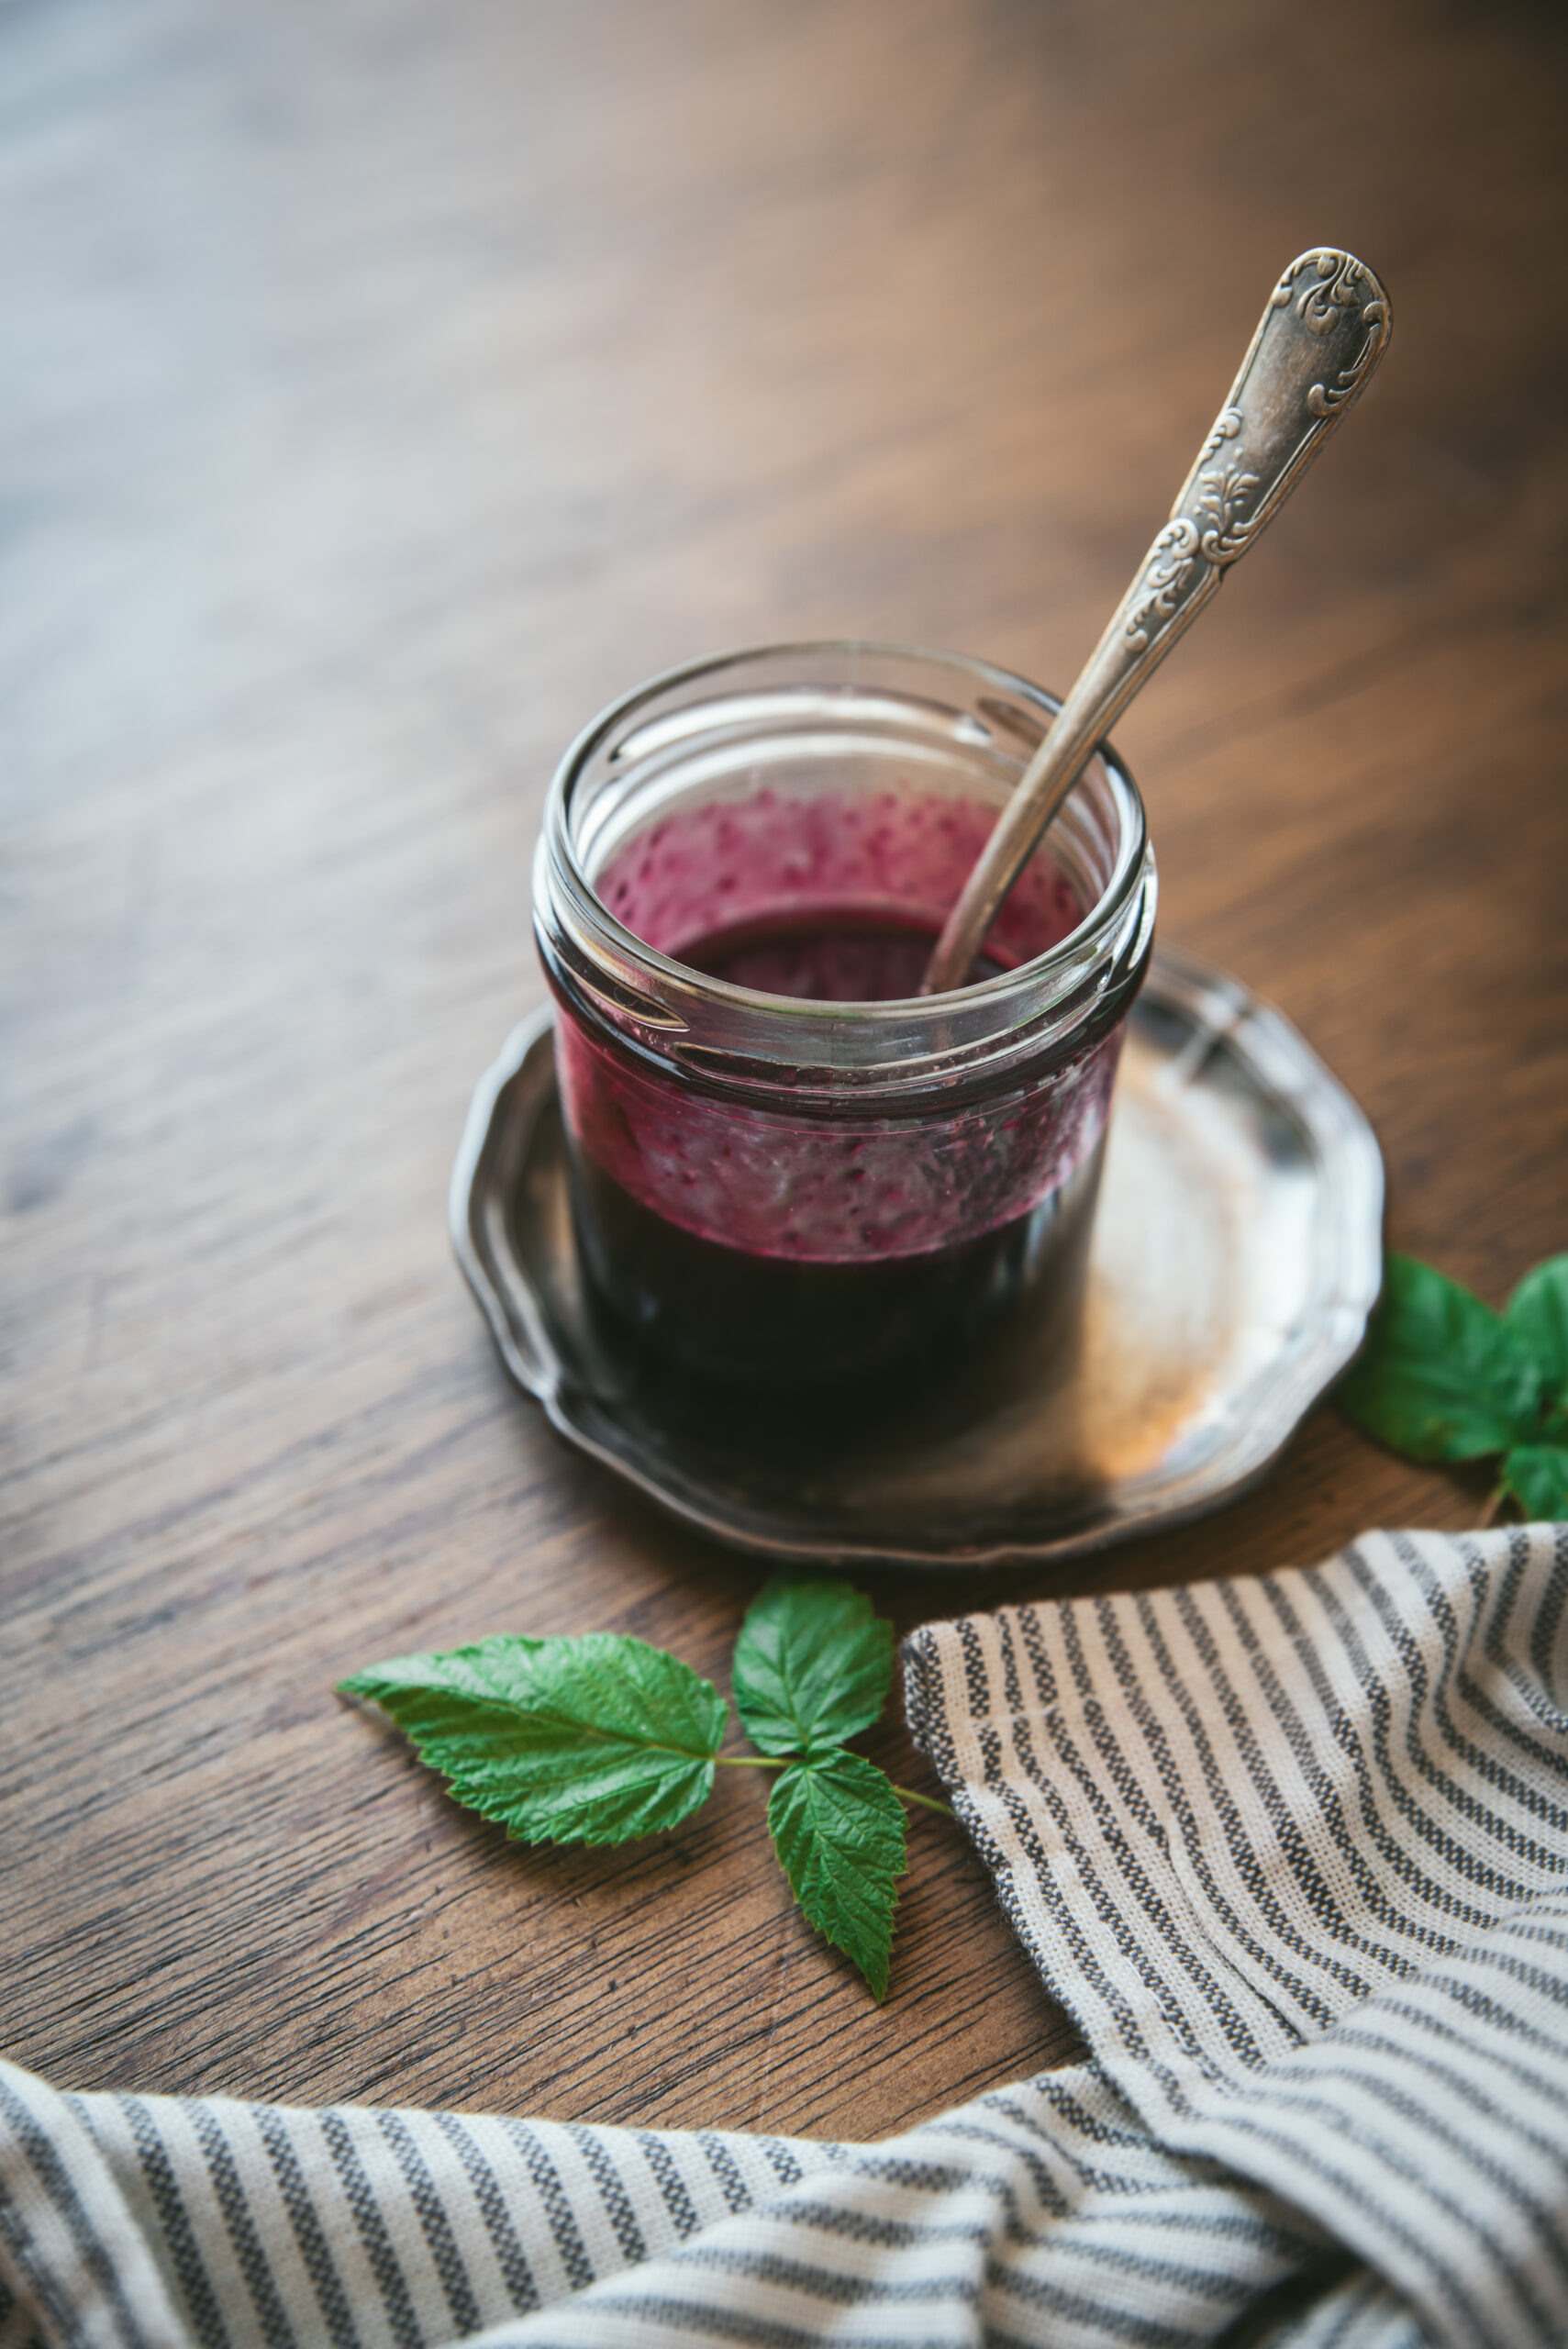
3. Blackberry Jam
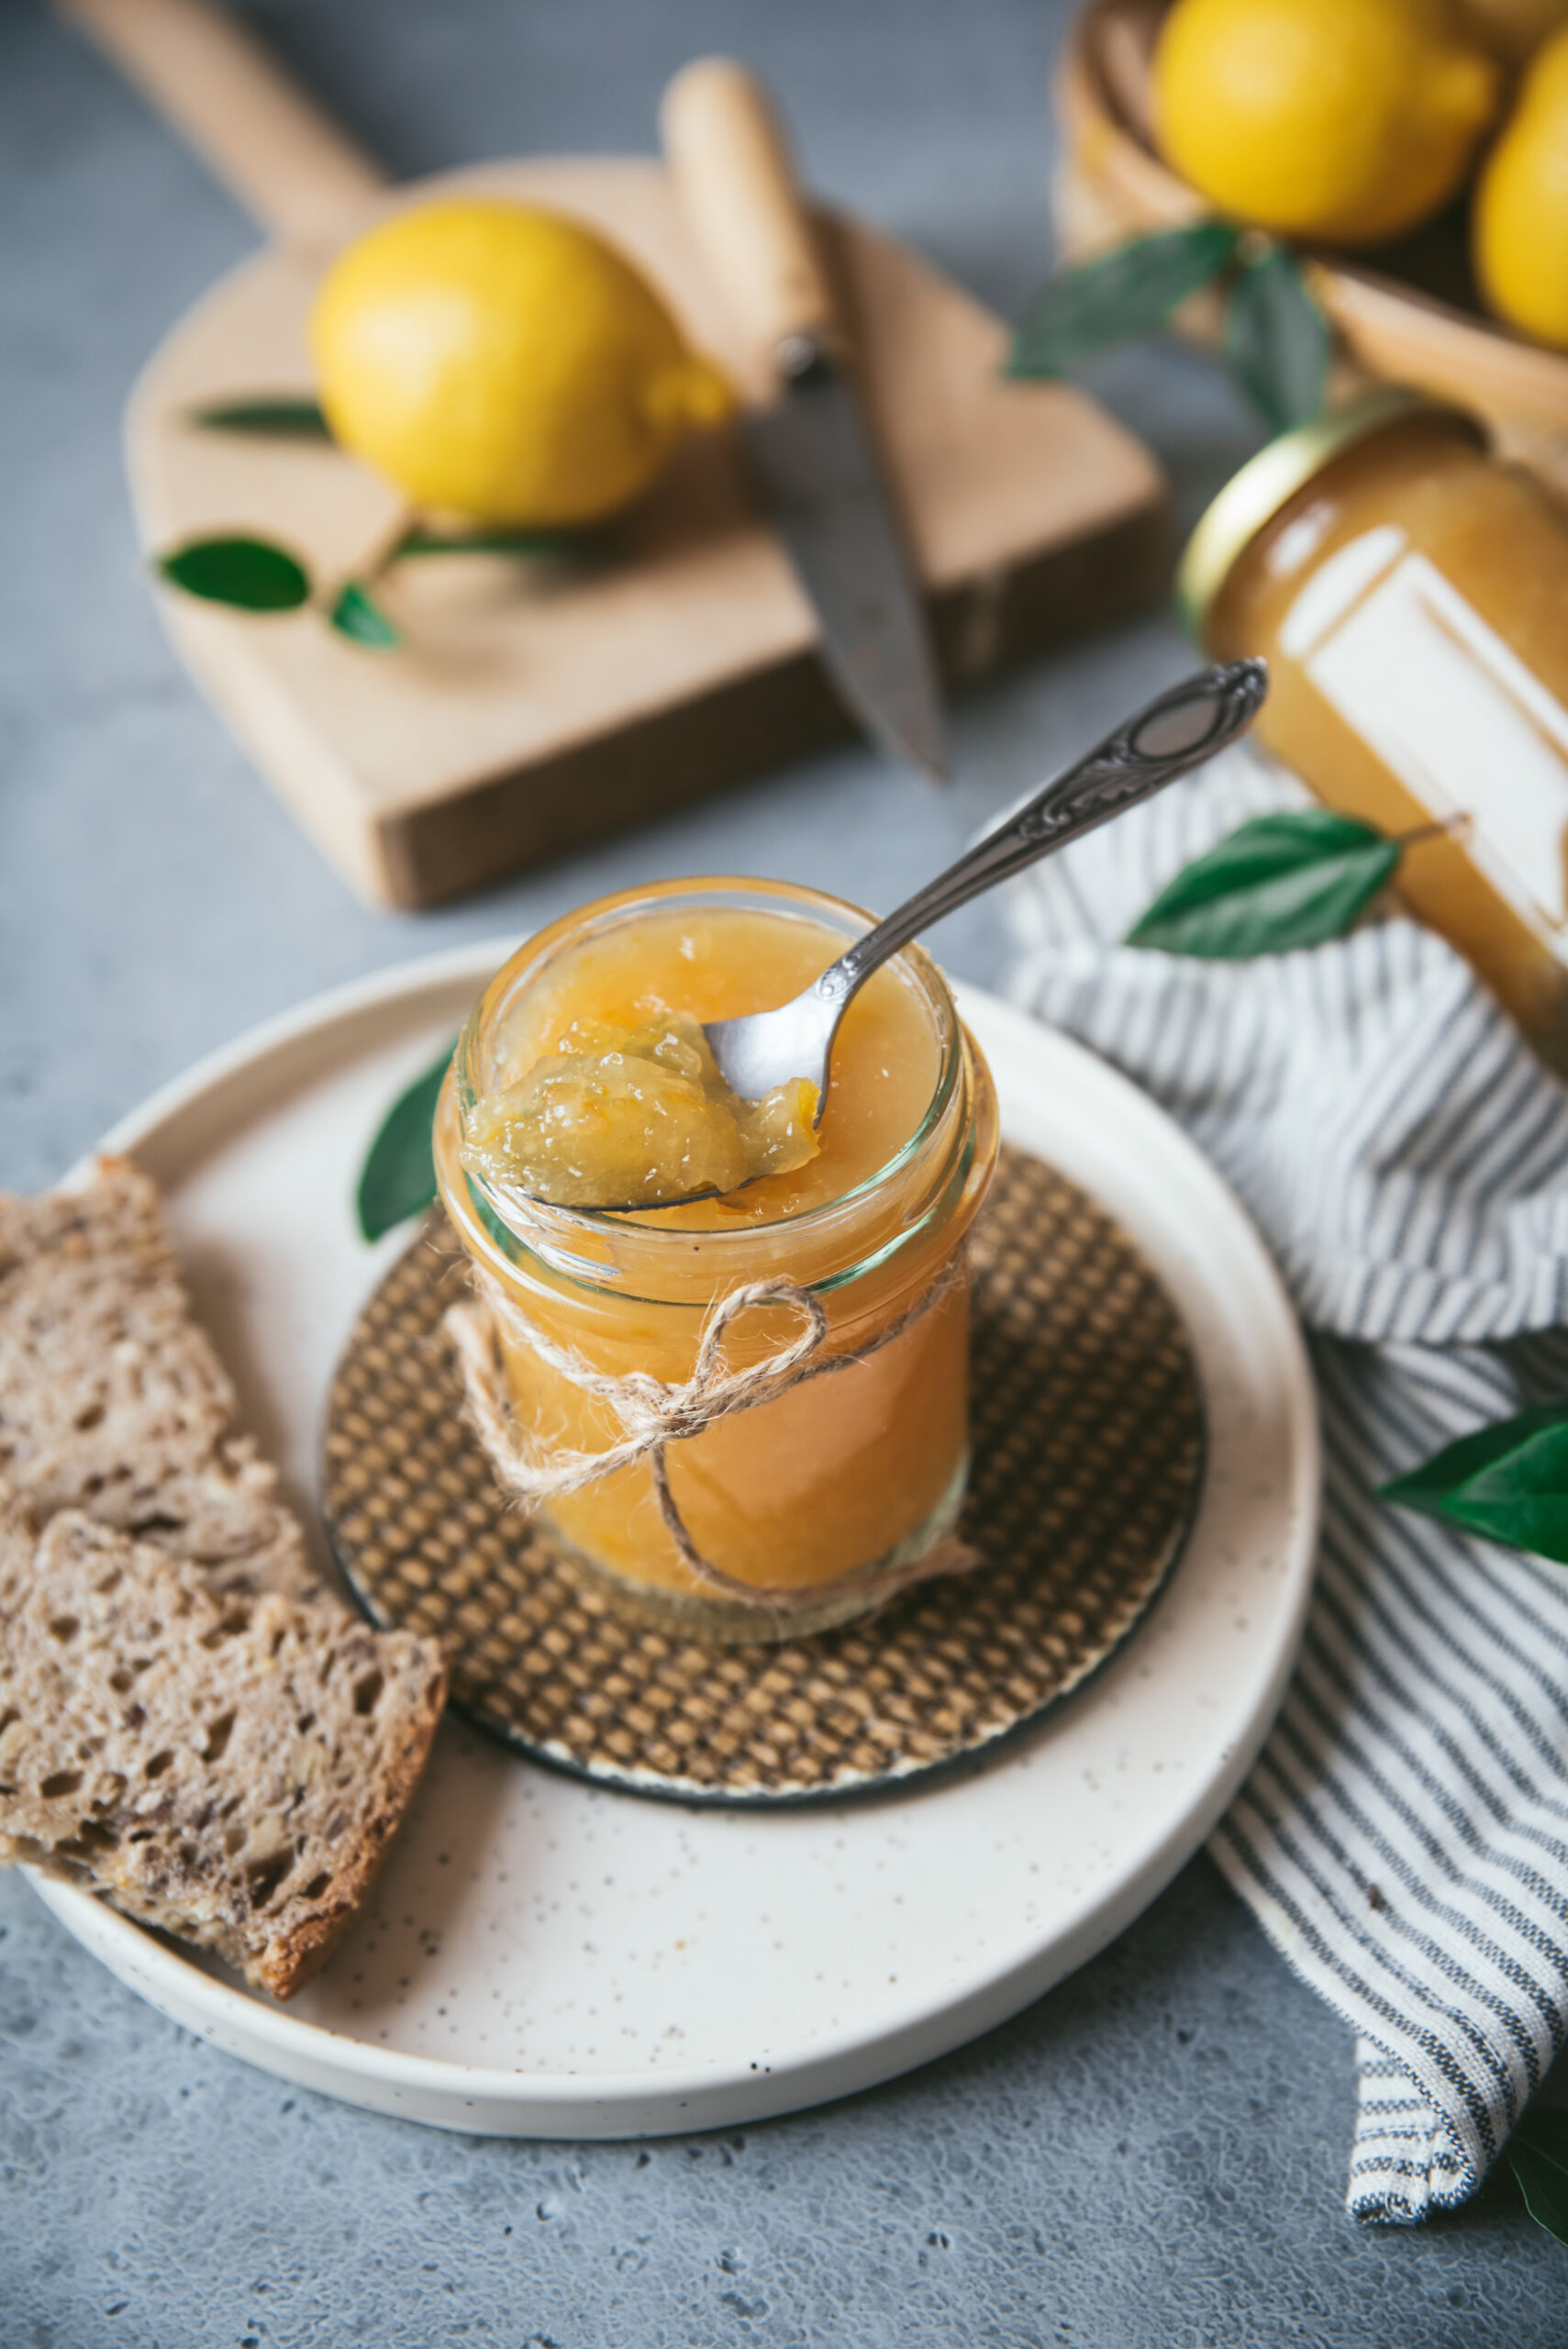
4. Lemon and Bergamot Jam
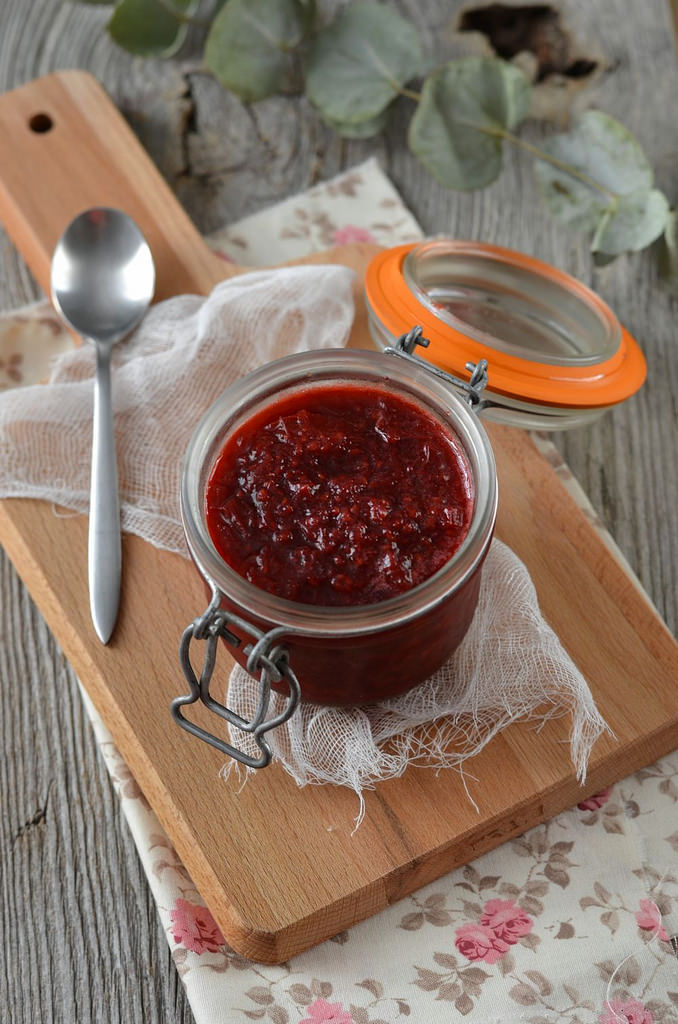
5. Rhubarb and Raspberry Jam
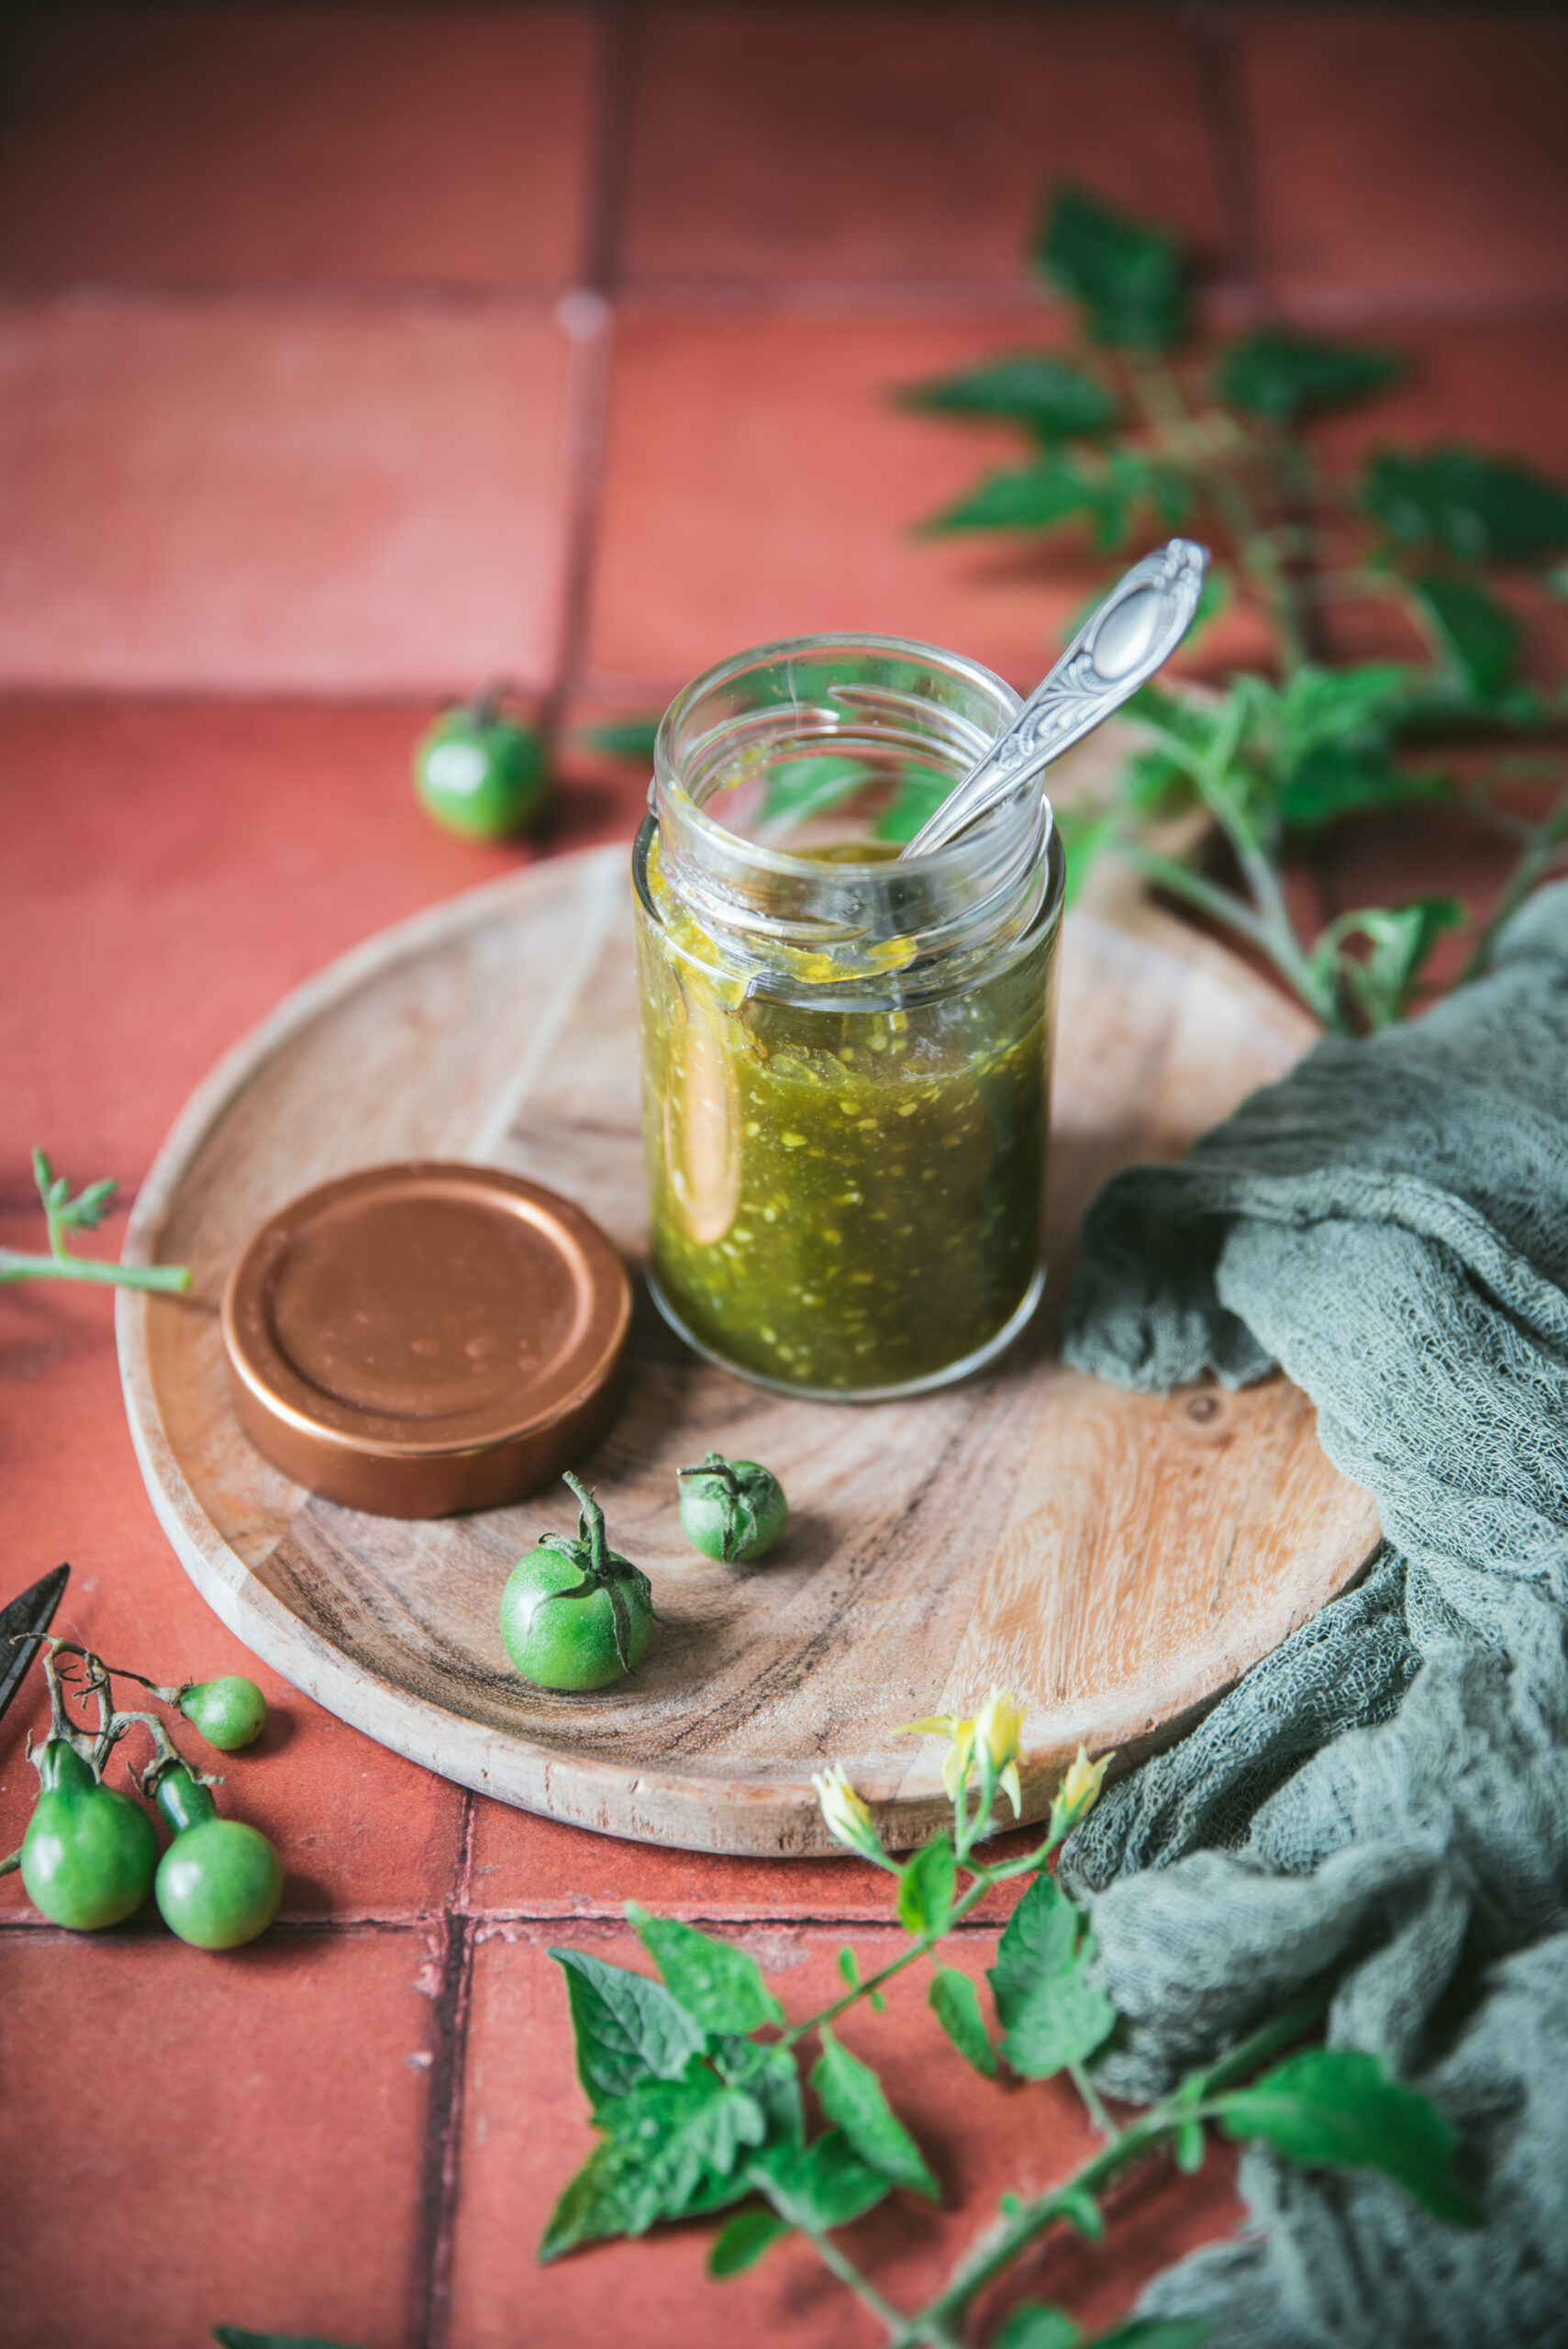
6. Green Tomato Jam
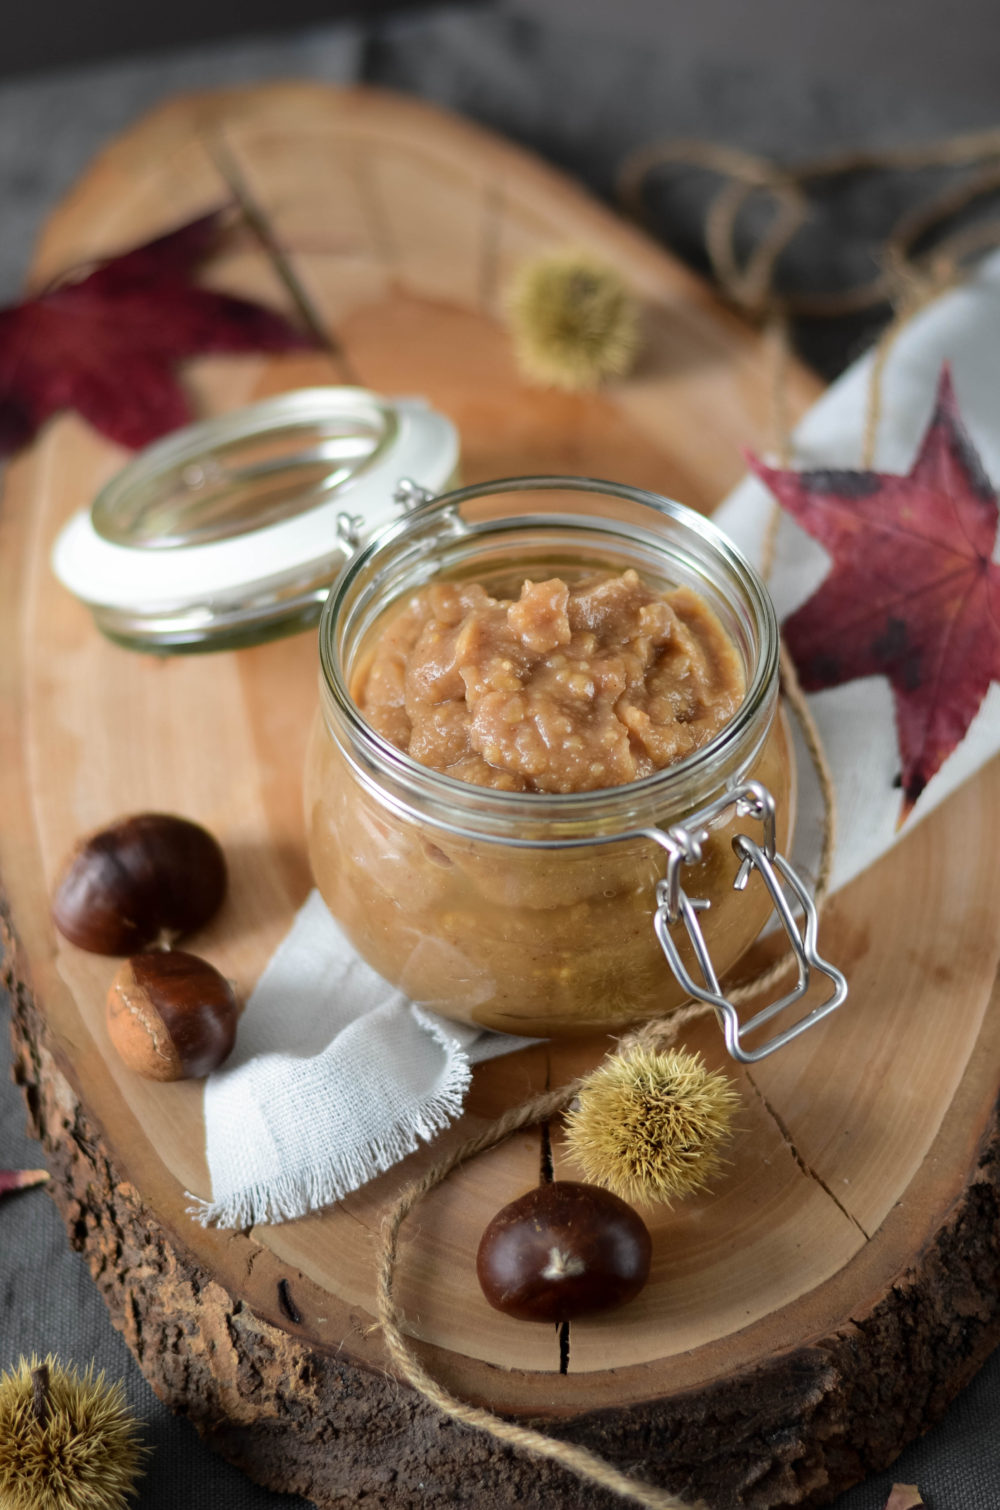
7. Chestnut Cream
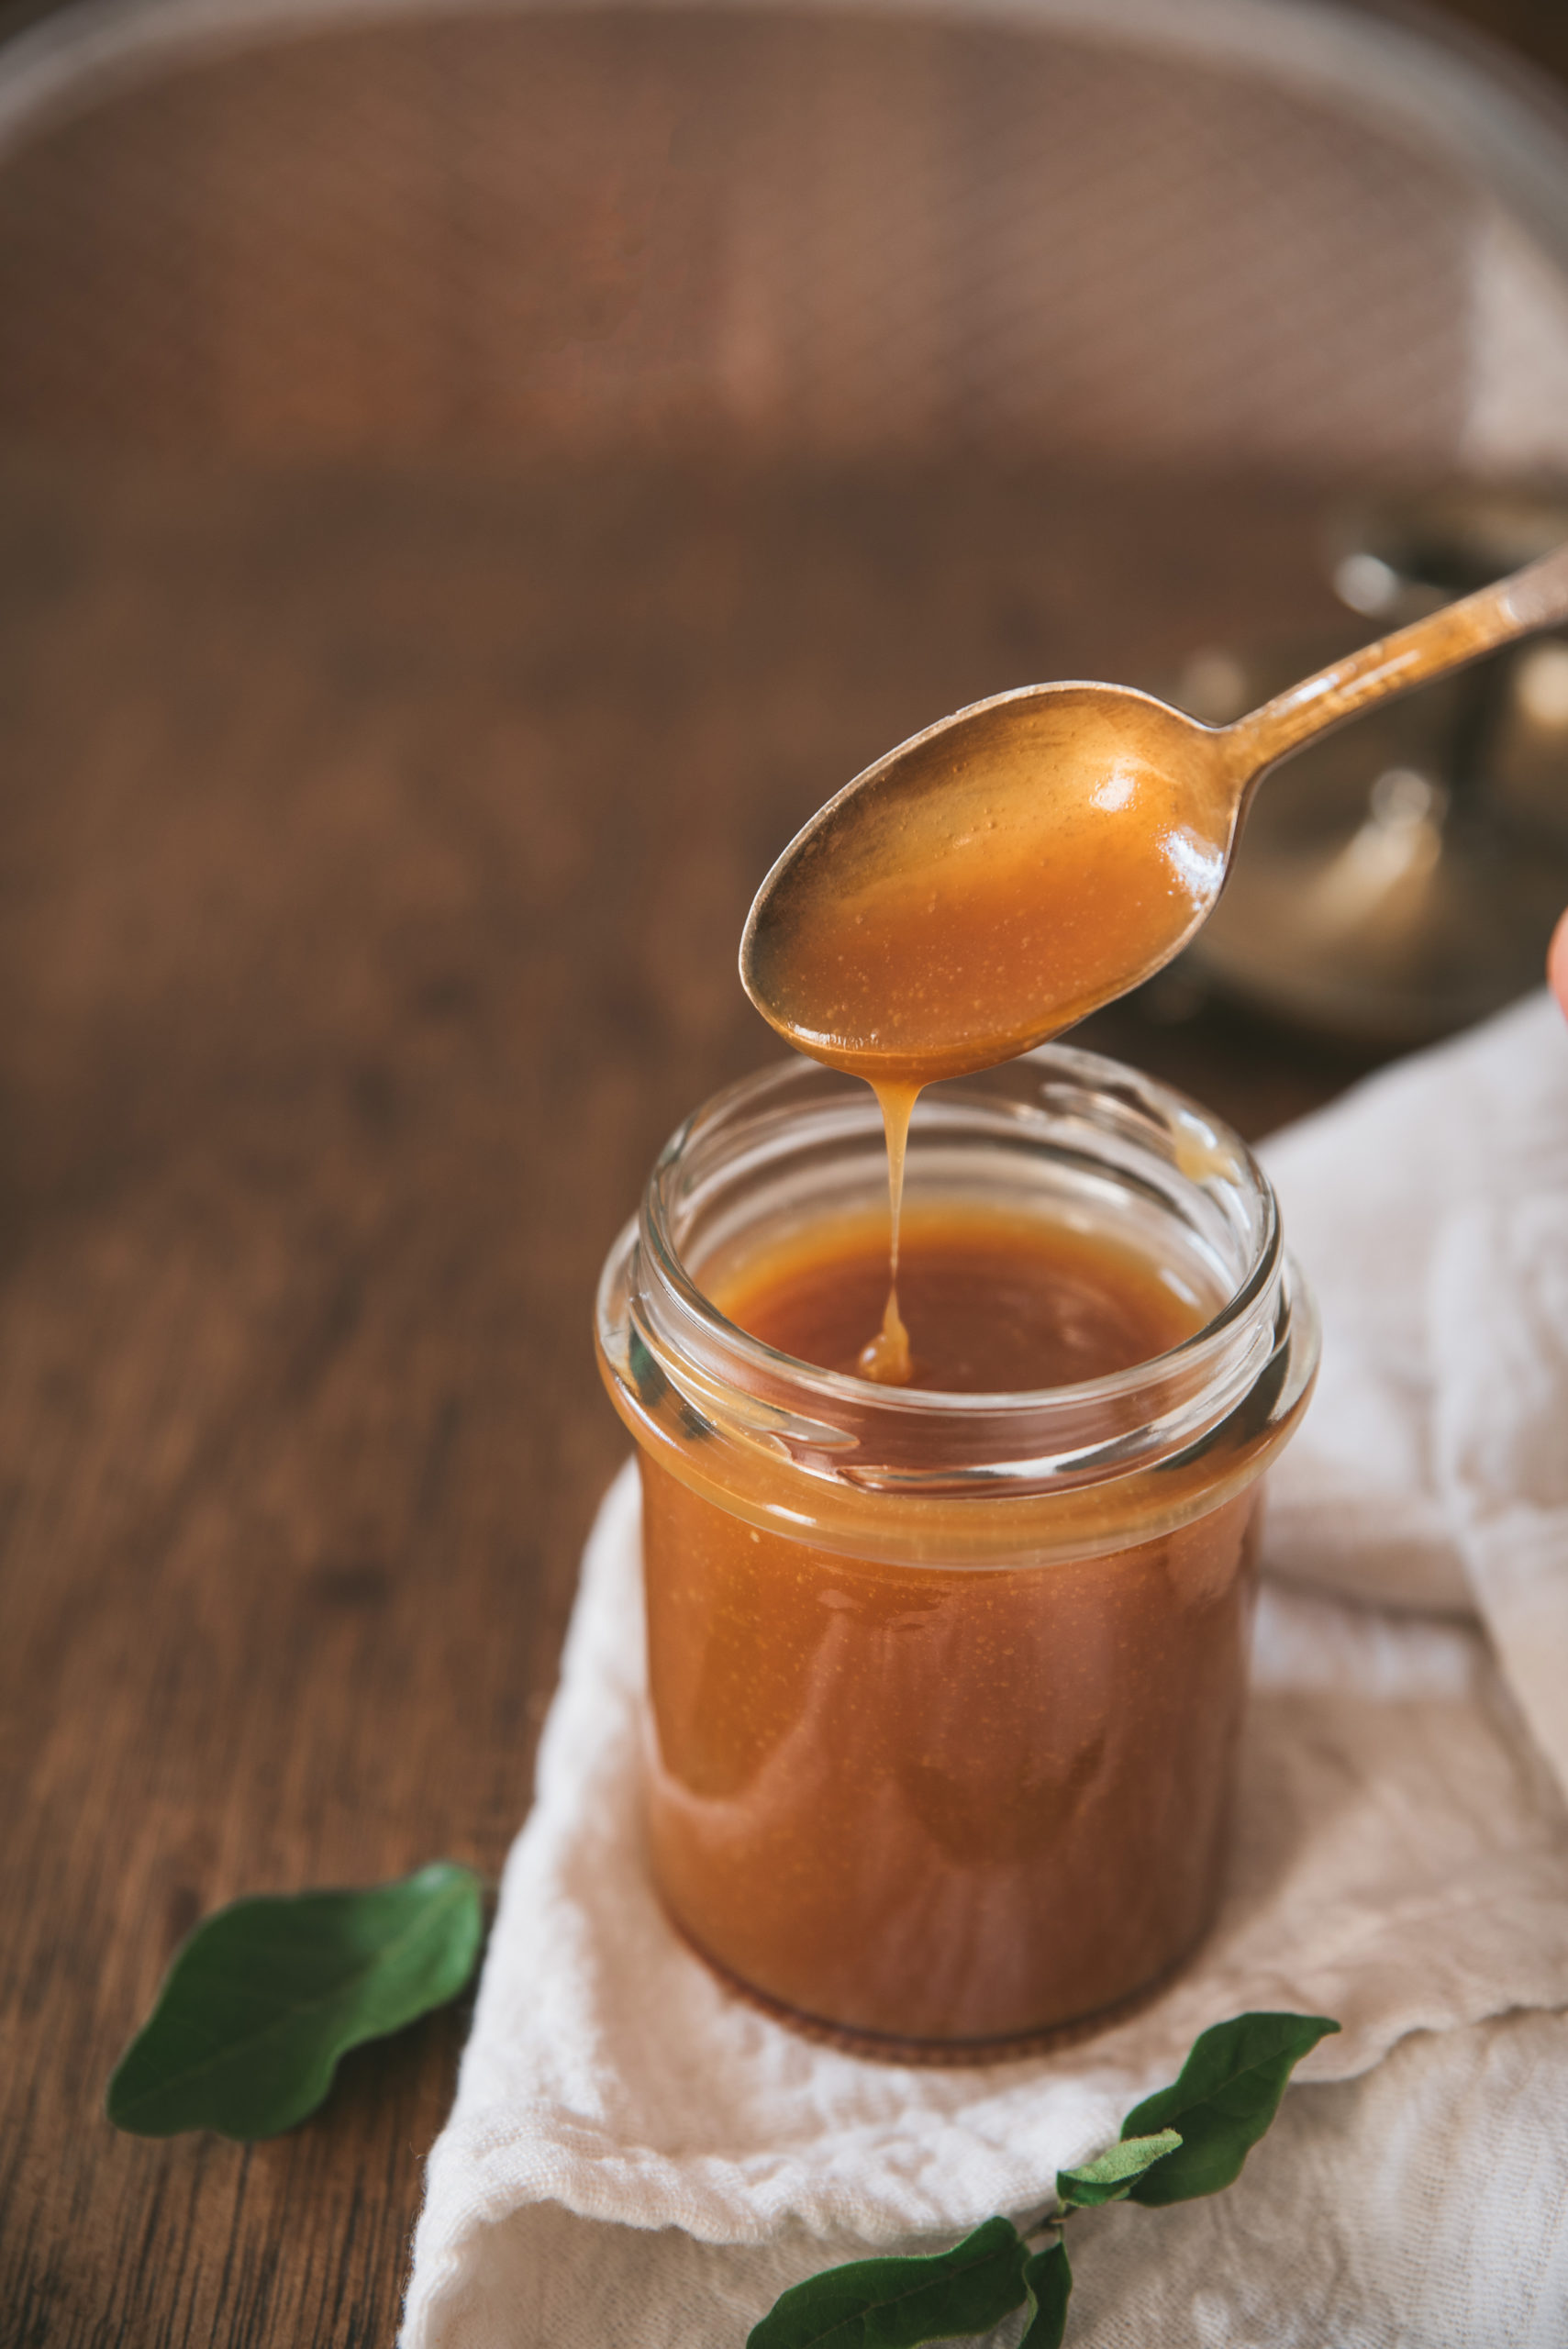
8. Salted Butter Caramel
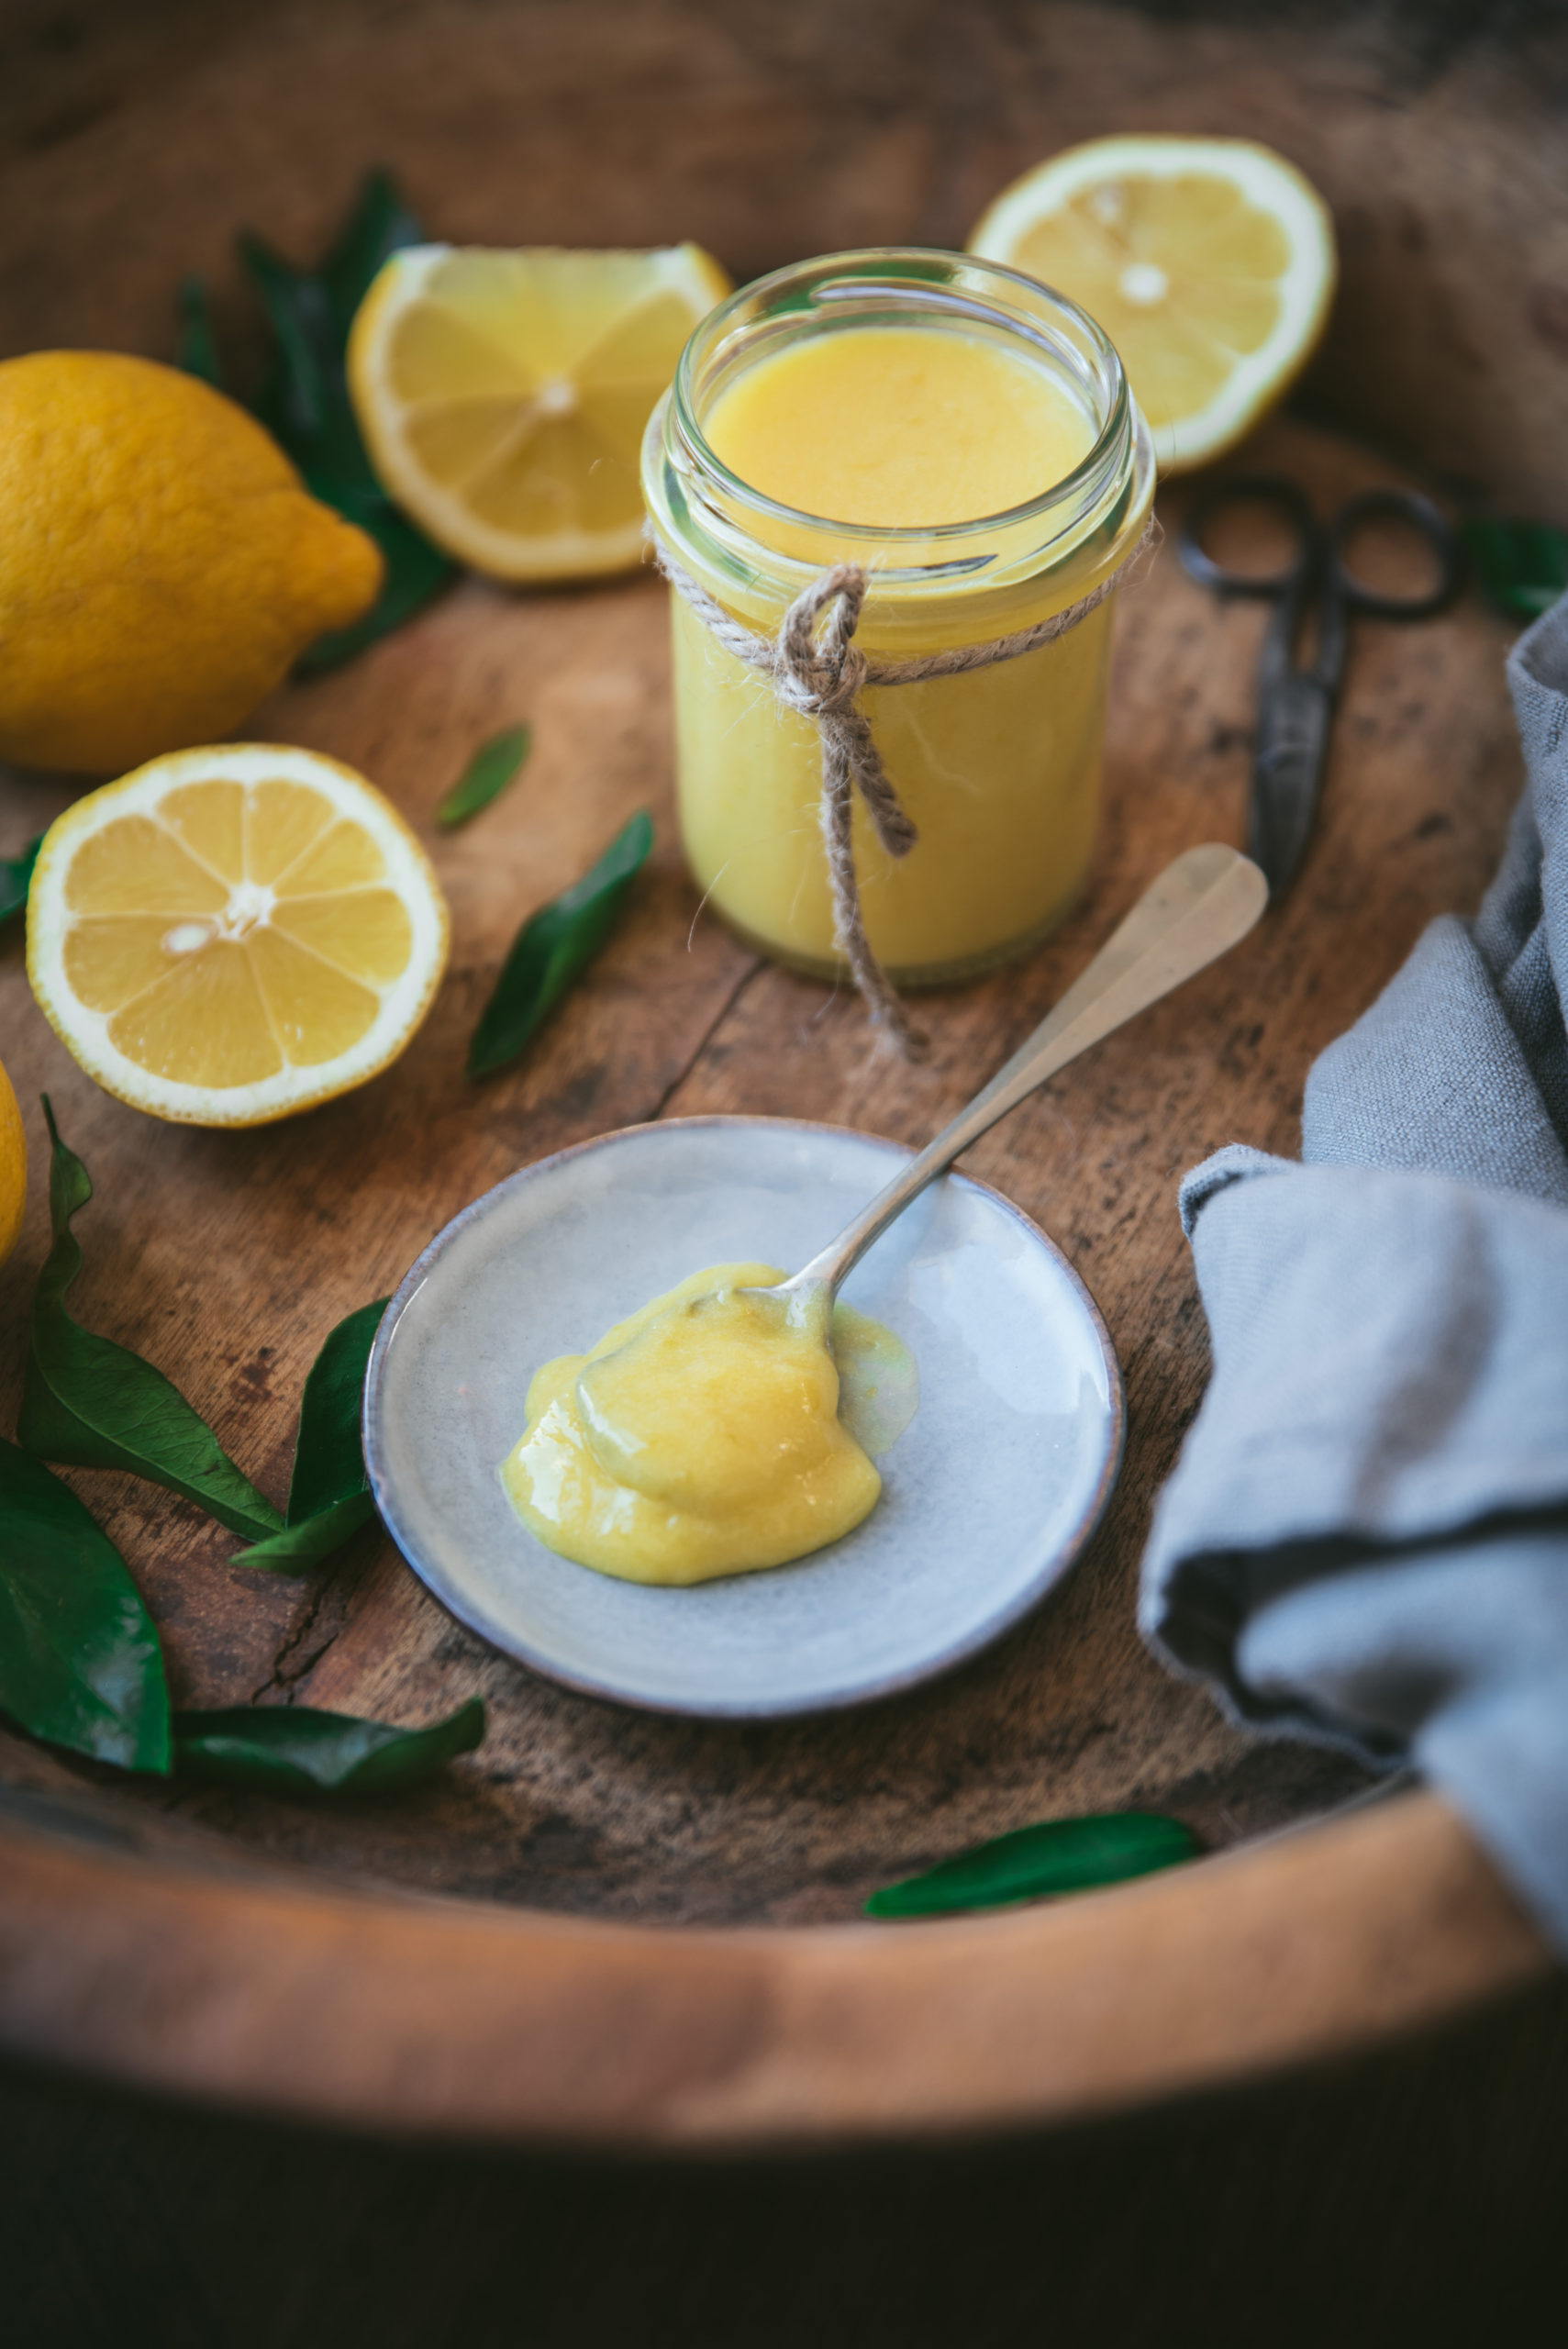
9. Lemon Curd
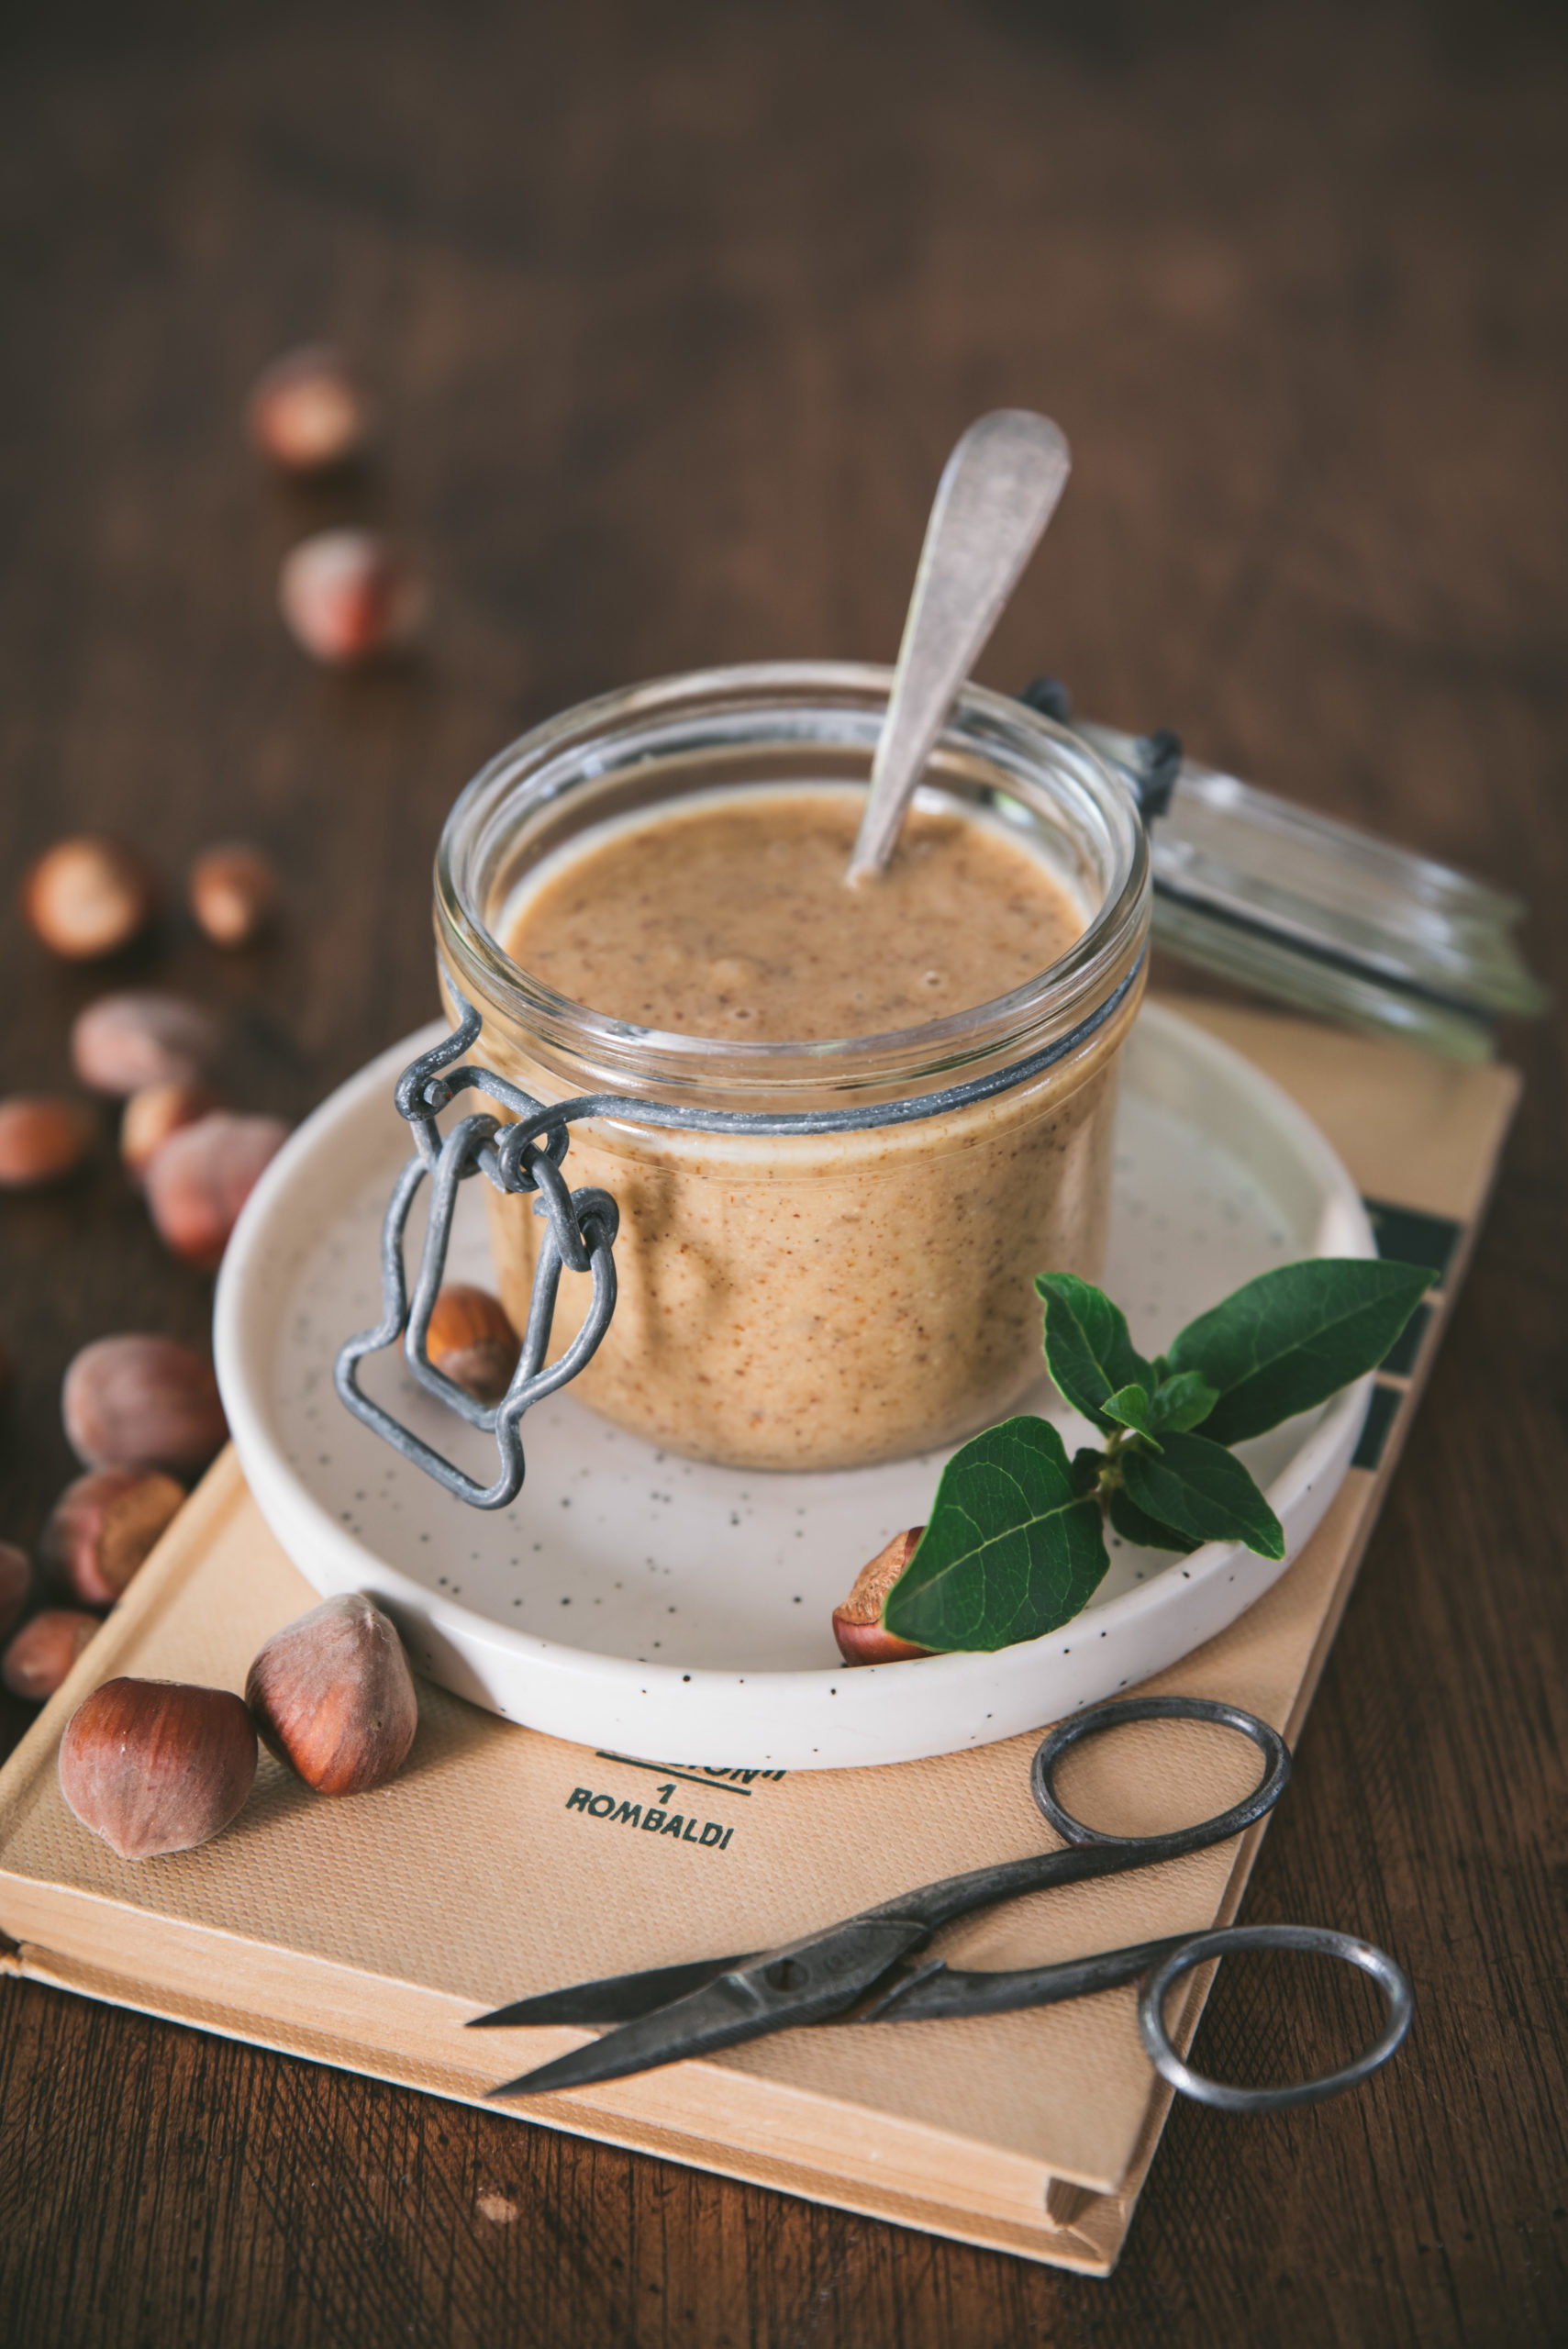
10. Hazelnut Praline Paste